DIY Pellet Heater: Transform Your Home’s Heating
Imagine coming home to a warm, cozy space without a sky-high heating bill. Sounds perfect, right?
A DIY pellet heater might just be your new best friend. If you’ve been searching for a cost-effective and environmentally friendly way to heat your home, you’re in the right place. This guide will walk you through everything you need to know about creating your own pellet heater.
You’ll discover how simple it is to harness the power of pellets to stay toasty and keep your wallet happy. Ready to dive in and transform your winter experience? Let’s get started!

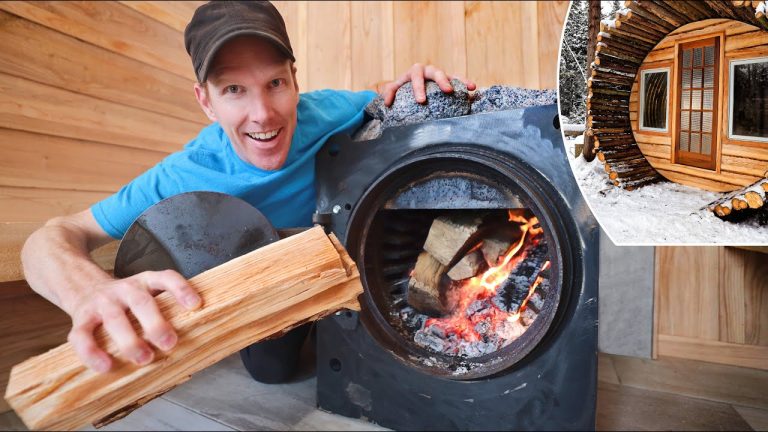
Credit: www.youtube.com
Benefits Of DIY Pellet Heaters
DIY pellet heaters save money. You don’t buy expensive models. Making your own heater is cheaper. Pellets are affordable. You can make them at home. Less money spent means more savings. Enjoy warmth at a lower cost.
Pellet heaters use renewable fuel. Pellets come from wood waste. They reduce carbon footprint. Less pollution in the air. DIY heaters help the planet. Choose a cleaner energy source. Make a positive change.
Create a heater that fits your space. Design it to match your style. Pick colors, shapes, and sizes. DIY heaters can be unique. Personalize it just for you. Build something special with your hands.
Materials Needed
Building a DIY pellet heater is fun. First, gather pellets. Pellets are the fuel. Next, find a metal container. The container holds the fire. A grate is important too. It lets air flow. This helps fire burn better. Also, get a chimney pipe. It takes smoke out.
A thermostat is useful. It controls heat. Lastly, have insulation material. It keeps heat in. All these parts are important. They help the heater work well.
Use simple tools for this project. A screwdriver is needed. It helps fix parts together. Pliers are also handy. They grip and turn things. A saw cuts metal pieces. Be careful using it. Drills make holes in metal. They are very useful. Tape measure checks sizes. It makes sure parts fit right.
Wear safety gloves. They protect hands. Safety is very important. With these tools, building is easier. The project becomes fun.
Step-by-step Assembly
Create a strong metal frame. Use steel rodsfor support. Cut them into equal lengths. Connect rods with bolts. This makes the frame stable. Ensure all corners are tight. Check each joint. Make sure everything aligns.
Place the burner in the frame. Fix it securely with screws. Position it at the center. Ensure it faces the right direction. The burner must align with the pellet feed. Double-check its stability. Test the burner for safety.
Attach the pellet feed tube. Connect it to the burner. Ensure pellets flow smoothly. Check for blockages. Adjust the tube angle. It should drop pellets easily. Make sure the tube is secure. Test the feed system.
Safety Precautions
Good ventilationis important for a pellet heater. Make sure the room has enough fresh air. This helps to keep the air clean and safe. Check for open windowsor vents in the room. Fresh air stops smoke and bad smells.
Always have a fire extinguishernearby. This is important in case of a fire. Keep flammable items away from the heater. They can catch fire easily. Use a sturdy base for the heater to prevent tipping.
Cleaning the heater is important. Remove ash and dust often. Check the heater for blockagesor damage. Fix any problems quickly. A clean heater works better and is safer. Regular checks keep the heater in good shape.
Efficiency Optimization
Choosing the right pellet fuelis crucial. Pellets come in different types. Hardwood pellets burn slower. Softwood pellets burn hotter. Check the moisture content. Lower moisture means higher efficiency. Look for pellets with less than 10% moisture. High-quality pellets leave less ash. This means less cleaning. Cost is important too. Some pellets are cheaper. But might burn less effectively. Research and compare options. Ask for reviews from users.
Proper heat distributionensures warmth. Use fans to spread heat. Place fans near the heater. This moves warm air around. Check the room layout. Open spaces distribute heat better. Close doors to keep heat inside. Try using heat reflectors. These direct heat where needed. Adjust the heater settings. Lower settings save energy. But still keep you warm. Experiment to find the best setup.
Troubleshooting Common Issues
Smoke can fill the room. Check the airflow in your heater. Blocked vents cause smoke. Clean them often. Make sure pellets are dry. Wet pellets make more smoke. Check seals around the door. Air leaks cause smoke too.
Pellets may burn poorly. Use high-quality pellets for better results. Adjust the air intake. Too much air wastes heat. Clean the burn pot to remove ash. Ash stops pellets from burning well. Keep the glass clean to watch the flame.
Parts can break down. Inspect the auger regularly. It moves pellets into the fire. Lubricate it to prevent jamming. Check the blower fan. It spreads heat in the room. Replace worn gaskets. They seal the heater parts. Tight seals help the heater work right.
Enhancements And Upgrades
Pellet feeders make heating easier. They automatically add pellets to the heater. This means less work for you. No need to add pellets by hand. You can save time. You can relax more. Enjoy your warm room without worry. Automated feeders are smart. They know when more pellets are needed. They keep your heater working well. Efficient heating all the time.
A smart thermostat helps control the heater. It keeps the room at the right temperature. You can set the thermostat from your phone. Change settings anytime. Save energy by using smart thermostats. They learn your habits. They adjust heat based on your schedule. Comfort and savings with smart integration. Easy control and less effort. Keeps your home cozy.

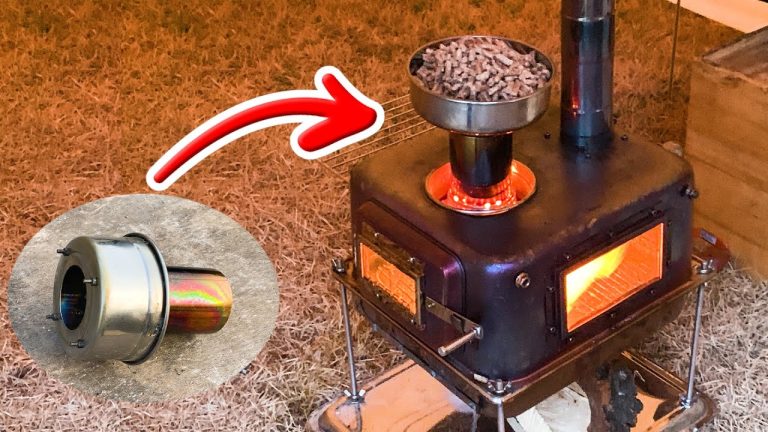
Credit: www.instructables.com
Real-life Success Stories
Many homeowners have shared their experiences with DIY pellet heaters. Maria from Ohio loves her heater. It keeps her home warm and cozy. She built it with her son’s help. They both learned a lot. Building it together was fun. Maria says her heating bill is now lower. She is very happy with the results.
John from Texas also shared his story. He made a unique design with old parts. His heater works great. It uses fewer pellets. John thinks it’s the best project he ever did. He enjoys showing it to friends. Many want to build one too. John loves his heater’s efficiency.
People are getting creative with their heater designs. Some use recycled materials. Others add special features. One family made a heater with a glass top. It lets them see the fire inside. Another person added wheels. This makes it easy to move. Each design is special and useful.
DIY projects bring out the best in people. They mix imagination with skills. These heaters save money and are fun to build. They also help the planet by using fewer resources. Many people enjoy these sustainable heaters. They are proud of what they made.
Frequently Asked Questions
Why Are People Getting Rid Of Pellet Stoves?
People are getting rid of pellet stoves due to rising pellet costs and maintenance hassles. They seek cleaner energy alternatives. Concerns about emissions and environmental impact also contribute to their decision. Many prefer modern heating solutions that are more efficient and convenient.
How Long Does A 40 LB Bag Of Pellets Burn In A Pellet Stove?
A 40 lb bag of pellets typically burns for 24 to 36 hours in a pellet stove, depending on stove efficiency and heat settings. Adjusting the stove’s feed rate and air flow can affect burn duration. Regular maintenance ensures optimal performance and longer burn times.
Can You Make Your Own Heating Pellets?
Yes, you can make your own heating pellets using wood, sawdust, or biomass materials with a pellet mill. Ensure materials are dry and free from contaminants. Homemade pellets can be cost-effective, but quality and efficiency depend on the equipment and materials used.
Follow safety guidelines during production.
Is It Cheaper To Burn Pellets Or Oil?
Burning pellets is often cheaper than oil. Pellet prices are more stable and environmentally friendly. Oil prices fluctuate more due to global events. Pellets are renewable, reducing long-term costs. Consider installation and maintenance costs for accurate comparison.
Conclusion
Building your own pellet heater is practical and rewarding. It saves money and reduces energy use. You learn new skills and understand heating systems better. This DIY project is straightforward and affordable. You gain warmth and comfort in colder months.
Enjoy the satisfaction of creating something useful. Plus, you contribute to a greener environment. Use the guide above for a successful build. Remember to prioritize safety at every step. Gather your tools and materials. Start your DIY pellet heater journey today.
Experience the benefits firsthand. Stay warm and eco-friendly. Happy building!