DIY Indoor Heater: Genius Essent ial Comfort
Want a DIY indoor heater for instant warmth? This guide shows you how to build simple, effective solutions using common items. Get cozy safely and affordably!
Feeling that chill creep in when you least expect it? We all want our homes to be warm and inviting, especially when the weather outside turns frosty. But sometimes, the main heating system just isn’t enough, or maybe you need a little extra warmth in a specific room.
Heating can feel complicated and expensive, leaving many of us shivering or spending too much on energy bills. Don’t worry! You can create your own cozy haven. This article will walk you through easy, safe, and affordable DIY indoor heater projects that bring essential comfort right to your fingertips. Get ready to feel the warmth surround you!
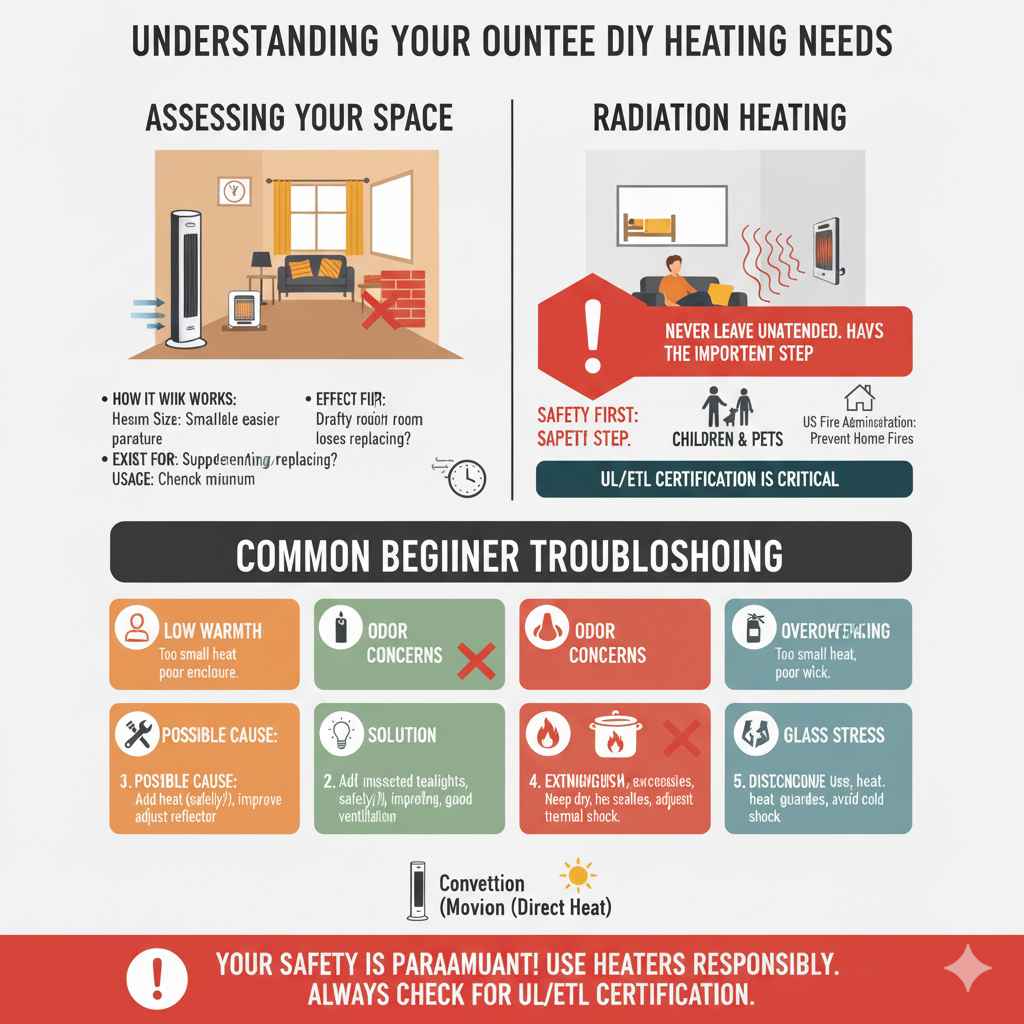
Understanding Your DIY Heating Needs
Before we dive into building, let’s chat about what you actually need. Think about the space you want to heat. Is it a small bathroom, a drafty living room, or perhaps a home office where you spend a lot of time? Knowing the size and how much extra warmth you need will help you choose the right DIY project.
Assessing Your Space
A small, often-used space like a bathroom might only need a quick burst of heat. A larger room, like a living area, might require a more consistent, gentle warmth. Consider:
- Room Size: Smaller rooms are easier to heat.
- Insulation: A drafty room will lose heat faster.
- Existing Heat Source: Are you supplementing or replacing?
- Usage: How long will the heater be on?
Safety First: The Most Important Step
When working with anything that generates heat, safety is the absolute top priority. We’re aiming for comfort, not a hazard! Always supervise any DIY heating project, especially if children or pets are around. Ensure your creations are stable and made from heat-resistant materials. Never leave a DIY heater unattended, and always have a working smoke detector nearby.
For reliable safety information on home heating, the U.S. Fire Administration provides excellent resources on preventing home fires, including those related to heating equipment here.
Genius DIY Indoor Heater Projects for Essential Comfort
Let’s get to the fun part! These projects are designed to be simple, using materials you might already have or can easily find. They offer a lovely boost of warmth and that satisfying feeling of accomplishment.
Project 1: The Terracotta Pot Heater
This is a popular and surprisingly effective DIY heater. It uses simple principles of heat conduction and convection to warm a small to medium-sized space.
What You’ll Need:
- 2 terracotta pots (one larger than the other, the smaller fitting inside the larger with space around it)
- 2 terracotta pot saucers (one for each pot, matching their size)
- 2 small terracotta pot feet (or sturdy, heat-resistant blocks)
- 1-2 tealight candles (or wax melts)
- A metal bracket/hanger (to create a stable candle holder, optional but recommended)
- Sand (optional, for added stability and heat retention)
Step-by-Step Instructions:
- Prepare the Base: Place the larger terracotta pot saucer flat on a stable, heat-resistant surface (like a tile floor or a metal tray).
- Create the Inner Chamber: Place the smaller terracotta pot upside down on top of the larger saucer.
- Position the Feet: Place your terracotta pot feet (or blocks) around the inside rim of the larger saucer, creating a space for air circulation beneath the inner pot. Alternatively, you can rest the smaller pot on these feet, ensuring they are evenly spaced for stability.
- Add the Heat Source: If using sand, carefully add a layer to the bottom of the larger saucer, around the base of the inverted inner pot. Then, place your tealight candles in the center of the larger saucer, or if you have a metal bracket, mount the tealight on that. Place the bracket inside the inverted smaller pot.
- Assemble the Heater: Carefully place the larger terracotta pot over the smaller pot and candles. Ensure it’s stable. The larger pot will trap the heat generated by the candles, and the terracotta will absorb and radiate it slowly.
- Let it Warm: Light the tealight candles. The terracotta will gradually heat up and radiate gentle warmth into the room.
Tips for the Terracotta Pot Heater:
- Use unscented tealights to avoid any unexpected aromas.
- Experiment with the number of candles, but never more than two for a standard setup.
- Ensure good ventilation in the room, as burning candles consumes oxygen.
- This method provides gentle, ambient warmth, not rapid heating.
- Always place on a non-flammable surface.
Project 2: The Candle-Heated Jar Heater
Similar in principle to the terracotta pot heater, this method uses readily available jars and candles for a simple, portable heat source. It’s great for a desk or a small corner.
What You’ll Need:
- 1 large glass jar (like a Mason jar or repurposed food jar, heat-resistant glass is best)
- 4-6 tea light candles
- A stable, heat-resistant base (a metal tray, ceramic tile, or wooden coaster)
- Optional: Small metal brackets or foil to hold candles if they don’t stand upright
Step-by-Step Instructions:
- Prepare Your Base: Place your heat-resistant base on a flat, stable surface.
- Arrange the Candles: Place the tea light candles on the base, arranging them in a slight bunch. If they don’t stand firmly, you can use small metal brackets or shape foil to make them more stable.
- Place the Jar: Carefully place the large glass jar upside down over the cluster of candles. Ensure the jar is stable and not leaning. The glass will heat up and radiate warmth.
- Light and Enjoy: Light the tea lights. The jar will slowly become warm and gentle heat will emanate outwards.
Safety Notes for Jar Heater:
- Only use heat-resistant glass jars. Standard glass can crack under heat.
- Never leave this unattended.
- Keep away from flammable materials.
- Ensure the jar is firmly placed and won’t tip over.
- This is for gentle, localized warmth.
Project 3: The DIY Radiant Panel Heater (Reflector Method)
This method focuses on directing heat from an existing source, like a safe electric heater, using reflective materials. It’s about efficiency, not creating heat from scratch.
What You’ll Need:
- A safe, low-wattage electric heater with a stand or base that allows space behind it. Ensure it has overheat protection.
- A sturdy piece of reflective material (e.g., aluminum foil, reflective insulation board, or a clean, reflective metal sheet).
- Heat-resistant tape or clips to secure the material.
- Cardboard or a thin, heat-resistant board to act as a backing.
Step-by-Step Instructions:
- Prepare the Reflector: Cut your reflective material to a size that will fit behind your electric heater, extending at least a foot above and to the sides of the heating element.
- Attach Backing: If using thin foil, adhere it to a piece of cardboard or thin heat-resistant board for rigidity. Ensure the reflective side faces outwards.
- Position the Heater: Place your electric heater in its desired location. Ensure there is safe clearance around it according to the manufacturer’s instructions.
- Mount the Reflector: Securely attach the reflective panel behind the heater. The goal is to direct the heat that would normally go backward towards the front of the heater, warming the room more effectively. Use heat-resistant tape or clips to hold it in place, ensuring it doesn’t obstruct any vents or the heater’s stability.
- Test and Observe: Turn on your electric heater at a low setting. Feel the warmth directed into the room. Ensure the reflector does not touch the heating element and that all parts are stable.
Important Considerations for Reflector Method:
- Never cover any vents of the electric heater with the reflector.
- Ensure adequate clearance between the reflector, the heater, and any walls or furniture.
- Use only with safely functioning electric heaters designated for indoor use.
- Do not use with gas or fuel-burning heaters.
Understanding DIY Heater Types and Their Pros & Cons
Different DIY approaches will suit different needs. Here’s a simple comparison to help you decide.
| DIY Heater Type | How It Works | Pros | Cons | Best For |
|---|---|---|---|---|
| Terracotta Pot | Candle heat absorbed and radiated by clay. | Simple, uses common items, gentle warmth, affordable. | Slow to heat, limited coverage, requires constant candle burning. | Small rooms, creating ambiance, supplemental warmth, areas with low drafts. |
| Candle Jar | Candle heat radiated through glass. | Very simple, portable, uses minimal items, quick setup. | Very limited coverage, short burn time, risks with glass. | Desks, personal workspaces, very small nooks, immediate mild warmth. |
| Radiant Panel | Reflects and directs heat from existing source. | Increases efficiency of existing heaters, directs warmth. | Requires an existing safe heater, needs careful setup, potential fire risk if done incorrectly. | Enhancing existing electric heaters, directing heat into a specific zone. |
Essential Safety Guidelines for All DIY Heaters
We’ve touched on safety throughout, but it’s worth reiterating these crucial points for peace of mind.
General Safety Rules:
- Never leave unattended: This is paramount. Always be present when your DIY heater is in use.
- Stable Placement: Ensure your DIY heater is on a flat, stable, and non-flammable surface.
- Clearance: Keep all flammable materials (curtains, papers, fabrics, furniture) at a safe distance. At least 3 feet is a good rule of thumb.
- Ventilation: If using candles or burning anything, ensure the room has adequate ventilation to prevent suffocation and reduce the risk of smoke buildup.
- Supervision: Keep children and pets away from DIY heaters.
- Inspect Regularly: Check your DIY creations for any signs of wear, damage, or instability.
- Listen to the Materials: If any part feels too hot, smells strange, or looks like it’s degrading, discontinue use immediately.
- Use only approved components: Stick to materials known to be heat-resistant.
For comprehensive safety advice on home heating appliances and practices, the Consumer Product Safety Commission (CPSC) offers valuable information, including tips on portable heater safety here.
Maximizing Warmth and Efficiency
Once you’ve built your DIY heater, a few smart strategies can make it even more effective.
Strategic Placement
Think about where you spend most of your time. Placing your DIY heater nearby will benefit you most. If you’re using it to supplement a central heating system, positioning it near drafty areas or windows can help combat cold air infiltration.
Using Reflectors Wisely
Even simple DIY heaters can benefit from clever reflection. A small, heat-resistant reflector placed behind a candle-based heater can help direct more warmth into the room rather than letting it dissipate into the wall or furniture behind it.
Draft Proofing
The best heater in the world will struggle if cold air keeps entering your space. Simple measures like using draft stoppers at the bottom of doors and windows can make a huge difference. You can even make DIY draft stoppers with old fabric scraps and rice or beans!
Combining Methods
Don’t be afraid to use your DIY heater in conjunction with other methods. A bit of gentle warmth from a DIY project can make a room feel cozier much faster when the main heating is on low, saving energy.
Understanding Heat Output Limitations
It’s important to remember that these DIY solutions are generally for supplemental warmth or creating a cozy ambiance. They are not typically designed to replace a primary heating system for an entire home, especially in very cold climates. Always manage your expectations and prioritize safety over drastic heat output. Commercial indoor heaters are rigorously tested for safety and efficiency.
Common Beginner Troubleshooting
Even with simple projects, sometimes things don’t work as expected. Here are a few common issues and how to solve them:
My DIY heater isn’t producing much warmth.
Possible Cause: The heat source might be too small for the space, or the enclosing materials aren’t trapping enough heat. For candle-based heaters, ensure you’re using enough candles (safely!) or that the jar/pot isn’t too large. For reflector projects, ensure the reflector is positioned correctly to direct heat forward.
Solution: Increase the heat source slightly (e.g., add another candle if safe and appropriate for the design), ensure better sealing of the enclosure, or adjust reflector placement. For terracotta, a slightly smaller inner pot or more tightly fitting outer pot can help.
I’m concerned about the smell from the candles.
Possible Cause: Some scented candles can produce a strong odor when heated, or low-quality wicks might burn inefficiently.
Solution: Switch to unscented tealights. Ensure candles are burning cleanly, with the flame not touching the sides of their holder or the pot/jar. Good ventilation in the room is key.
The terracotta pot feels too hot to touch.
Possible Cause: Too many candles for the size of the pots, or the pot itself is absorbing an excessive amount of heat.
Solution: Immediately extinguish the candles and carefully remove the outer pot. Let it cool. Reduce the number of candles used. Ensure there’s adequate air circulation around the base. Always handle carefully when hot and never touch directly.
My glass jar heater is making concerning noises or looks stressed.
Possible Cause: The glass might not be heat-resistant enough, or it’s experiencing thermal shock (rapid temperature change).
Solution: Discontinue use immediately. Ensure you are using only jars specifically designed to withstand heat. Avoid placing them on or near cold surfaces that could cause rapid cooling. If in doubt, discard and choose a safer design or material.
When to Consider a Commercial Heater
While DIY projects are fantastic for a quick fix, ambiance, or specific needs, they have limitations. It’s important to know when a professionally manufactured heater is the better, safer choice:
- Larger Spaces: If you need to heat a whole room or multiple rooms effectively, a rated commercial heater is necessary.
- Consistent Heat: For primary heating throughout the day or overnight, a commercial heater will offer more reliable performance and safety features.
- Safety Certifications: Commercial heaters are tested and certified by safety organizations (like UL or ETL), meaning they meet strict safety standards for intended use.
- Advanced Features: Thermostats, timers, tip-over switches, and multiple heat settings are standard on commercial products for convenience and safety.
- Energy Efficiency: Many modern commercial heaters are designed with energy efficiency in mind, which can save on electricity bills over time.
The U.S. Department of Energy provides information on choosing energy-efficient heating equipment, which can inform your decision when considering commercial options here.

Frequently Asked Questions (FAQ)
Q1: Are DIY indoor heaters safe?
A: DIY indoor heaters can be safe if built and used with extreme caution, using heat-resistant materials, and never left unattended. Always prioritize safety by keeping flammable items away and ensuring stability. However, commercial heaters undergo rigorous safety testing and are generally considered safer for unsupervised or prolonged use.
Q2: How much heat can a terracotta pot heater produce?
A: A terracotta pot heater produces gentle, ambient warmth, suitable for small spaces or providing a cozy feel. It’s not intended to heat a large room quickly or act as a primary heat source.
Q3: Can I use any glass jar for a DIY heater?
A: No, it’s crucial to use heat-resistant glass jars (like Mason jars designed for canning, which undergo annealing). Regular glass can crack or shatter from the heat. Always confirm the glass is suitable for heating.