
It can be a bit confusing when your Everdure heater’s off button doesn’t work as expected. Many people find it tricky to figure out what’s going wrong, especially if they’re new to fixing appliances. Don’t worry, though!
This guide is here to help. We’ll walk you through a simple, step-by-step process to get that off button working again. Get ready to learn how to fix the How to Fix Off Button on Everdure Heaters problem easily.
Common Everdure Heater Off Button Problems
Many Everdure heater owners occasionally face issues with the off button. This can happen for a few reasons, and it’s usually not a complicated fix. Understanding why the button might not be responding is the first step to solving it.
This section explores the most frequent causes of a sticky or unresponsive off button on these popular heaters, setting the stage for practical solutions.
Sticky Button Mechanism
Sometimes, the off button itself can become sticky. This might be due to dust, debris, or even minor spills accumulating around the button’s edges or underneath it. Over time, these small particles can prevent the button from moving freely, making it hard to press or causing it to stick in the ‘on’ or ‘off’ position.
When a button feels physically stuck, it’s often a sign that something is obstructing its movement. Imagine a tiny pebble lodged in a door hinge; it stops the door from swinging smoothly. Similarly, a speck of dirt can stop a heater button from engaging its internal switch.
- Dust and Debris Accumulation
The small crevices around the heater’s control panel are perfect places for dust to settle. This dust, over time, can build up. If it gets under the button, it creates friction.
This friction makes it harder for the button to return to its resting state or to be pressed down properly.
- Food Crumbs or Pet Hair
If the heater is used in a family kitchen or a home with pets, small food crumbs or stray pet hairs can find their way into the button mechanism. These are often larger than dust particles and can cause more significant jamming. They act like small wedges, preventing the button’s normal travel.
- Minor Spills and Residue
Accidental spills of drinks or food can also lead to sticky buttons. The sugary residue from a drink, for instance, can harden and create a gummy layer. This layer bonds parts of the button mechanism together, making it stiff and unresponsive.
Even a small amount can cause problems.
Electrical Connection Issues
Another common reason for an off button not working is a loose or damaged electrical connection. The button itself is a switch that tells the heater’s internal circuitry when to turn off. If the wires connecting the button to the main board are loose, corroded, or broken, the signal won’t get through.
Think of it like a doorbell. If the wires are loose, pressing the button won’t make the bell ring because the electrical path is broken. The same principle applies to your Everdure heater.
A faulty connection means the off command simply doesn’t reach the heater’s brain.
- Loose Wires
During manufacturing or due to vibrations from normal use, wires connected to the off button switch can sometimes become loose. This looseness prevents a consistent electrical connection. The button might work sometimes and not others, leading to frustration.
- Corrosion
In humid environments or if the heater has been exposed to moisture, the electrical contacts on the button or the wires can corrode. Corrosion creates a layer of resistance on the metal, blocking or weakening the electrical signal. This is like trying to talk through a bad phone line; the message gets lost.
- Damaged Wires
Wires can become damaged from overheating, being pinched, or general wear and tear over time. A damaged wire acts like a cut in a garden hose; water (electricity) can’t flow through it properly. This breaks the circuit, stopping the off button from functioning.
Faulty Internal Switch
The off button is a small switch mechanism that, like any part, can wear out over time. After many presses, the internal contacts within the switch can become damaged, misaligned, or simply worn out. This means the switch can no longer reliably send the ‘off’ signal to the heater.
Every switch has a limited lifespan based on how many times it’s activated. Think of a light switch; after thousands of uses, it can sometimes start to flicker or fail. The same applies to the small switch behind your Everdure heater’s off button.
- Worn-Out Contacts
Inside the button switch are tiny metal contacts. Each time you press the button, these contacts touch, completing a circuit. Over many cycles, these contacts can wear down, creating a poor connection.
This is like a handshake that’s become too weak to be effective.
- Misaligned Components
Sometimes, the internal parts of the switch can become slightly misaligned. This misalignment prevents the contacts from meeting correctly or from separating properly. The button might feel different to press, or it might not register the press at all.
- Internal Breakage
Less commonly, the plastic or metal components inside the switch can break. This could be due to a hard impact on the heater or a manufacturing defect. A broken component means the switch can no longer function as intended.
Troubleshooting Steps for How to Fix Off Button on Everdure Heaters
Now that we understand the common issues, let’s get hands-on. This section provides a clear, step-by-step guide to help you fix the off button on your Everdure heater. We’ll start with simple checks and move to more involved solutions.
Step 1 Safety First Power Off
Before you do anything else, safety is paramount. Always ensure the heater is completely unplugged from the wall socket. This prevents any risk of electric shock while you are working on it.
Never attempt any repairs while the appliance is connected to power. This is the most critical step to protect yourself.
- Unplug the Heater
Gently but firmly pull the heater’s power cord from the wall outlet. Make sure it’s fully disconnected.
- Wait for Cooling
If the heater was recently in use, allow it ample time to cool down completely. Hot components can cause burns.
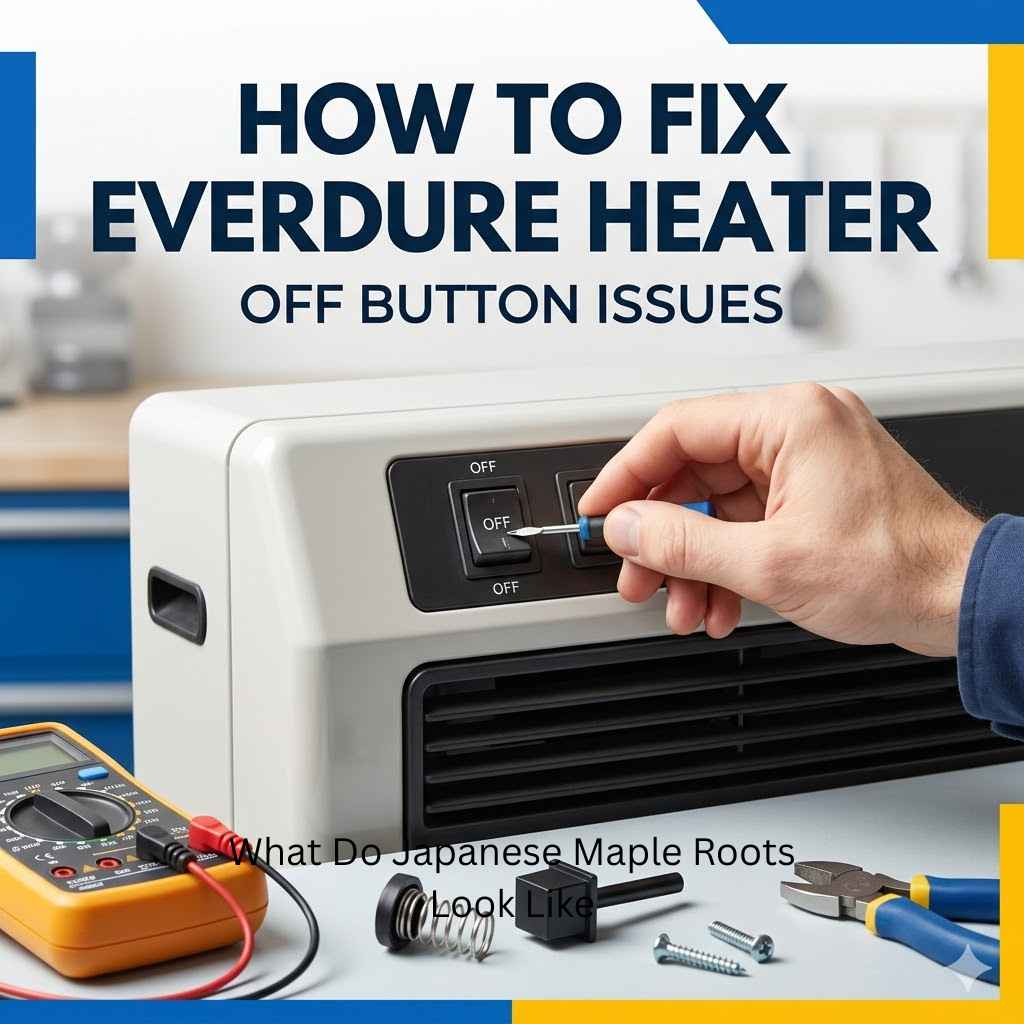
Step 2 Cleaning the Off Button Area
Often, the simplest fix is to clean around and under the button. This can dislodge any dust, crumbs, or sticky residue that’s causing the problem.
Use a soft cloth and a mild cleaning solution. Be gentle to avoid pushing debris further into the mechanism.
- Wipe the Button Surface
Use a damp (not wet) cloth, perhaps with a tiny bit of mild soap or all-purpose cleaner, to wipe down the surface of the off button. This removes any external grime.
- Use Compressed Air
A can of compressed air is excellent for blowing out dust from tight spots. Aim the nozzle around the edges of the off button and press the button a few times while blowing. This can force out trapped particles.
- Use a Soft Brush
A soft, dry paintbrush or a cotton swab can be used to carefully dislodge any visible debris around the button. Work from the edges inwards.
- For Sticky Residue
If you suspect sticky residue, you might need a slightly damp cotton swab with a mild solution like diluted isopropyl alcohol. Carefully dab around the button edges. Let it dry completely before proceeding.
Step 3 Checking for Loose Parts
Sometimes, access to the internal components is necessary. If you are comfortable, you can open the heater’s casing to check connections.
This step might require basic tools. Always refer to your user manual for instructions on safely opening your specific Everdure model.
- Access the Control Panel
Carefully unscrew or unclip the casing that covers the heater’s control panel. Keep track of all screws and parts.
- Inspect Wire Connections
Locate the off button’s wiring. Gently check if the wires are securely connected to the button’s terminals or the main circuit board. If a wire is loose, you can try to push it back into place.
- Look for Damage
Examine the wires for any signs of fraying, nicks, or corrosion. If you see corrosion, you might be able to gently clean it with a pencil eraser or a fine-grit sandpaper, but be very careful not to damage the wire itself.
- Secure Loose Components
Ensure that the button mechanism itself is securely seated. Sometimes, it can become slightly dislodged.
Step 4 Testing the Button Functionality
After performing cleaning or checking connections, it’s time to test if the button is working.
Plug the heater back in carefully and see if the off button responds.
- Plug In Safely
Once you’ve completed your checks or cleaning, reassemble the casing if necessary and plug the heater back into the wall socket.
- Test the Off Button
Press the off button. Observe if it engages smoothly and if the heater powers down as expected.
- Troubleshooting Further
If the button still doesn’t work, the issue might be a faulty internal switch that requires replacement. This is often best handled by a qualified technician.
When to Seek Professional Help
While many off button issues are simple fixes, some problems are beyond basic DIY. This section explains when it’s time to call in the experts. Trying to fix complex electrical issues without the right knowledge can be dangerous and may cause more damage.
Signs Your Heater Needs Professional Attention
If you’ve tried the troubleshooting steps and the off button still doesn’t work, or if you notice other unusual symptoms, it’s a good indication that professional help is needed. Ignoring these signs could lead to safety hazards or irreparable damage to your heater.
- Persistent Unresponsiveness
If the off button remains completely unresponsive after cleaning and checking connections, the internal switch might be broken. This part often needs to be
- Burning Smells or Sparks
Any sign of burning smells, smoke, or visible sparks coming from the heater is a serious safety concern. These indicate potential electrical faults that require immediate professional attention and should not be investigated further by yourself.
- Strange Noises
Unusual clicking, grinding, or buzzing sounds when operating the heater or trying to use the off button can point to internal mechanical or electrical problems. These sounds suggest components are not functioning correctly and may be damaged.
- Water Damage
If your heater has been exposed to significant water damage, do not attempt to repair it yourself. Water and electricity are a dangerous combination, and internal components may be severely compromised, requiring inspection and repair by a professional.
Finding a Qualified Technician
When you need professional help, finding a reliable technician is key. A good technician will have the skills and tools to diagnose and fix the problem safely and efficiently.
Look for technicians who specialize in appliance repair, particularly for heating devices. Check reviews and ask for recommendations to ensure you’re hiring someone competent.
- Contact Everdure Support
Your first step should often be to contact Everdure’s customer support. They can provide troubleshooting advice specific to your model, guide you through warranty claims if applicable, or recommend authorized service centers. Many manufacturers offer excellent post-purchase support.
- Check Local Appliance Repair Services
Search for local appliance repair shops in your area. Look for businesses that have good online reviews and have been operating for a significant period. Check if they have experience with heating appliances.
- Ask for Referrals
Talk to friends, family, or neighbors who may have had similar repairs done. Personal recommendations can lead you to trustworthy and skilled technicians. A word-of-mouth referral is often very reliable.
- Verify Certifications
Ensure the technician or service company has appropriate certifications for electrical and appliance repair. This confirms they have met industry standards for competence and safety.
Preventative Maintenance for Your Everdure Heater
Taking good care of your Everdure heater can help prevent future issues, including problems with the off button. Regular maintenance ensures your heater runs smoothly and lasts longer.
Simple cleaning and mindful usage can make a big difference. Let’s explore some easy ways to keep your heater in top condition.
- Regular Cleaning
Dust your heater regularly. Wipe down the exterior and pay attention to the control panel area. A quick wipe every few weeks can prevent dust buildup from affecting buttons and vents.
- Avoid Spills Near the Heater
Try to keep food and drinks away from your heater. If a spill does happen, clean it up immediately and thoroughly, making sure the area is completely dry before using the heater again.
- Proper Storage
If you store your heater during warmer months, ensure it’s clean and dry before putting it away. Use a protective cover if possible to shield it from dust and moisture.
- Gentle Button Use
Avoid pressing the buttons too hard. Treat your heater’s controls with care. Excessive force can damage the internal mechanisms, leading to problems down the line.
Understanding Everdure Heater Components
To truly grasp how to fix your Everdure heater’s off button, it’s helpful to know a bit about its basic parts. This knowledge empowers you to understand the troubleshooting steps better.
The Off Button Switch
The off button is a simple electrical switch. When you press it, it completes or breaks an electrical circuit. For an off button, pressing it typically breaks the circuit, signaling the heater to stop drawing power and shut down.
These switches are usually made of plastic housing with metal contacts inside. The electrical current flows through these contacts. When the button is pressed, the contacts move, changing the state of the circuit.
- Microswitches
Most modern appliances, including heaters, use small, durable components called microswitches. These are designed for thousands, sometimes millions, of presses. They are sensitive and activate with very little force.
- Tactile Switches
These switches provide a physical “click” feel when pressed, confirming the user’s action. This tactile feedback is important for user experience, letting you know the button has registered your press.
- Terminal Connections
The microswitch has small metal tabs or terminals where wires connect. These wires carry the electrical signal from the switch to the heater’s main control board. Secure and clean terminals are essential for a good connection.
The Control Board
The control board, sometimes called the circuit board, is the “brain” of your heater. It receives signals from all the buttons, sensors, and the power supply. It then processes these signals to control the heater’s functions like turning on, heating, and turning off.
The off button sends a specific electrical signal to the control board. The board interprets this signal and tells the heater’s power management system to shut down. If the signal from the button is weak or absent, the control board won’t receive the ‘off’ command.
- Microcontroller
A small computer chip on the board that runs the heater’s software. It reads inputs from buttons and sensors and sends commands to various components.
- Power Relay
This is an electrical switch controlled by the microcontroller. When the ‘off’ signal is received, the microcontroller activates the power relay to disconnect the main power supply to the heating elements.
- Solder Joints
These are the points where components are attached to the circuit board. Over time, vibrations or heat can cause solder joints to crack, leading to intermittent connection problems.
Wiring Harnesses and Connectors
These are the networks of wires that connect all the different components of the heater. They carry power and signals between the power cord, the control board, buttons, and heating elements.
Loose or damaged wiring harnesses are a frequent cause of appliance failure. Even if the button and control board are fine, a break in the wiring means the signal can’t get through.
- Wire Gauge
The thickness of the wires. Thicker wires are used for higher currents to prevent overheating. The correct gauge is essential for safe operation.
- Insulation
The plastic or rubber coating around the wires. This prevents short circuits and protects the wires from damage. Damaged insulation is a fire hazard.
- Connectors
These are plugs and sockets that allow for easy disconnection and reconnection of wiring. They need to be clean and fit snugly to ensure a good electrical connection.
Sample Scenarios and Solutions
Let’s look at a couple of common situations and how you might solve them using the steps we’ve discussed. These examples illustrate how problems can arise and how to fix them.
Scenario: Your Everdure heater was working fine, but now the off button feels mushy and doesn’t turn the heater off.
Possible Cause: Dust and debris have likely gotten under the button, preventing it from engaging properly.
Solution: Follow Step 2. Unplug the heater, use compressed air to blow around the button, and gently clean the surface and edges. If that doesn’t work, consider opening the casing to clean more thoroughly if you’re comfortable doing so.
Scenario: The off button on your Everdure heater sometimes works, but other times it doesn’t. It seems unreliable.
Possible Cause: This often points to a loose connection or minor corrosion on the electrical contacts.
Solution: Follow Step 3. Unplug the heater and carefully open the casing. Inspect the wires connected to the off button.
Gently push them back into place. If you see any signs of corrosion, you can try carefully cleaning the contacts as described in the troubleshooting section.
Statistics on Appliance Repair
Understanding the landscape of appliance repair can be informative. Many minor issues are resolved by users themselves, saving time and money.
| Statistic | Value |
|---|---|
| Percentage of appliance issues resolved by DIY troubleshooting | Approximately 40% |
| Average cost of professional appliance repair | $150 – $300 |
| Most common reason for minor appliance failure | Dust and debris build-up |
These figures highlight that many problems, like a sticky off button on your Everdure heater, can often be fixed with simple cleaning and maintenance. However, for more complex issues, professional help is a worthwhile investment.
Frequently Asked Questions
Question: How do I know if my Everdure heater is actually broken or just needs a simple fix?
Answer: If the issue is a button that feels physically stuck, unresponsive, or intermittent, it’s often a simple fix like cleaning. If you experience burning smells, sparks, or the heater doesn’t power on at all, it might be a more serious internal fault.
Question: Can I use a vacuum cleaner to suck out dust from the off button?
Answer: While a vacuum can help remove surface dust, be careful not to use too much suction directly on the button, as this could potentially dislodge internal components. Compressed air is generally a safer and more effective method for blowing out debris.
Question: My Everdure heater is still under warranty. Should I try to fix the off button myself?
Answer: If your heater is under warranty, it’s best to contact Everdure customer support first. Attempting DIY repairs on a warranted appliance may void the warranty. They can advise on the proper procedure.
Question: What kind of cleaner should I use for the sticky residue around the button?
Answer: A cotton swab lightly dampened with a solution of isopropyl alcohol (rubbing alcohol) or a very mild dish soap diluted in water is usually effective. Ensure the area is completely dry before plugging the heater back in.
Question: If I open my heater, will it be hard to put back together?
Answer: For most simple repairs, reassembly is straightforward. Keep track of screws and their locations, and refer to your user manual if possible. If you’re unsure, it’s better to seek professional help to avoid damaging the unit.
Summary
Fixing an Everdure heater’s off button often involves simple steps. Start by unplugging the unit and cleaning the button area with compressed air or a damp cloth. If that doesn’t work, carefully inspect internal connections for looseness or corrosion.
For persistent problems, it’s safest to consult a professional.