How to Fix a Water Heater Leaking From the Top
To fix a water heater leaking from the top, first find the source: a loose inlet or outlet fitting, a leaking temperature-and-pressure relief valve connection, or a failing tank. If the tank itself is wet or rusted at the top seam, plan for replacement. Leaving it alone can flood the area, damage wiring and flooring, and turn a small leak into a tank failure. This guide shows how to trace the leak, check pressure-related causes, and decide between tightening, parts replacement, or a new heater.
Start with safety


Turn off the heat source before you touch anything else. Shut off the gas valve on a gas water heater or switch off the circuit breaker on an electric unit, then close the cold-water supply valve so the leak cannot keep feeding.
If water is near the electrical cover, wire connections, or burner area, stop and keep hands clear until the unit is isolated.
What you’ll need
- Flashlight
- Dry paper towels or a dry cloth
- Adjustable wrench
- Bucket
- Garden hose for draining or valve testing
- Pressure gauge for a hose bib
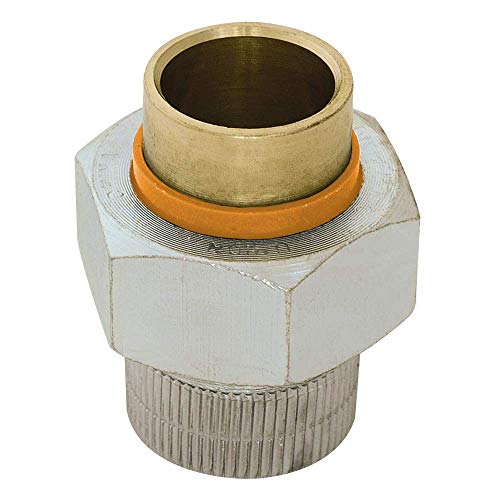
- Replacement supply line, dielectric nipple, or valve if needed
- Thread sealant or PTFE tape where the fitting calls for it
- Replacement T&P valve or drain valve if the part is faulty
What should you check first?
Dry the tank, then watch for the first wet point. Do not assume the tank is failing. Many top leaks start at the inlet connection, the T&P valve, or a pipe above the heater, then run down and make the shell look guilty.
-
Shut down the heater.
Turn off gas at the valve or electricity at the breaker, then close the cold-water supply. That prevents more water from entering while you trace the path. -
Dry every visible surface.
Wipe the top, the upper side seams, the T&P valve, the drain valve, and the pipes above the unit. Leave the area dry for a few minutes so the first new drip points to the real source. -
Watch the first wet point.
Check the inlet connection, nipple, and nearby fittings before looking at the tank shell. If water appears above the tank and tracks downward, the leak may not be from the tank at all. -
Check for condensation.
If the tank, nearby pipes, or the room are cold and humid, moisture may bead on the outside rather than leak from a part. A dry top that slowly sweats all over is a different problem from a steady drip at one joint. -
Inspect the drain valve.
Look for water at the bottom valve and the nearby side of the tank. A failed drain valve can drip, then travel along the jacket and make it look like a top leak.
Top leak triage table
| Leak symptom | Likely source | Quick verification step | DIY fixability | Replace-or-call-plumber decision |
|---|---|---|---|---|
| Water on or around the T&P discharge tube | T&P valve seepage | Dry the valve, then watch whether it drips from the valve body after a short heat cycle | Sometimes; valve replacement is common | Replace the valve if it keeps leaking after testing |
| Moisture at the cold inlet union | Loose inlet connection | Check for movement, wet threads, or a loose compression nut | Often yes | Replace or retighten the fitting if the leak returns |
| Rust streaks at the top connection | Corroded nipple | Look for crust, pitting, or reddish staining at the nipple and dielectric joint | Possible, if the connection can be safely removed | Call a plumber if the nipple is seized or the tank threads are damaged |
| T&P valve opens or drips under load | High static pressure or thermal expansion | Check home water pressure at a hose bib with a gauge | Not by itself | Call a plumber for pressure correction or expansion-tank setup |
| Leak appears after the heater cycles in a closed system | Expansion tank failure | Press the tank’s Schrader valve briefly; if no air or water comes out correctly, the tank may be failed | Sometimes replacement | Call a plumber if pressure still rises after the tank is checked |
| Water at the upper area of an electric unit | Heating element gasket | Look for seepage around the element cover and surrounding insulation | Yes, with the right part | Replace the gasket or element if it is the source |
| Wet tank shell with no fitting leak | Condensation | Dry the shell and observe whether moisture reappears evenly instead of at one joint | No repair needed | Address room humidity or cool incoming water before replacing parts |
| Rust, dampness, or seepage on the shell itself | Tank-shell seepage | Inspect the top seam and jacket for rust and fresh water | No | Replace the heater |
Why is my water heater leaking from the top?
Most top leaks trace to a fitting, the T&P valve, pressure problems, or a tank defect. A water heater can leak from the temperature and pressure relief valve, and top fittings can fail from corrosion, poor installation, or a worn joint. If the shell itself is wet, internal corrosion is the more serious possibility.
T&P relief valve seepage and high pressure
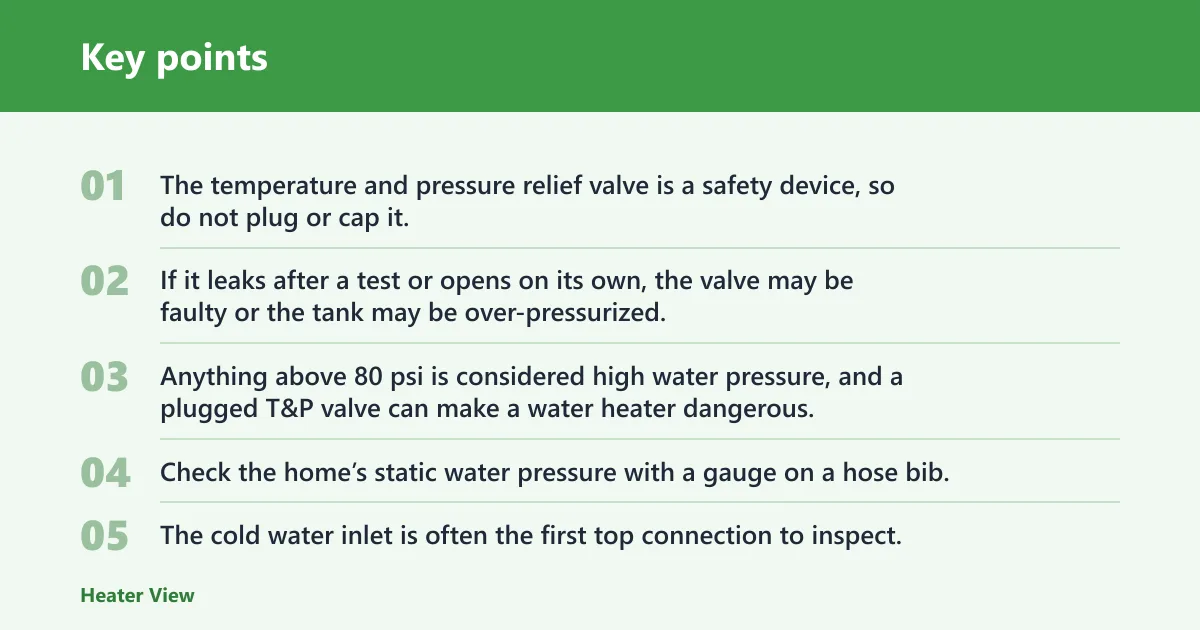
The temperature and pressure relief valve is a safety device, so do not plug or cap it. If it leaks after a test or opens on its own, the valve may be faulty or the tank may be over-pressurized. Anything above 80 psi is considered high water pressure, and a plugged T&P valve can make a water heater dangerous.
Check the home’s static water pressure with a gauge on a hose bib. Pressure-reducing valves should usually be set between 50 and 60 psi, and home water pressure should never exceed 80 PSI.
Loose inlet connections, worn nipples, and corroded joints
The cold water inlet is often the first top connection to inspect. A loose supply line, a corroded nipple, or a weak dielectric joint can drip at the top and run down the tank, which looks like a shell leak until the first wet point is found.
Say the top of the tank is dry after wiping, but moisture reappears right under the cold inlet after a minute. That points to the fitting, not the tank. Tightening may help, but rusted or pitted nipples often need replacement.
PRV issues, closed systems, and the need for an expansion tank
A pressure-reducing valve can keep pressure reasonable, but if the home has a PRV or check valve on the main line, heated water has nowhere to expand. An expansion tank is recommended in that setup, because pressure spikes can drive the T&P valve to seep or open.
Picture a heater that stays dry all day, then drips from the T&P discharge after a shower or laundry run. That pattern fits thermal expansion. The fix is often not the valve alone; it is pressure control plus an expansion tank.
Electric element gasket leaks that mimic a top leak path
On electric water heaters, the upper heating element gasket can leak and make water appear to come from the upper tank area. That can mimic a top-origin leak even though the tank seam is not at fault.
After power is off, remove the upper access cover only if the area is dry and safe to inspect. If moisture is centered on the element flange, the gasket or element assembly is the part to replace.
Tank corrosion and shell seepage
Rust on the tank and rusty hot water are warning signs of internal corrosion. If water is seeping from the shell or the top seam itself, repair is usually not realistic. At that point, replacement is the normal call.
H2Osolutions says standard tank lifespan is 8-12 years, so an older unit with shell seepage is usually past the point where parts make sense.
Can you fix it yourself?
Yes, but only when the leak is clearly from a replaceable part and the tank shell is dry. A loose fitting, a worn supply line, a bad drain valve, or a failed T&P valve can often be replaced. If the leak is pressure-driven, from the tank body, or keeps returning, stop and call a plumber.
-
Tighten the fitting.
If the leak is at the inlet connection, snug the nut or threaded joint enough to stop seepage without over-torquing. Recheck after a refill and a short heat cycle. -
Replace the faulty part.
Swap a leaking supply line, corroded nipple, drain valve, or T&P valve with an exact replacement. If the T&P valve leaks again after testing, replace it rather than trying to force it shut. -
Verify pressure control.
Read static pressure at a hose bib. If it is above 80 psi, or if the T&P still drips with normal pressure, call a plumber to check the PRV, the expansion tank, and the system setup.
If that did not stop the leak, move one level deeper: inspect the T&P valve discharge, then the expansion tank, then the tank shell. A leak that returns after a basic fix usually means the underlying pressure problem or tank defect is still there.
Common mistakes
- Replacing the tank before drying the top and finding the first wet point.
- Ignoring the drain valve, which can leak and travel upward along the jacket.
- Treating every T&P drip as a bad valve when pressure may be the real cause.
- Overlooking the PRV and expansion tank on closed systems.
- Assuming an electric heater cannot leak from an upper element gasket.
- Plugging or capping the T&P valve, which is unsafe.
A common first-timer mistake is replacing the T&P valve when the real issue is a house pressure reading above 80 psi. Another is blaming the tank because water shows up on top of the jacket, even though a loose nipple above the heater is the source.
How do I know if the leak is the fitting, T&P valve, or tank?
Dry the heater, then watch the first place that gets wet. A leak at a threaded joint or supply line points to the fitting; water from the valve body or discharge tube points to the T&P valve; wetness on the shell or top seam with no fitting leak points toward the tank itself.
Use a flashlight and paper towel on each point one at a time. The source is usually clearer after the unit has been dry long enough for new moisture to stand out.
Frequently asked questions
Can you fix a water heater leaking from the top?
Yes, if the leak comes from a fitting, valve, drain, or gasket. Tighten or replace the failed part, then recheck after the tank refills. If the top seam or tank shell is wet, the fix is usually replacement rather than repair.
Can a leaking water heater be fixed?
Sometimes. A leaking T&P valve, inlet connection, or drain valve is often repairable with the correct part. A tank that is rusting through or seeping from the shell is usually beyond repair and should be replaced.
Is a leaking water heater fixable?
Only when the source is external or replaceable. A loose nipple, bad gasket, or faulty valve can be corrected. Pressure problems also need correction, because the leak will often return until the PRV or expansion issue is handled.
When should I call a plumber for a water heater top leak?
Call a plumber if the leak comes from the tank body, if pressure is above 80 psi, if the T&P valve keeps opening, or if the leak returns after a basic fitting replacement. Corroded nipples and seized valves are also good reasons to stop DIY work.
Can high water pressure cause a water heater to leak from the top?
Yes. High static pressure can force the T&P valve to seep or open, especially in a closed system. Pressure above about 80 psi is generally high, and a PRV set between about 50 and 60 psi with a properly sized expansion tank is a common pressure-control setup.