How to Test a Water Heater Element with a Multimeter
To test a water heater element with a multimeter, shut off power, isolate one wire, and measure resistance: a good 4500-watt element reads about 12–13 ohms, while OL or no continuity means a bad element, and a near-zero reading can also indicate a failed shorted element. Skip the diagnosis step, and you may replace the wrong part, miss a grounded element, or keep chasing a no-hot-water problem. This guide shows how to tell whether the upper element, lower element, thermostat, or a grounded element is the likely fault before you probe.
Why the reading matters

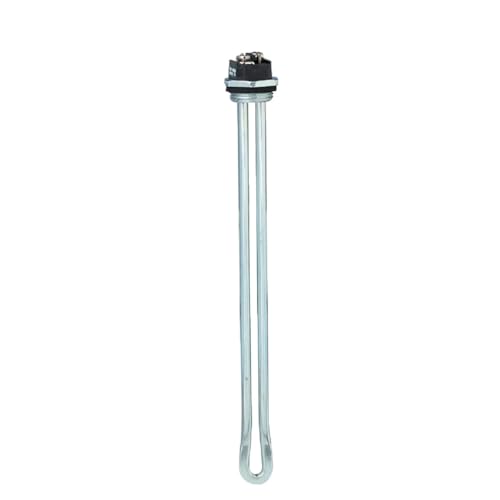

A resistance reading tells you whether the element’s coil is intact. It also separates element failure from thermostat trouble, which matters because the upper thermostat controls the upper element and the lower thermostat controls the lower element on most dual-element tanks.
Many residential electric heaters have one or two heating elements, and most residential electric water heaters have two elements. That means a symptom like “no hot water” can point to different parts depending on where the failure shows up.
Use this simple decision tree before you start testing: no hot water usually points first to the upper element or upper thermostat; hot water that runs out quickly usually points first to the lower element or lower thermostat; a good element reading with no heat flow shifts suspicion to the thermostat; and continuity from a terminal to the tank body points to a grounded element. Start with the symptom, then move to the exact next test instead of swapping parts at random.
What you’ll need
- Digital multimeter or analog meter that measures resistance
- Non-contact voltage tester
- Insulated screwdriver
- Needle-nose pliers
- Flashlight
- Electrical tape or a way to keep the removed wire clear of the terminal
- Gloves and eye protection
Shut off the double-pole water heater breaker, confirm the heater has no AC voltage, remove the access cover and insulation, disconnect one wire from the element, and read resistance across the two terminal screws. A healthy element shows a wattage-based ohms reading; OL, infinity, or a dead-short reading points to trouble. (Wikihow)
-
Turn off power.
Switch off the water heater circuit breaker, usually labeled water heater or hot water heater. Verify no AC voltage is present at the heater terminals before you touch any conductor. The breaker shutoff should leave the heater de-energized before you remove any cover or conductor. -
Open the access area.
Remove the metal access panel, then pull back the insulation and lift out the plastic safety guard if present. The heater’s metal access panel hides the element terminals, so do not force the meter probes through insulation. -
Isolate one wire.
Remove one wire from the element terminal screw. Leave the second wire in place if needed, but do not test with both wires attached because parallel paths can hide the true reading. -
Set the meter low.
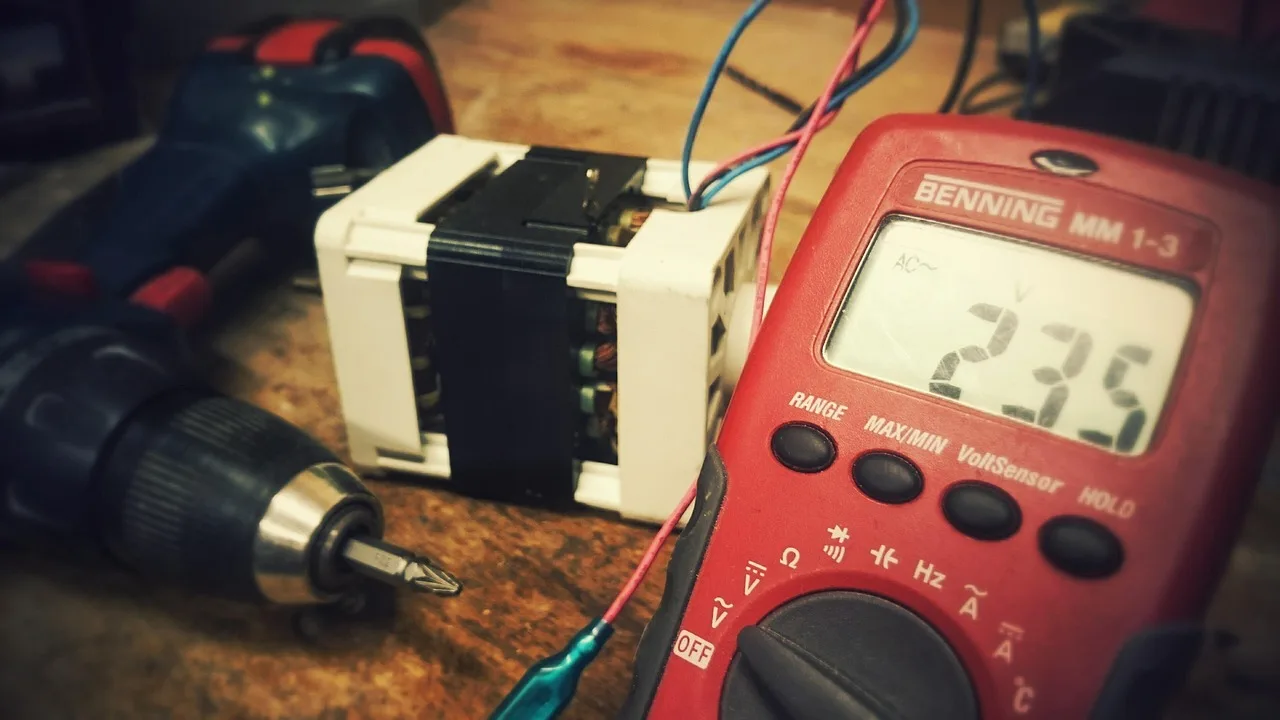
Turn the multimeter to resistance (ohms) mode. Touch the test leads together first; they should read near 0.0 ohms, which confirms the meter and leads are working. -
Probe the terminals.
Place one probe on each element terminal screw. Read the display after it settles. A normal reading is a specific resistance value, not a continuity beep. -
Check for a ground fault.
Move one probe to a terminal screw and the other to the tank body or bare metal shell. A grounded element should not show continuity to the tank body; terminal-to-tank continuity means the element is leaking to ground.
Say your heater has a 4500W element and the meter shows 12.8 ohms across the terminals, but the tank body also shows continuity from one terminal. That is not a healthy element. The coil may still read near normal while the sheath is grounded.
Element resistance table
Use the wattage stamped on the element and convert it to expected resistance at 240V. The calculation is R = V² ÷ W, so the wattage stamp matters more than a generic “good range.”
| Element wattage at 240V | Expected resistance | What to do next |
|---|---|---|
| 3500W | 16.5 ohms | Readings near 16 ohms are usually normal; OL means open element, and a ground test still matters. |
| 4500W | 12.8 ohms | This is the common healthy value many meters will show around 12–13 ohms; then check for ground to the tank. |
| 5500W | 10.5 ohms | Readings near 10–11 ohms fit a healthy element; OL or a very low near-zero reading points to replacement. |
A quick pass/fail check helps once you have the reading. Use the table to match the reading pattern to the fault and the next test. This gives you proof before you replace anything.
How do you tell an element problem from a thermostat problem?
Start with the symptom and the element location. No hot water often points to the upper element or upper thermostat, while hot water that runs out quickly often points to the lower element or lower thermostat. If the element tests good but power is not reaching it, the thermostat moves to the top of the list.
The quickest way to narrow the fault is to match the symptom to the part that should be switching power next. Then use the meter to confirm whether the part is open, closed, or passing voltage where it should not. That avoids swapping the wrong part when the real issue is control, not heat.
Upper element versus lower element
On a dual-element tank, the upper thermostat usually feeds the upper element first. If that upper element fails open, the heater may give no hot water at all. If the lower element fails, the tank can make some hot water and then run out quickly because the stored volume is not fully reheated.
Picture a 50-gallon heater that gives a short burst of hot water, then turns lukewarm after a few minutes. That pattern points lower in the tank more often than it points to the upper element.
When the thermostat is the likely fault
If both elements test within expected ohms and the ground check is clean, the thermostat becomes the next suspect. A failed upper thermostat can stop power from reaching the upper element, and some units include a reset button that trips on overheating.
Suppose the upper element reads about 12.8 ohms, the lower element reads about 12.8 ohms, and there is no voltage at the upper element with power restored and a call for heat. The thermostat or its wiring is more likely than the element.
How to test a water heater thermostat with a multimeter
With power off, a thermostat test looks for continuity through the control path and for obvious damage at the terminals. If the elements and ground test good, but the heater still will not send power where it should, the upper thermostat or lower thermostat is the next part to check.
-
Verify power is off.
Check the breaker again and confirm zero AC voltage at the heater terminals before touching the thermostat terminals. The breaker shutoff should be confirmed before any live or resistance testing. -
Inspect the reset.
Look for a red reset button on the upper thermostat, if present. A tripped reset can stop heating until it is addressed, but repeated trips point to a deeper fault. -
Check thermostat continuity.
Set the meter to ohms and test the thermostat terminals according to the label and wiring layout on the unit. With the thermostat calling for heat, the common-to-output path should show continuity; when the thermostat is not calling for heat, that path should read open. A thermostat that should be closed but reads open is suspect. -
Check voltage flow.
Restore power only for a live-voltage check if you can do it safely, then set the meter to AC volts and confirm whether the thermostat sends power onward when there is a call for heat. On the incoming side, you should see supply voltage; on the outgoing side to the element, you should see voltage only when the thermostat is calling for heat. The thermostat/live-voltage procedure is a check for outgoing voltage, not a reason to work inside a live cabinet.
For thermostat diagnosis, the key question is whether the control is passing power when it should. If the thermostat is closed but no voltage appears at the element side during a call for heat, the control path is suspect. If voltage is present but the heater still does not warm, the element or its connection is more likely.
Common mistakes
- Leaving both element wires attached. That can give a false reading through other circuits.
- Skipping the ground test. A grounded element can still show a believable resistance across the terminals.
- Testing with power still on. Water heater circuits run at 240V, so verify the breaker is off and check for voltage before opening conductors.
- Reading the meter without confirming the leads. Touch the probes together first; if they do not read near 0.0 ohms, the meter setup is suspect.
- Replacing the element before checking the thermostat. If the thermostat is not sending power, the new element will not fix the symptom.
- Powering the heater before the tank is full after replacement. Dry-firing can ruin a new element in minutes.
Common first-timer mistake: a homeowner sees OL across the terminals and orders a part before removing one wire. If the heater still has both leads attached, the reading may be misleading.
Frequently asked questions
How to test a water heater element with a voltmeter
Use the voltmeter function to check for AC voltage at the element terminals only when you are set up for a live test. A healthy control circuit should show supply voltage where the thermostat sends power; no voltage points toward the thermostat, while voltage with no heat points toward the element.
How do you test a heating element with a multimeter?
Set the meter to the lowest ohms range, disconnect one wire, and place one probe on each terminal screw. Then test one terminal to the metal tank body. A good element shows a wattage-based resistance across the terminals and no continuity to the tank.