How to Check a Water Heater Thermocouple
To check a water heater thermocouple, light the pilot and hold the gas control knob for about 30 to 60 seconds, then let go. If the pilot stays lit, the thermocouple and gas valve are often working. If it goes out, check the pilot flame, thermocouple position, and valve. Skipping that order can lead you to buy the wrong part and still have no hot water. This guide gives a pass/fail order that separates a bad thermocouple from a dirty pilot, weak flame, or failing gas control valve.
What you’ll need


- Multimeter with a millivolt range
- Basic hand tools, usually a screwdriver and adjustable wrench
- Owner’s manual or the water heater model number
- Replacement part details to verify length and connector type
- Leak-detection solution or a soap-and-water mix for disturbed gas joints
- Flashlight
Thermocouple decision table
Use the table as a first pass. A low reading matters only if the pilot flame, probe position, and gas valve connection are also in the picture.
| Symptom | Multimeter reading | Likely cause | Next action |
|---|---|---|---|
| Pilot goes out as soon as the button is released | No stable millivolt output at the valve connection | Thermocouple is not sensing flame, or the connection is poor | Check flame size and probe position, then retest |
| Pilot stays lit only while the button is held | 25 millivolts or lower | Thermocouple is unable to keep a pilot lit | Replace the thermocouple after confirming the pilot flame is clean and blue |
| Pilot flame is weak, small, or lazy | Reading may be normal or low | Dirty pilot orifice or weak flame, not just the thermocouple | Inspect and clean the pilot assembly before replacing parts |
| Clicking is heard near the gas valve, and the pilot still drops out | Inconclusive | Thermocouple and gas valve may both be bad | Do not buy only one part yet, confirm the pilot flame and test again |
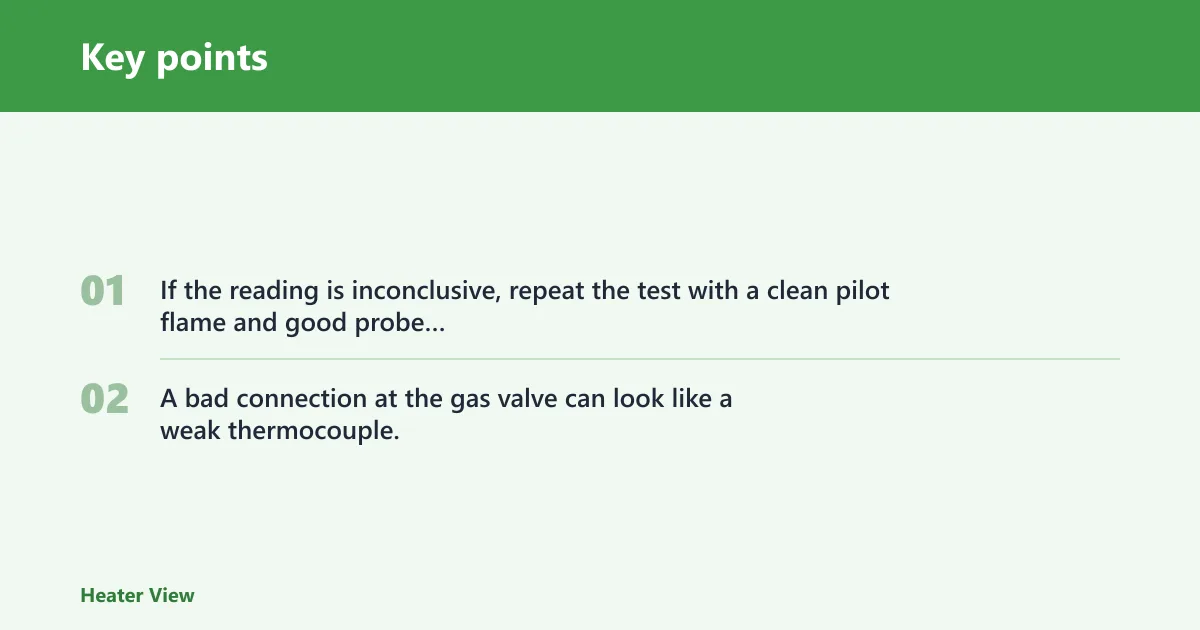
If the reading is inconclusive, repeat the test with a clean pilot flame and good probe contact. A bad connection at the gas valve can look like a weak thermocouple.
How do you test the thermocouple with a multimeter?
Shut off gas, relight the pilot, then measure millivolts across the thermocouple leads at the gas valve connection. A steady reading during the pilot hold period points to a working thermocouple. A low or unstable reading points to failure, or to a bad connection at the valve.
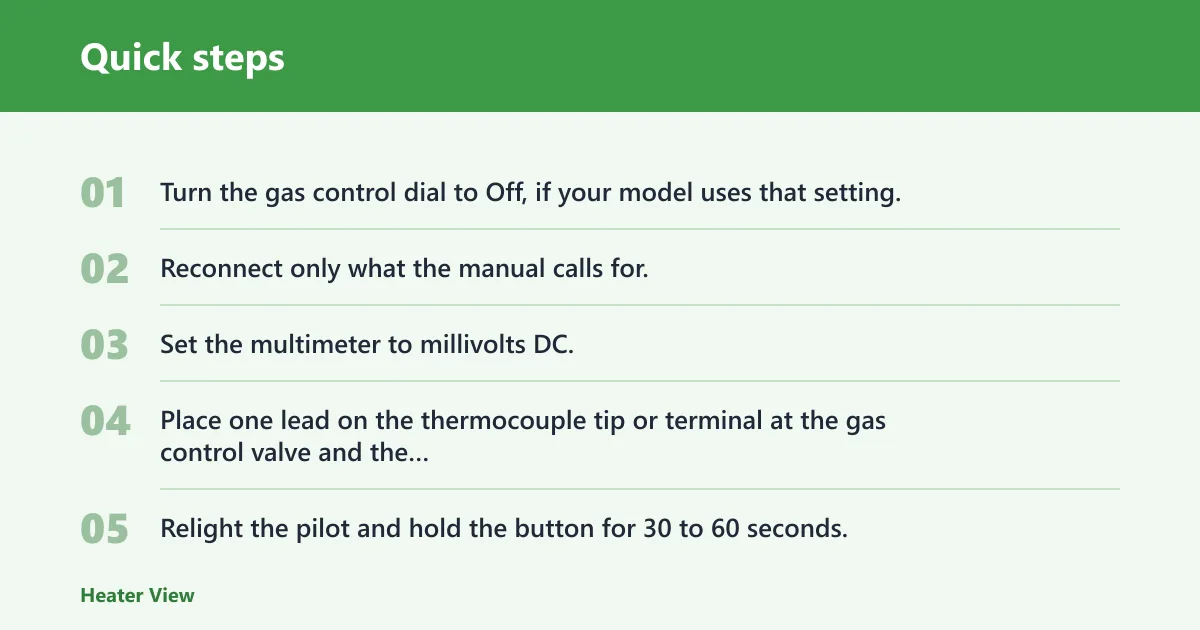
- Turn the gas control dial to Off, if your model uses that setting, then wait for the pilot to fade out within about 20 seconds.
- Reconnect only what the manual calls for, then leak-check every disturbed gas connection before relighting.
- Set the multimeter to millivolts DC.
- Place one lead on the thermocouple tip or terminal at the gas control valve and the other lead on the thermocouple body or the matching terminal, following your model’s layout.
- Relight the pilot and hold the button for 30 to 60 seconds.
- Watch the meter while the pilot is held on.
- Release the button and note whether the pilot stays lit.
As a working rule, a thermocouple reading at 25 millivolts or lower is considered unable to keep a pilot lit. That does not prove the valve is good, only that the thermocouple output is too weak for reliable operation. (Wikihow)
Say your meter shows 18 millivolts while the pilot flame is small and yellow. That points first to flame quality and probe heating, not a new thermocouple by itself. If the flame is blue and wrapped around the probe, the thermocouple moves higher on the list.
How do you test a thermocouple at the valve connection?
Use the open-circuit style check at the gas valve connection, with the meter leads touching the thermocouple terminals while the pilot is held lit. That is the practical test for a homeowner, because it shows whether the thermocouple can make enough millivolts to hold the safety magnet open.
If the meter reading is healthy but the pilot still drops out, move the suspicion toward the gas control valve or a poor terminal connection. Clicking near the gas valve can mean both parts may be bad, but it is not proof by itself.
How do you check if a water heater thermocouple is bad?
A thermocouple is a gas safety device that senses pilot flame and helps keep the gas valve open. If the pilot will not stay lit after the button is held for the maker’s specified time, the thermocouple is a leading suspect, but the pilot flame and valve still need to be checked first.
Start with the pilot, because a dirty pilot orifice or weak flame can mimic a bad thermocouple. The probe must sit in the flame path, not just near it, and the flame should wrap the sensing tip.
- Inspect the pilot flame through the access opening.
- Look for a strong blue flame that reaches the thermocouple tip.
- Clean the pilot orifice only if it is visibly dirty and your manual allows service there.
- Relight the pilot and repeat the 30 to 60 second hold.
- If the pilot still goes out on release, replace the thermocouple or continue to the gas valve check.
Suppose the pilot stays lit for 30 seconds and then dies the moment the knob is released. That pattern fits a failing thermocouple more than a burner problem, especially if the flame is already clean and steady.
How do you tell the difference between a thermocouple and thermopile?
A thermocouple and a thermopile are related but not identical. Many water heaters use a thermocouple, while some millivolt systems use a thermopile. If the wrong part is ordered, the connector, output, or length may not match the appliance.
Check the rating plate, owner’s manual, or the replacement listing for the model family. A 21-inch thermopile replacement is a different item from an 18-inch thermocouple, even if the connectors look similar.
Water heater thermocouple checklist
- Match the replacement length to the appliance, with 18-inch, 21-inch, 22.5-inch, 22-inch pilot assembly parts, and 24-inch options all appearing in listings for different models
- Match the connector type at the gas control valve
- Confirm whether the unit uses a thermocouple or a thermopile
- Verify the appliance family and burner design, especially on sealed or FVIR-type units
- Check the manufacturer’s listing for your model before buying
A 24-inch replacement thermocouple is listed for 30 millivolt systems, and some assemblies ship with adapter fittings for flexible installation. Similar-looking parts may still differ in fit, so model matching matters.
How do you replace the thermocouple safely?
Replace the thermocouple only after the pilot flame and meter check point away from pilot-only trouble. Match the part length and connector type, then leak-check every gas joint you disturb before relighting. If the appliance uses a pilot assembly with an ignitor, pilot tube, and gas valve connection, keep the parts in the right order.
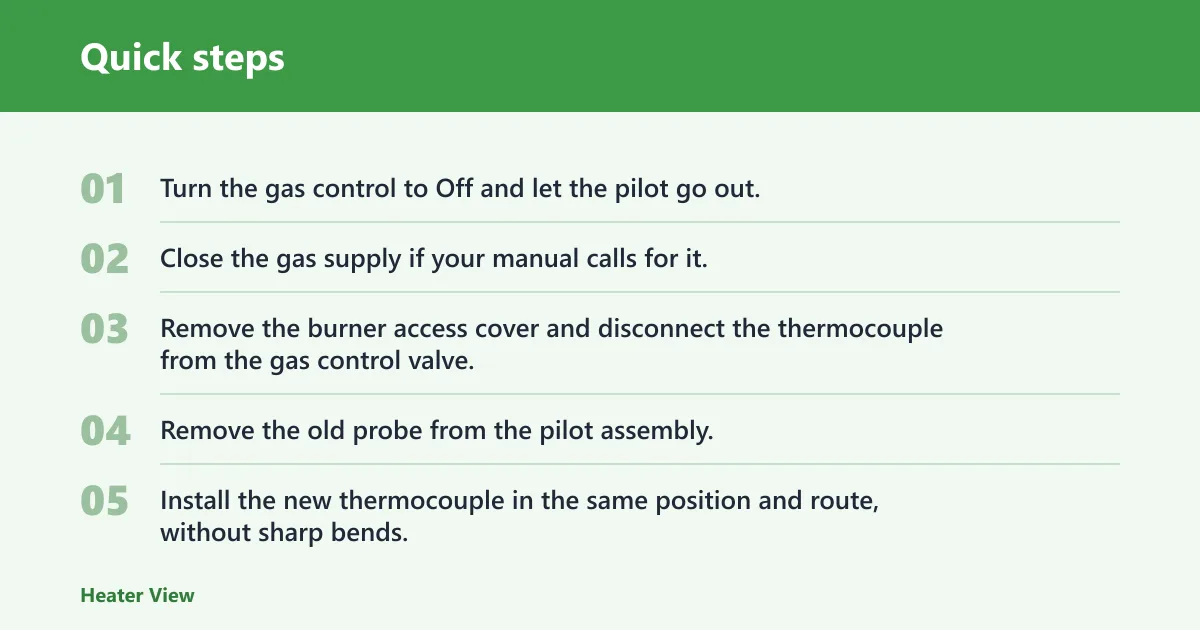
- Turn the gas control to Off and let the pilot go out.
- Close the gas supply if your manual calls for it.
- Remove the burner access cover and disconnect the thermocouple from the gas control valve.
- Remove the old probe from the pilot assembly.
- Install the new thermocouple in the same position and route, without sharp bends.
- Reconnect the valve fitting and leak-check every disturbed connection before relighting.
- Relight the pilot and hold the button for 30 to 60 seconds.
- Confirm that the pilot stays lit after release.
Do not assume a universal part will fit every burner design. A replacement pilot assembly may include a 22-inch gas pilot tube, a 22-1/2-inch thermocouple, and a 21-1/2-inch ignitor, while another model may need a different layout entirely.
Do I need to replace the whole pilot assembly or just the thermocouple?
Replace only the thermocouple when the pilot flame is clean, the probe position is correct, and the meter reading is low. Replace the full pilot assembly when the pilot tube, ignitor, or probe mount is damaged, or when the assembly listing is the only fit available for your model family.
A listed pilot assembly for some Reliance, A.O. Smith, Kenmore, State GS, and GSX natural gas water heaters includes the pilot tube, thermocouple, and ignitor as a matched set. That is often the safer choice when the whole pilot stack is worn.
Common mistakes
- Buying an 18-inch part when the heater needs a 22.5-inch or 24-inch replacement
- Buying a thermopile for a thermocouple system, or the reverse
- Skipping the leak check after disturbing a gas connection
- Cleaning the thermocouple probe when the real issue is a clogged pilot orifice
- Replacing parts before confirming the pilot flame reaches the sensing tip
Cleaning the probe can help only when carbon or oxidation is light and the pilot flame is already reasonable. If the flame is weak or the meter reading stays low after cleaning, replacement is the better call.
Prevention is simple: keep the pilot area clean, watch for a drifting flame, and verify the correct replacement part before the old one is removed.
Frequently asked questions
What millivolt reading means a thermocouple is failing?
If the flame is strong and the probe is positioned correctly, that reading supports replacement. If the flame is weak or dirty, fix the pilot side first and retest before buying parts.
Can I clean a thermocouple instead of replacing it?
Yes, but only when the sensing tip has light carbon or oxidation and the pilot flame is otherwise healthy. Wipe the probe gently after shutdown, then relight and retest. If the reading stays low or the pilot still drops out, replacement is the better move.
Why does the pilot light go out when I release the button?
That usually means the thermocouple is not generating enough millivolts to hold the gas valve open. It can also happen if the pilot flame is weak or the valve connection is poor. Test the flame, hold time, and meter reading before buying a new part.
What tools do I need to test a water heater thermocouple?
You need a multimeter with a millivolt range, basic hand tools, and the model number or manual. Leak-detection solution is useful if any gas fitting is moved. A flashlight helps you verify the pilot flame and thermocouple position inside the burner compartment.
When should I call a plumber instead of replacing the thermocouple myself?
Call a plumber if the gas smell is present, the pilot assembly looks damaged, the valve area is clicking or acting erratically, or the model uses a sealed burner design that is not clearly serviceable. Also call if the replacement part must match a complex assembly and the manual is unclear.
How do I change thermocouple in water heater?
Turn off gas, remove the old probe, install the new one in the same route and position, then leak-check every disturbed gas connection before relighting. After that, hold the pilot button for 30 to 60 seconds and confirm the flame stays lit. If it does not, retest the pilot side and valve.