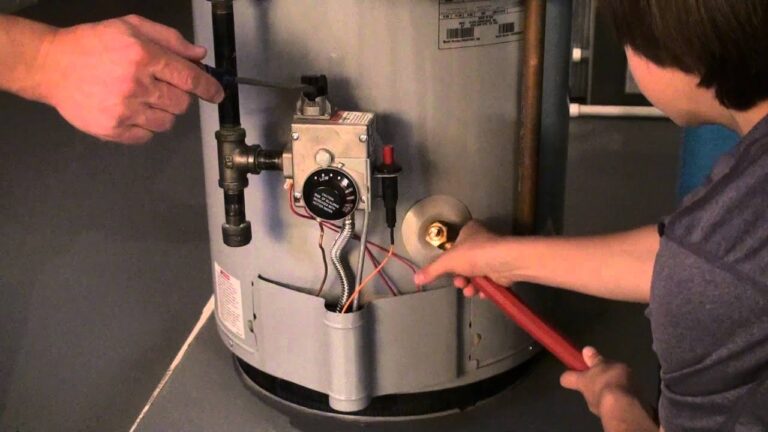
How to Maintain a Water Heater in a Garage
Check a garage water heater monthly, flush sediment once a year, test the T&P valve yearly, and keep at least 6 inches of clearance around the unit; in unheated garages, add freeze protection before winter. Skip these steps and you raise the odds of corrosion, leaks, and tank failure. This guide covers garage-specific care, clearance, dust control, and a simple seasonal routine for heated and unheated spaces.
Garage water heater basics


Start by identifying the unit type before you touch anything. Storage-tank heaters need sediment flushing, anode checks, and T&P valve testing; tankless units need inlet-screen cleaning, descaling, and attention to condensate or venting. Gas models add combustion-air and vent checks, while electric models shift the focus to the elements, wiring, and the breaker.
Garage placement changes the maintenance load because the unit sits closer to cold air, dust, and impact risk. An unheated garage can expose water lines to freezing, slow heat recovery, and repeated pilot outage on gas equipment. A tankless heater in the same space faces a different problem: inlet screens and heat exchangers can plug with dust, scale, or debris faster than in a conditioned utility room.
Keep in mind that the water heater tank has a finite life. Sediment settles at the bottom of storage tanks, reducing heat transfer and sometimes causing popping sounds or hotter lower sections. The T&P valve needs free access and a safe discharge route. The anode rod sacrifices itself to corrosion, so once it is badly depleted, the tank lining takes the hit.
What should you check each season?
Each season, inspect for active leaks, rust on exposed metal, blocked access points, dust buildup around openings, and damaged insulation on nearby piping. That short list catches the garage-specific problems that ordinary indoor checklists miss. You should also confirm that the drain valve, T&P discharge pipe, and service clearances remain reachable after storage, remodeling, or vehicle parking changes.
Look closely at the floor around the unit. A damp ring under the tank, green corrosion on fittings, or mineral crust near a valve can point to a slow leak. In a garage, a small leak may stay hidden longer because floor drains, mats, and stored items can mask the first signs.
Dust matters more than many owners expect. Keep lint, cardboard, paint dust, and lawn debris away from the burner area, control compartment, intake openings, and tank base. For gas units, restricted combustion air can cause poor ignition or repeated shutdowns. For electric units, dust mostly creates access problems and can hide corrosion.
Check pipe insulation on the first cold week of the season. Foam sleeve or wrap insulation on exposed hot and cold lines reduces heat loss and gives some freeze resistance. It does not replace a warm garage, but it can buy time during a short cold snap.
Picture a detached, unheated garage with a 50-gallon tank set at 120°F. After the first hard freeze, the owner finds frost on the cold inlet line and a damp stain under the T&P discharge pipe. That combination calls for immediate leak checks, insulation review, and a freeze-risk inspection of nearby plumbing.
Seasonal checks that matter most
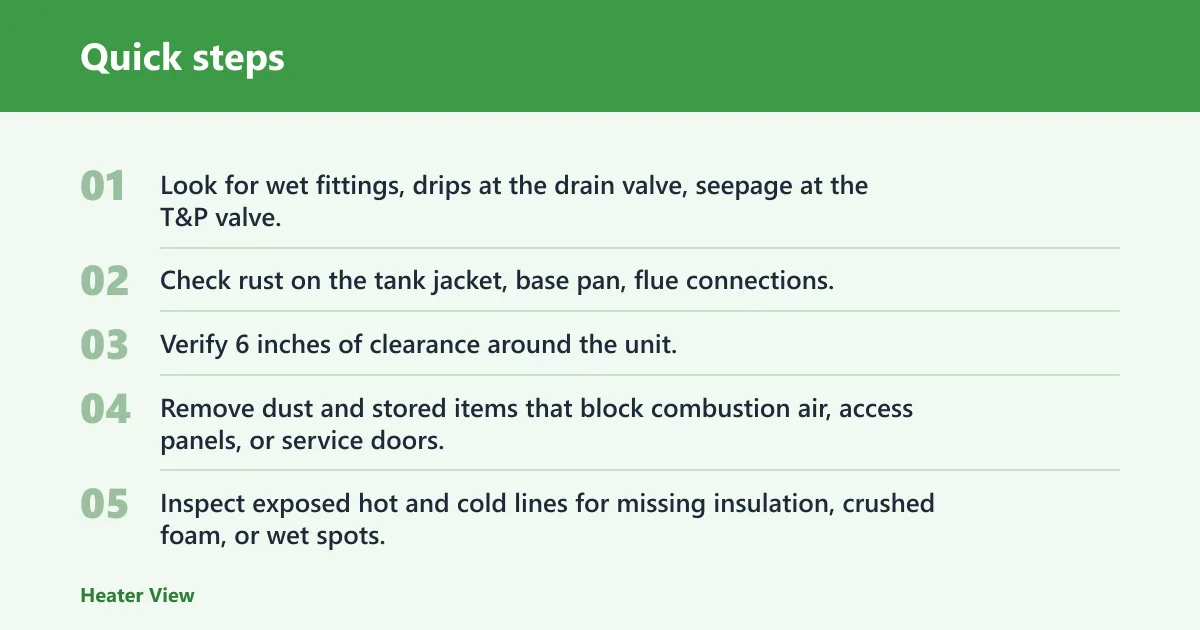
- Look for wet fittings, drips at the drain valve, seepage at the T&P valve, loose inlet unions, and expansion tank fittings if present.
- Check rust on the tank jacket, base pan, flue connections, and any exposed bolts or brackets.
- Verify 6 inches of clearance around the unit, with more space where the manufacturer requires it.
- Remove dust and stored items that block combustion air, access panels, or service doors.
- Inspect exposed hot and cold lines for missing insulation, crushed foam, or wet spots.
- After a cold snap, confirm that the unit still fires, heats normally, and shows no freeze damage.
How do you protect it from cold?
Set the water heater to a normal operating temperature, usually 120°F for many homes, unless the manufacturer or local code says otherwise. A higher setting does not solve a cold garage problem, and it can raise scald risk. Freeze protection comes from insulating vulnerable lines, sealing drafts where practical, and keeping the garage as warm as the building design allows.
Insulate exposed hot and cold pipes with foam sleeves or approved wrap. Pay special attention to the first several feet of piping near the heater, where heat loss is greatest and freeze damage tends to begin. In an unheated garage, insulation should cover elbows, valves, and fittings where practical, while still leaving service points reachable.
For an unheated garage, place the heater where moving air from doors, vents, or cracks is least likely to sweep across the tank and lines. If the garage layout leaves the water lines exposed to repeated freezing, the better fix may be rerouting the piping or adding heat to the space, not piling on more insulation.
After a partial freeze, do not open hot water fixtures at full flow and do not force a frozen valve. Shut off water to the heater, check for cracked lines or split fittings, and let the ice thaw slowly. Once thawed, inspect for leaks before restoring service, because split copper, PEX, or threaded joints can fail after the pressure returns.
Say your attached garage stays just above freezing most nights, but a single cold snap drops the temperature below 32°F for six hours. If the hot line and cold inlet are insulated, the heater may avoid damage, yet a metal hose bib or exposed drain valve can still split. That is why the coldest weak point matters more than the average garage temperature.
Cold protection by garage type
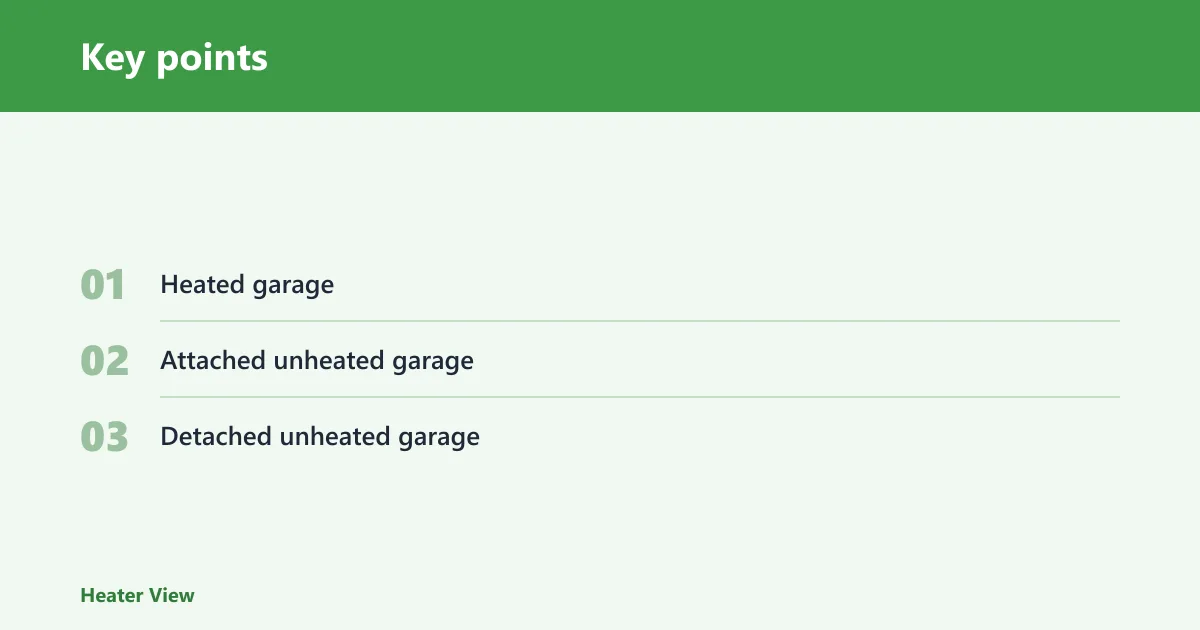
- Heated garage: focus on pipe insulation, airflow, and clearance. Freeze risk is lower, but dust and vehicle impact still matter.
- Attached unheated garage: watch for night-to-night swings, door drafts, and line insulation gaps. This setup needs the most regular cold-weather checks.
- Detached unheated garage: treat the heater and all exposed plumbing as freeze-prone equipment. Add winter checks before each long cold stretch.
Garage maintenance matrix
This matrix ties garage type to heater type so you can match the job to the risk. Heated garages are mainly about dust, clearance, and access. Unheated garages add freeze protection and more frequent winter checks. Storage tanks need drain, sediment, anode, and T&P attention; tankless units need inlet, scale, and vent or condensate checks.
| Garage type | Heater type | Main risk | Tasks to prioritize | Inspection frequency |
|---|---|---|---|---|
| Heated garage | Gas storage tank | Dust, clearance, minor corrosion | Wipe dust, check leaks, inspect drain valve, test T&P valve, confirm vent clearance | Monthly visual check; annual service |
| Heated garage | Electric storage tank | Access, corrosion, sediment | Check wiring cover, drain valve, rust at base, flush sediment, inspect anode rod | Monthly visual check; annual service |
| Heated garage | Tankless | Scale, screen clogging, dust | Clean inlet screens, check condensate drain if present, inspect venting, descale as needed | Quarterly visual check; annual service |
| Attached unheated garage | Gas storage tank | Freeze risk, pilot issues, dust | Insulate lines, check pilot or ignition, inspect T&P discharge, keep floor clear | Monthly in winter; annual service |
| Attached unheated garage | Electric storage tank | Freeze risk, sediment, corrosion | Insulate lines, flush tank, inspect anode rod, check for leaks after cold snaps | Monthly in winter; annual service |
| Attached unheated garage | Tankless | Freeze risk, scale, airflow limits | Insulate piping, confirm freeze-protection feature, clean filters, inspect vent and condensate route | Monthly in winter; annual service |
| Detached unheated garage | Gas storage tank | Highest freeze and outage risk | Insulate all exposed lines, check for pilot outage, test T&P valve, inspect for freeze cracks | Monthly year-round; pre-winter check |
| Detached unheated garage | Electric storage tank | Freeze and leak damage | Insulate lines, flush sediment, inspect drain valve and base pan, verify no standing water | Monthly year-round; pre-winter check |
| Detached unheated garage | Tankless | Freeze, scale, limited recovery | Check manufacturer freeze settings, clear intake and exhaust, inspect screens, confirm condensate drain | Monthly year-round; pre-winter check |
How do you flush and inspect the tank?
For a storage-tank heater, flushing removes sediment that settles at the bottom and reduces efficiency. A clear-water finish tells you the worst of the debris is out. Before you start, turn off power to electric units or set gas controls to standby, and close the cold water supply. Let hot water cool to reduce scald risk.
The drain valve should accept a compatible hose connection, open smoothly, and close without drips or corrosion. If the valve is stiff, packed with scale, or leaking after the flush, it may need service or replacement. A hose routed to a safe drain or outdoor discharge point keeps the floor dry and helps you avoid flooding the garage.
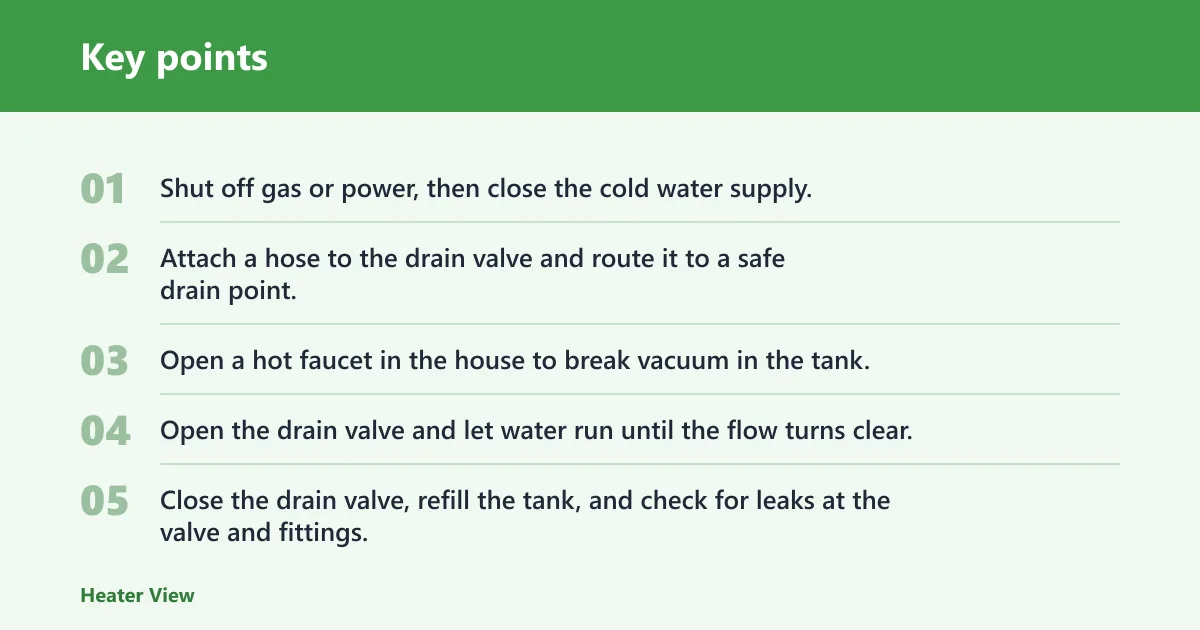
- Shut off gas or power, then close the cold water supply.
- Attach a hose to the drain valve and route it to a safe drain point.
- Open a hot faucet in the house to break vacuum in the tank.
- Open the drain valve and let water run until the flow turns clear.
- Close the drain valve, refill the tank, and check for leaks at the valve and fittings.
How often you flush depends on water hardness and use. In hard-water areas, annual flushing is a common starting point. In softer water, a longer interval may be fine. If the tank makes rumbling or popping noises, sediment is already collecting and the interval should shorten.
The anode rod is often checked during a longer service interval, commonly every 2 to 3 years for many tanks, and sooner in hard water or other aggressive water conditions. Common materials include magnesium, aluminum, and aluminum-zinc blends. Replace the rod when it is heavily worn, coated, or reduced to a thin core that no longer offers protection.
The T&P valve needs a yearly test. Lift the test lever briefly, then let it snap back closed. Water should discharge through the valve and drain line, then stop fully. If the valve sticks, drips, or does not reseat, replace it. The discharge pipe should terminate where hot water can drain safely, not into a sealed space or where it can burn someone.
Flushing and safety checks
- Use caution with hot water and steam at the drain outlet.
- Do not stand in front of the drain opening during the test.
- Check the drain valve for leaks, corrosion, and smooth operation.
- Make sure the T&P discharge line points to a visible, code-compliant drain path.
- Replace the anode rod if most of the sacrificial metal is gone.
What changes for gas and tankless units?
Gas units need clean combustion air, clear venting, and a stable ignition system. In a garage, dust and stored items can block air openings or interfere with the burner compartment. If the pilot goes out repeatedly, the thermocouple, gas supply, vent draft, or gas control may need professional attention rather than another relight.
Tankless units need a different maintenance rhythm. Clean the inlet screens, check for scale buildup in the heat exchanger, and confirm that condensate drains if the model produces condensate. Garage dust can plug filters faster, and hard water can reduce flow or trigger error codes earlier than it would on a storage tank.
For electric units, the focus is less on combustion and more on access, corrosion, and freeze damage. Check the element covers, wiring compartment, and base for rust or moisture. If the breaker trips, the tank will not recover heat until the electrical fault is found and corrected.
Maintenance for a gas water heater also includes vent checks. Rust, loose sections, backdraft stains, or scorch marks around the draft hood or vent connector are not normal. Those signs call for inspection, because venting faults can put exhaust gases where they do not belong.
When should you call a pro?
Call a professional if you see persistent leaks, heavy rust, a cracked tank, or repeated T&P valve discharge. Those are failure signs, not routine maintenance items. The same applies to venting problems, repeated pilot outage, combustion odor, or evidence of carbon monoxide risk.
Freeze damage is another line you should not cross alone. If a pipe split, the tank shell bulged, or the heater lost pressure after a cold event, shut the unit down and get help. A tankless unit with repeated freeze errors, scale-related lockouts, or condensate problems also belongs in the service queue.
Hot water heater maintenance in a garage is mostly about staying ahead of small problems. Once rust reaches the tank wall, a valve will not hold pressure, or the venting looks wrong, the safest move is repair or replacement rather than more routine checks.
Frequently asked questions
How often should I service a water heater in a garage?
Do a monthly visual check, then plan annual drain-and-valve service for storage tanks. Tankless units usually need annual service too, with descaling sooner if hard water is common. In detached or unheated garages, inspect more often during winter and after cold snaps.
How do I protect a water heater in a cold garage?
Insulate exposed hot and cold lines, keep the garage as warm as the building allows, and verify that the heater and nearby plumbing are not exposed to drafts or standing water. In unheated spaces, pre-winter inspection matters more than midwinter guesswork.
What should I check on a garage water heater every season?
Check for leaks, rust, loose fittings, dust buildup, blocked combustion air, and damaged pipe insulation. Confirm that the drain valve and T&P discharge line stay accessible. If the garage layout changed, make sure stored items or vehicles are not crowding the unit.
How do I keep a water heater from rusting in a garage?
Keep the area dry, fix small leaks fast, and inspect the base, jacket, drain valve, and fittings for early corrosion. Replace a worn anode rod on schedule. A leak pan with a proper drain can help contain small failures and protect the floor.
How do I insulate a water heater in an unheated garage?
Use foam sleeves or approved wrap on exposed pipes, especially the first stretch near the heater. Leave controls, valves, and service access open. Do not cover draft hoods, combustion openings, or labels. If the model has a jacket kit, follow the manufacturer’s clearance rules.