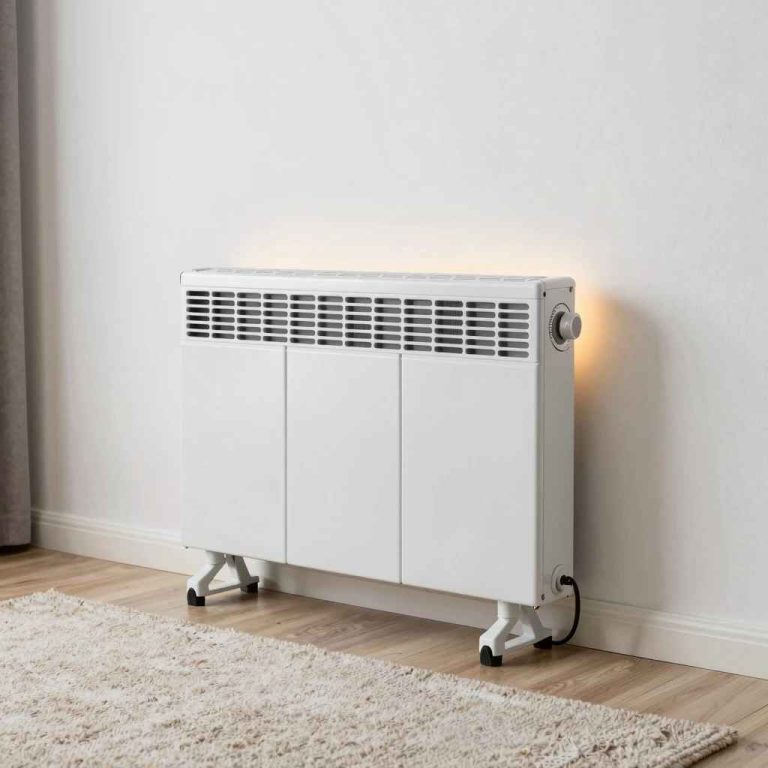
How Does Closing Ceiling Heater Gaps Stop Drafts?
To close a gap on ceiling heaters, you typically need to address potential air leaks around the heater unit or its surrounding mounting. This often involves using appropriate sealing materials like caulk, foam sealant, or weatherstripping, ensuring the unit remains properly ventilated and safe, and understanding the specific type of ceiling heater you have.
Is a chilly draft finding its way into your room, seemingly from nowhere, but you suspect your ceiling heater is the culprit? You’re not alone! It’s a common frustration for many homeowners. That small-yet-noticeable gap around your ceiling heater can let in cold air, making your space uncomfortable and your heating system work harder than it needs to. But don’t worry, fixing this doesn’t require a degree in engineering. It’s a straightforward home maintenance task that can make a big difference to your comfort and energy bills. We’ll walk you through how to tackle these gaps step-by-step, ensuring your home stays warm and cozy.
Understanding Your Ceiling Heater and the Gap
Before we grab our tools, it’s important to understand what kind of ceiling heater you have and why a gap might appear. Most commonly, people encounter gaps around recessed ceiling heaters (like those found in bathrooms or basements) or convector units mounted on the ceiling. These gaps can form over time due to the natural expansion and contraction of building materials with temperature changes, house settling, or even during initial installation if not perfectly sealed.
The key is to identify where the gap is forming. Is it between the heater’s housing and the ceiling material (like drywall or plaster)? Or is it around the electrical connection point? Knowing this will help you choose the right method and materials to seal it effectively.
Types of Ceiling Heaters
Most gaps occur with these common types:
- Recessed Heaters: These are installed within the ceiling cavity, with only their grille or cover visible. Gaps here are usually around the edges of the housing where it meets the ceiling.
- Surface-Mounted Convectors: These units attach directly to the surface of the ceiling. Gaps might be around the mounting brackets or where the unit meets the ceiling.
- Electric Radiant Panels: Similar to convector units, these are mounted on the ceiling, and gaps can form around their edges.
It’s crucial to remember that while sealing gaps is about efficiency, you must NEVER block ventilation required by the heater. Overheating can be a serious safety hazard. Always consult your heater’s manual for specific ventilation requirements.

Why Closing Gaps Matters: More Than Just Comfort
You might be wondering if a small gap is really worth the effort. The answer is a resounding yes! Addressing these gaps offers several benefits:
- Improved Comfort: The most immediate benefit is banishing those chilly drafts. A well-sealed room feels more uniformly warm and inviting.
- Energy Efficiency: When warm air escapes through gaps, your heater has to work overtime to maintain the desired temperature. Sealing them means less heat loss, reducing your energy consumption and lowering your utility bills. The U.S. Department of Energy provides excellent resources on home energy efficiency tips.
- Reduced Dust and Pests: Gaps can also be entry points for dust, allergens, and even small insects. Sealing them helps keep your indoor air cleaner.
- Preventing Moisture Issues: In some cases, gaps can allow humid air to enter wall or ceiling cavities, potentially leading to mold or mildew problems over time.
Essential Tools and Materials
Gathering the right supplies makes the job much smoother. Here’s a handy list:
Tools You’ll Need:
- Screwdriver set (for potentially removing covers)
- Putty knife or scraper
- Caulking gun
- Utility knife
- Ladder or sturdy step stool
- Dust mask
- Safety glasses
- Drop cloth or old sheets
Materials for Sealing:
- Acoustic Caulk (or Sealant): This is a flexible, paintable caulk designed for sealing gaps between building materials, like drywall to wood or metal. It remains slightly elastic after drying, accommodating minor movement. Look for “non-hardening” acoustic caulk.
- Expanding Foam Sealant (Low-Expansion): For larger gaps, a low-expansion spray foam can be very effective. Crucially, opt for “low-expansion” to avoid putting too much pressure on the heater housing or surrounding materials. Ensure it’s designed for interior use.
- Weatherstripping: For some surface-mounted units, thin foam or rubber weatherstripping can create a seal when the unit is reattached.
- Paintable Caulk: If you plan to touch up the area afterward, ensure your chosen sealant is paintable.
Important Note: Always check your heater’s manual before using any sealing materials. Some heaters have specific requirements or warnings about covering certain parts of their casing.
Step-by-Step Guide to Closing Gaps on Ceiling Heaters
Now, let’s get down to business! Follow these steps to effectively seal those pesky gaps.
Step 1: Safety First – Power Down and Prepare
The absolute first step is to ensure your safety. Turn off the power to the ceiling heater at the breaker box. Never attempt to work on a heater that is connected to electricity. Double-check that the power is off by trying to turn the heater on at its switch or thermostat.
Next, prepare your workspace. Lay down a drop cloth or old sheets beneath the heater to catch any dust or debris that might fall. Ensure you have a stable ladder or step stool.
Step 2: Inspect the Gap and Remove Components (If Necessary)
Carefully examine the area around the ceiling heater. Identify the precise location and size of the gap(s). You might need to gently remove the heater’s cover or grille to get a better look and access the gap from the inside.
If your heater has screws holding a cover in place, use the appropriate screwdriver. Keep the screws in a safe place. Be very gentle; you don’t want to damage the heater’s internal components.
Step 3: Clean the Area
For the sealant to adhere properly, the area must be clean and dry. Use a putty knife or scraper to remove any loose paint, debris, or old caulk from around the gap. Wipe the area with a dry cloth to remove dust. If there’s any grease or grime, a slightly damp cloth with a mild detergent can be used, but ensure it’s completely dry before proceeding.
Step 4: Choose Your Sealing Method Based on Gap Size
This is where you decide which material is best suited for the job:
For Small to Medium Gaps (Up to 1/4 inch):
Acoustic caulk is your best friend here. Load your caulking gun with the acoustic caulk tube.
- Cut the Tip: Cut the nozzle tip at a 45-degree angle to create a small opening. Start with a smaller opening; you can always make it bigger if needed.
- Apply the Caulk: Place the nozzle into the gap and apply steady, even pressure to the caulking gun. Move the gun smoothly along the gap, filling it completely. Aim for a consistent bead.
- Tool the Caulk: Use a damp finger (dip it in water or a damp cloth) or a caulking tool to smooth the caulk bead. Gently press it into the gap and remove excess. This ensures a neat finish and good adhesion.
For Larger Gaps (1/4 inch to 2 inches):
Expanding foam sealant is ideal for larger openings. Remember to use a low-expansion product designed for DIY use, such as those from Great Stuff™ or similar brands.
- Read Instructions: Carefully read the manufacturer’s instructions on the foam can. Some require shaking, and others need the nozzle attached.
- Apply the Foam: Insert the applicator straw into the far end of the gap. Press the trigger to dispense the foam. Fill the gap about 50% to 70%, as the foam will expand as it cures. Don’t overfill.
- Allow to Cure: Let the foam expand and cure according to the product’s instructions. This can take several hours.
- Trim Excess Foam: Once fully cured, use a utility knife to carefully trim any excess foam that has expanded beyond the surface level.
For Gaps Around Mounting Hardware:
If the gap is around where brackets or the main housing meets the ceiling, you might apply caulk around the edges of the mounting plate before reattaching the heater cover, or consider fitting thin foam weatherstripping to the back of the cover before reinstallation.
Step 5: Reassemble the Heater
Once the sealant has had a chance to cure (check product instructions – caulk usually takes a few hours, foam can take longer), reattach the heater cover or grille. Make sure it fits securely.
Step 6: Test the Heater and Area
Restore power to the heater at the breaker box. Turn the heater on and let it run for a few minutes. Feel around the edges of the heater and the sealed area. You should no longer feel any drafts. If you notice any issues or the heater doesn’t seem to be working correctly, turn off the power immediately and re-inspect.
Step 7: Touch Up (Optional)
If you used a paintable caulk and want a seamless look, you can now paint over the dried caulk to match your ceiling color. Ensure the caulk is fully cured and dry before painting. If you used expanding foam, you’ll typically paint over the trimmed foam.
When to Call a Professional
While most gap-sealing tasks are beginner-friendly, there are situations where it’s best to call in an expert:
- Uncertainty about Heater Type: If you have a complex or older heating system, or you’re unsure about its specific requirements, it’s safer to consult a professional.
- Electrical Concerns: If you see any frayed wires, damaged insulation, or suspect an electrical issue, do not proceed. Call a qualified electrician.
- Extensive Gaps or Structural Issues: If the gaps are very large, or you suspect underlying structural problems with your ceiling, a handyman or contractor may be needed.
- Ventilation Obstruction Fears: If you continue to worry about impeding necessary airflow, a HVAC technician can assess your setup.
A professional can ensure the job is done safely and correctly, giving you peace of mind.

Frequently Asked Questions (FAQ)
How do I know if my ceiling heater is losing heat through gaps?
You’ll often feel a noticeable draft coming from around the edges of the heater, especially when it’s running. Your room might also feel less warm than it should, or you might notice higher energy bills despite adequate thermostat settings.
Can I use regular silicone caulk to seal the gap?
While silicone caulk seals well, it’s often not ideal for gaps around heaters. It can become brittle over time and may not adhere as well to building materials like drywall. Acoustic caulk or a paintable interior caulk is generally a better choice because it stays flexible and is designed for these types of sealing applications.
What is the difference between acoustic caulk and regular caulk?
Acoustic caulk is specifically formulated to seal gaps and joints between disparate building materials, such as drywall, wood, and metal. It remains pliable after drying, which helps absorb sound and accommodate minor structural movement without cracking. Regular latex caulk is less flexible and may crack over time.
How much gap can expanding foam fill?
Low-expansion spray foams are typically designed to fill gaps ranging from about 1/4 inch up to 2 or 3 inches wide. Always check the product specifications for the recommended gap size. For larger holes or structural issues, other repair methods might be necessary.
Is it safe to cover parts of the heater casing with sealant?
You should generally only apply sealant to the perimeter where the heater unit casing meets the ceiling structure. Never block air intake or output vents on the heater itself, as this can cause overheating and be a fire hazard. Always refer to your heater’s manual for specific warnings.
How long does it take for caulk or foam to dry/cure?
Drying and curing times vary by product. Most interior caulks are dry to the touch within an hour or two and fully cure within 24 hours. Spray foams can take several hours to fully cure, sometimes up to 48 hours depending on humidity and temperature. Always refer to the specific product instructions.
Conclusion: A Warmer, More Efficient Home Awaits!
Tackling those gaps around your ceiling heater might seem like a small task, but the rewards are substantial. By taking the time to properly seal these potential air leaks, you’re not just getting rid of a chilly draft—you’re making a smart investment in your home’s comfort and energy efficiency. Remember to always prioritize safety by turning off the power before you start, and choose the right materials for the job. Whether you’re using flexible caulk for minor gaps or low-expansion foam for larger ones, the steps outlined here will guide you to a successful fix.
With a little effort and the right approach, you can enjoy a more consistently warm, cozy, and energy-efficient home. Happy sealing, and enjoy the warmth!