How to Clean a Space Heater Without Damage
Unplug the heater, let it cool completely, then clean only the exterior, grille, and any removable dust filter with a dry microfiber cloth or soft brush. If there’s no user-serviceable filter, do not open it. Cleaning it the wrong way can damage vents, knobs, wiring, or the heating element and create a fire risk. This guide shows how to clean a space heater by exterior type, with clear no-go zones for vents, controls, and heating components.
Why space heaters need careful cleaning
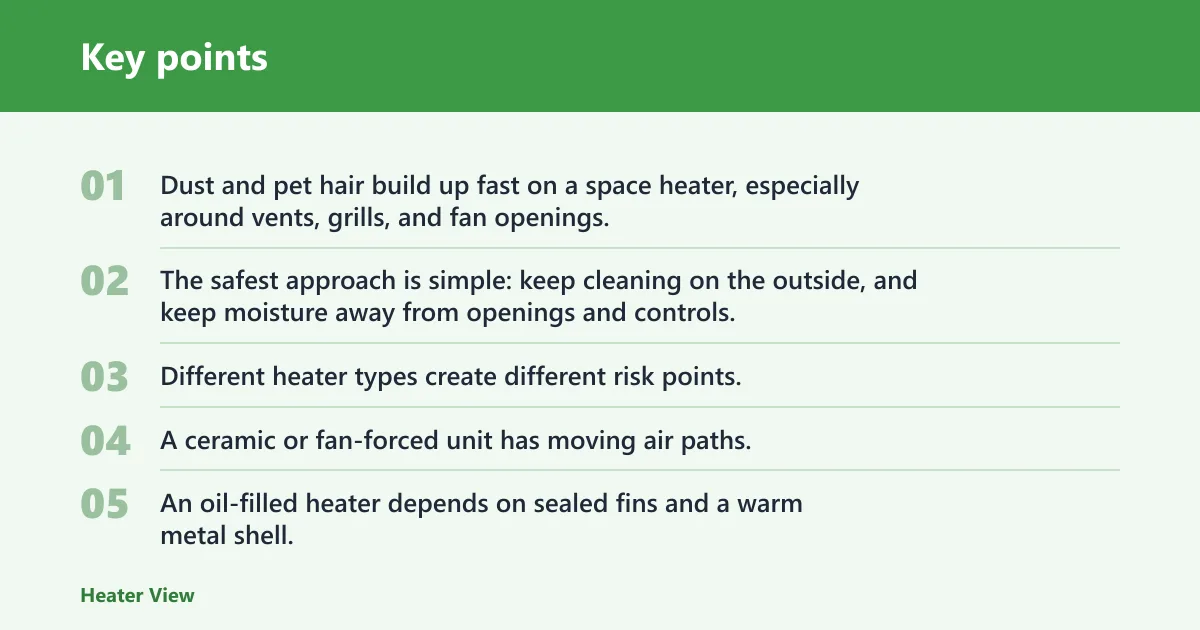
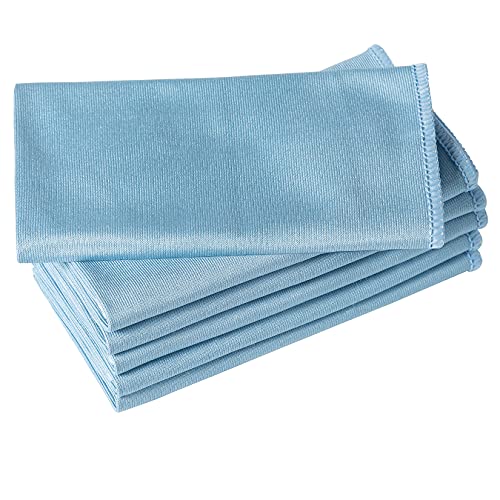

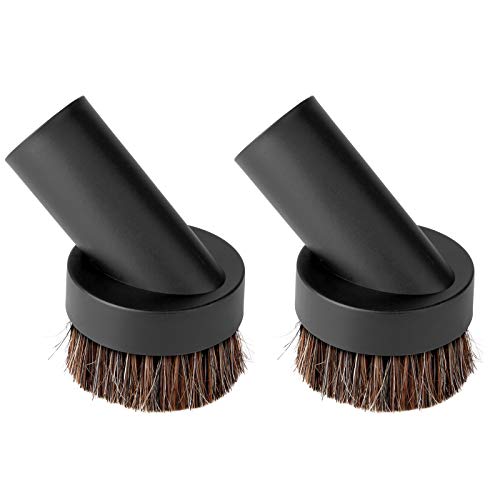
Dust and pet hair build up fast on a space heater, especially around vents, grills, and fan openings. That buildup can reduce airflow, leave a burnt smell, and put extra heat near electrical parts. The safest approach is simple: keep cleaning on the outside, and keep moisture away from openings and controls.
Different heater types create different risk points. A ceramic or fan-forced unit has moving air paths. An oil-filled heater depends on sealed fins and a warm metal shell. Infrared heaters can have hotter front surfaces and sensitive emitters. Clean the wrong area, and you can damage the heater or make the next start-up unsafe.
What you’ll need
- Microfiber cloth
- Soft lint-free cloth
- Soft brush
- Dry cloth for final wipe-down
- Water for lightly dampening a cloth
- 70 percent isopropyl alcohol for hard, non-porous exterior spots only
- A vacuum with a brush attachment, if the maker allows dust removal from an exterior filter
How do you clean a space heater safely?
Start with the safest routine: disconnect the heater from electricity, let it cool, remove loose dust from the outside, and wipe only the non-porous exterior surfaces. Use a microfiber cloth or other soft lint-free cloth, keep liquid out of vents and controls, and dry every cleaned area before reuse.
- Turn it off and unplug. Shut the heater down first, then disconnect the power source before any cleaning begins. This prevents shock and accidental startup.
- Let it cool fully. Wait until the housing, grille, and front surface feel cool to the touch. Cleaning a warm unit can sometimes bake dust onto the surface and can also increase burn risk.
- Remove loose dust. Use a dry microfiber cloth or soft brush on the outer shell, grille, and any removable dust filter. Do not push dust deeper into vents.
- Wipe the exterior. For dust, grease, and fingerprints, wipe the hard, non-porous outer casing with a microfiber cloth. If needed, lightly dampen the cloth with water; never pour or spray water onto the device.
- Use alcohol sparingly. For stubborn marks on a hard, non-porous exterior spot, put a little 70 percent isopropyl alcohol on the cloth rather than directly on the heater. Keep it away from controls, labels, vents, and display areas unless the maker allows that surface.
- Dry every cleaned area. Finish with a dry microfiber cloth. No moisture should remain on the housing, seams, buttons, or grille before you plug it back in.
Space heater cleaning matrix
This matrix gives the safest cleaning path by heater type, with the main off-limits parts called out clearly. Treat vents, controls, sensors, grills, and heating components as no-go zones unless the owner manual explicitly says a part is removable and user-serviceable.
| Heater type | Safe tools | Off-limits parts | Cleaning frequency |
|---|---|---|---|
| Ceramic | Microfiber cloth, soft brush, dry cloth; lightly dampened cloth on the outer shell only | Heating element, intake and exhaust vents, controls, internal fan housing | Wipe weekly during heavy use; deep exterior clean monthly |
| Fan-forced | Microfiber cloth, soft brush, vacuum brush on accessible exterior filter if present | Fan blades, motor housing, vents, switches, wiring compartments | Dust exterior weekly; check the filter monthly |
| Oil-filled | Microfiber cloth, soft lint-free cloth, lightly dampened cloth on the sealed metal exterior | Control panel gaps, power cord entry points, seams, thermostat area | Wipe every few weeks; inspect before each heating season |
| Infrared | Dry microfiber cloth, soft brush, lightly dampened cloth on the housing only | Emitter surface, reflective parts, vents, controls, hot front panel while warm | Dust often in visible spots; clean exterior monthly |
How do you clean each heater type?
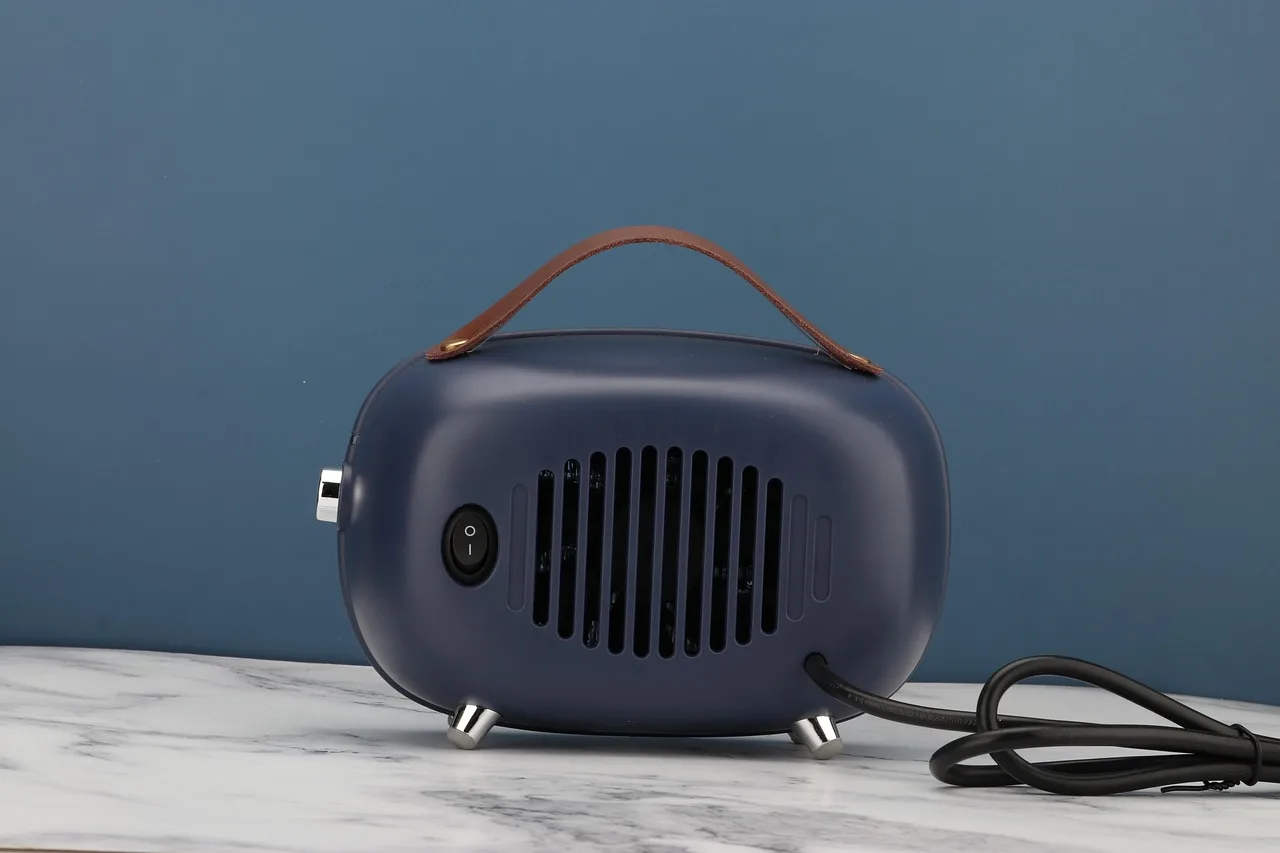
Each heater needs the same basic rule: clean the outside, not the electrical or heating parts. The difference is where dust collects and which surface is safest to touch. Use the type below to decide where to stop.
Ceramic heaters
Ceramic heaters usually need the most attention around the intake and outlet areas because airflow moves dust across the unit. Clean the shell with a microfiber cloth, then use a soft brush on the grille from the outside only. If there is a removable filter, clean it only as the manual allows.
Do not probe into the heating chamber. Do not use paper towels or abrasive cloths on the front panel, since those can scratch finishes and leave fibers near vents.
Fan-forced heaters
Fan-forced units collect pet hair quickly, especially around vents and grill openings. Wipe the exterior with a soft lint-free cloth, then use a soft brush to lift dust from the grill. If the heater has an accessible user filter, clean that part on a regular schedule.
Keep all liquid away from fan openings. Never spray cleaner directly at the grille, because aerosol sprays can drive debris deeper or damage internal parts.
Oil-filled heaters
Oil-filled heaters are easier to wipe, but they still need care around the control panel and cord entry point. Clean the metal shell with a dry microfiber cloth first. If needed, lightly dampen the cloth with water, then dry the surface right away.
Do not try to open the sealed body. The oil system and internal electrical parts are not for user cleaning. Use only a small amount of 70 percent isopropyl alcohol on the cloth for a stubborn mark on a hard, non-porous spot.
Infrared heaters
Infrared heaters often have a hotter front face and more delicate visible heating areas, so dust removal should stay gentle. Wipe the outer housing with a dry microfiber cloth and use a soft brush around any exterior grill. Leave the emitter surface alone unless the maker gives a specific cleaning method.
Avoid touching a warm front panel with a damp cloth. Let the heater cool completely first, then clean only the non-porous exterior surfaces.
Common mistakes
Most damage comes from cleaning too aggressively or too close to electrical parts. Keep the routine simple: outside only, very little liquid, and no direct spraying. If the heater looks dirty inside a vent or smells wrong after cleaning, stop and inspect the visible outside parts only.
- Using paper towels or other abrasive cloths that can scratch surfaces
- Spraying water, aerosol sprays, or cleaner directly onto the heater
- Using bleach, which is too harsh for delicate device surfaces
- Wiping inside vents, controls, sensors, grills, or heating components
- Cleaning while the heater is still plugged in or warm
- Leaving moisture on buttons, seams, or the cord area
Say your fan-forced heater has a layer of pet hair across the grille. A soft brush plus a dry microfiber cloth is the safer fix; a wet cloth pushed into the grille can move hair farther inside and leave damp residue near the fan path.
Suppose a ceramic heater has fingerprints on the outer shell. A lightly dampened microfiber cloth is enough for the non-porous exterior, then a dry cloth should follow immediately. That keeps moisture away from the vent slots and display area.
What if the heater smells burnt?
A burnt smell after cleaning often points to dust left near hot surfaces, trapped debris in vents, or electrical damage that needs attention. Unplug the heater right away, let it cool, and inspect the outside for hair, lint, or residue around the grille and intake openings.
- Check the visible vents. Look for clogged dust, pet hair, or cleaner residue on the exterior grill. Clear only what you can reach safely with a dry brush or microfiber cloth.
- Inspect the cord and plug. Look for melting, cracking, loose prongs, or a browned section near the plug end. Any of those signs mean the heater should stay out of service.
- Test only after drying. If the heater was cleaned with any moisture, let it dry fully, then plug it in briefly in a clear area. If the smell returns, unplug it and stop using it.
If that didn’t work, do not open the housing. The next safer move is to stop using the heater and replace it or have it serviced by the maker’s support path if the cord, plug, or housing shows damage.
How do you store and maintain it?
Clean the heater before long storage, then keep it covered only after every surface is dry. A simple seasonal routine helps: inspect the cord, wipe the exterior, clear visible dust from grills, and check for signs of damage before the first cold snap.
A space heater with safety shut off still needs cleaning. That shutoff helps reduce risk if the unit overheats or tips, but it does not protect against dust buildup, blocked airflow, or damaged cords. Use the shutoff as a backup, not as permission to skip maintenance.
Frequently asked questions
How to clean a portable heater
Use the same outside-only routine: unplug, cool, dust, then wipe the casing with a soft lint-free cloth. If the shell needs more than dust removal, lightly dampen the cloth with water and finish with a dry microfiber cloth. Do not open the heater body.
Should you unplug space heater?
Yes. The heater should be turned off before cleaning and disconnected from electricity before you touch it. That reduces shock risk and prevents accidental startup while your hands are near the grille, controls, or cord.
Is using a space heater safe?
It can be safe when the heater is in good condition, used on a clear surface, and kept clean. A dry exterior, open vents, and an intact cord matter more than a bright warning label or shutoff feature. If any part is damaged, stop using it.