How to Replace a Water Heater Gas Control Valve
Replace a gas water heater control valve only after you confirm the thermostat, pilot system, thermopile or igniter, and gas supply are not the real fault. Use the exact OEM valve for your heater’s model and gas type. A wrong part can leave you with no hot water, a leak, or a burner that will not shut down correctly. This guide shows how to confirm failure, identify the correct valve, swap it safely, and check operation afterward.
What you’ll need


- Exact water heater model number from the rating plate
- Exact OEM gas control valve part number from the manufacturer parts list
- Adjustable wrench and correctly sized open-end wrenches
- Pipe wrench or channel-lock pliers, if the manual allows them
- Gas-rated thread sealant or approved gas pipe compound
- Soap solution or an approved gas leak detector
- Screwdrivers for burner access covers and brackets
- Multimeter for thermocouple, thermopile, or igniter checks where applicable
- Flashlight and a small inspection mirror
- Bucket and hose, if partial draining is needed for access
- Replacement gaskets, seals, or pilot assembly parts if the manual calls for them
- Manufacturer service manual for the exact heater series
Gas control valve decision table
| Brand / common model family | Symptoms that justify a valve swap | Parts to test first | Compatibility checks before ordering |
|---|---|---|---|
| Rheem / Richmond FVIR and standard atmospheric models | No pilot hold, repeated lockout, no burner gas after confirmed ignition signal, burned or stuck valve that will not reset | Thermocouple or thermopile output, pilot assembly, igniter, gas supply pressure at the appliance | Exact model number, gas type, BTU rating, inlet/outlet orientation, OEM part number, pilot style, venting series |
| Bradford White ICON systems | Control head lockout that returns after reset, burner never opens after verified pilot, fault code tied to gas control failure | Thermopile voltage, flame sensor or pilot flame quality, reset procedure, gas shutoff upstream | Series-specific valve, gas type, BTU rating, connector style, pilot/ignition style, mounting threads |
| Whirlpool / GE-branded tank heaters | Intermittent pilot dropout, no flame response after correct pilot lighting, thermostat stuck, safety shutoff will not reopen | Thermocouple, igniter module, pilot tubing, burner access and debris, reset state | Brand label, full model number, serial range if required, gas type, BTU input, thread direction, OEM listing only |
How do you know the gas valve is bad?
The valve is the likely failed part only after the pilot, thermocouple or thermopile, igniter, and gas supply check out. A valve that will not open, reset, or hold burner operation after those checks is a stronger candidate than one that merely shares a symptom with another failed part.
Symptoms that overlap with other failed parts
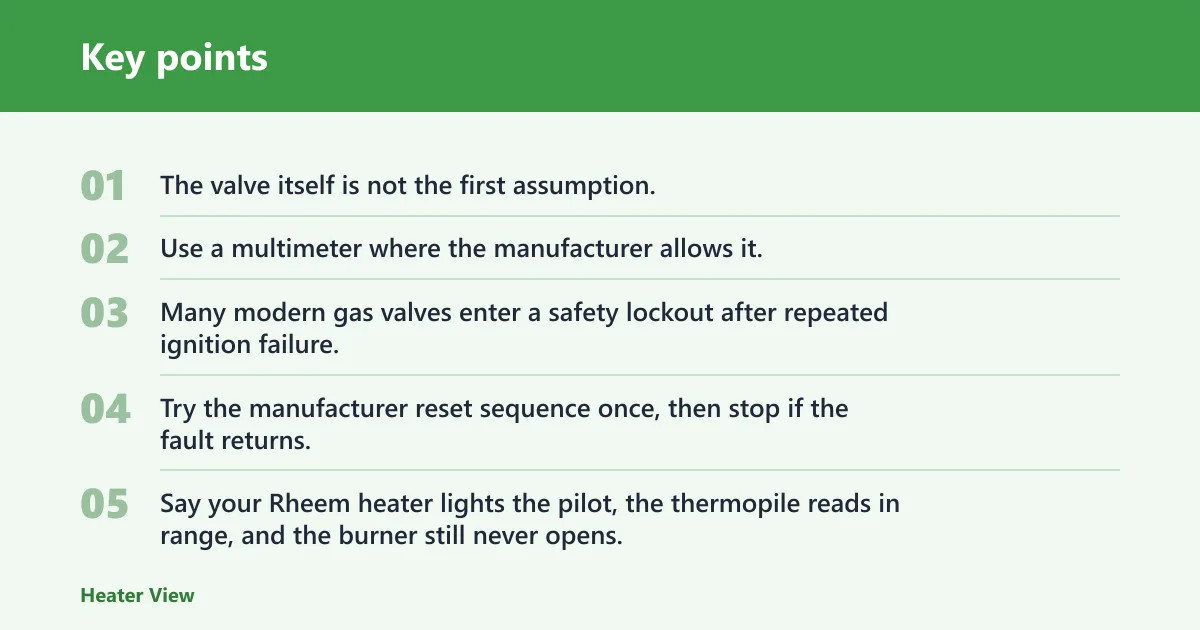
No pilot flame, a burner that lights and drops out, or a control that stays in lockout can come from a weak thermocouple, a low thermopile signal, a dirty pilot, or a bad igniter. The valve itself is not the first assumption.
Checks that point to a valve issue
Use a multimeter where the manufacturer allows it. A thermocouple is often reported at about 25 to 30 mV open-circuit, and a thermopile commonly needs about 350 to 750 mV under load; exact targets can vary by system. If the pilot signal is good, gas pressure is present, and the valve still will not open, the valve becomes the stronger suspect.
Reset and lockout clues to confirm first
Many modern gas valves enter a safety lockout after repeated ignition failure. Try the manufacturer reset sequence once, then stop if the fault returns. If the code points to flame failure, ignition failure, or thermal cutoff, replace the part named by the manual before buying a control valve.
Say your Rheem heater lights the pilot, the thermopile reads in range, and the burner still never opens. That points to the valve. A weak pilot flame and a marginal millivolt reading point to the thermocouple or thermopile instead.
How do you replace it safely?
Shut off the gas shutoff valve, cut electrical power if the heater uses an igniter or electronic control, and follow the manufacturer service manual for the exact valve removal and installation sequence. Many valves are brand-specific, and the tank opening, fittings, and pilot hardware vary enough that forcing the wrong method can damage the heater.
- Close gas and power. Turn the appliance gas shutoff valve to off and disconnect power at the service switch or breaker. Wait for the burner to cool fully before touching any gas connection.
- Relieve access and drain as needed. Remove the burner access cover. If the valve sits behind trapped piping or the manual calls for it, drain enough water to expose the valve area without flooding the floor.
- Disconnect pilot and burner lines. Label the pilot tube, thermocouple or thermopile leads, igniter wiring, and burner tube before removal. Check whether the pilot fitting is left-hand or right-hand threaded on your model.
- Remove the old valve. Unthread or unbolt the valve exactly as the service manual shows. Keep track of any gasket, seal, or orientation marks so the new valve sits correctly.
- Inspect the tank opening. Clean sediment, check thread condition, and look for distortion or cracks around the opening. Do not install a new valve on damaged threads or a compromised mounting surface.
- Install the replacement. Fit the exact OEM valve for the model number, gas type, and BTU rating. Use gas-rated thread sealant only where the manual and local code allow it; some joints use sealant and others use a gasket or dry fit.
- Reconnect and leak-test. Reattach pilot, burner, and gas connections, then apply soap solution or an approved leak detector to every disturbed joint. A zero-bubble result is generally the acceptable outcome before relighting.
- Relight and verify. Restore power if required, relight the pilot or restart electronic ignition, and confirm stable burner operation. Watch for fault codes, short cycling, or a return to lockout.
A common first-timer mistake is installing a new valve before checking the threads at the tank opening. If the opening is nicked or contaminated with sediment, the new part can leak or cross-thread, even when the replacement itself is correct.
How do you match the right replacement part?
Start with the rating plate and the full water heater model number. Brand-specific parts vary by series, and the model number is typically the key for identifying the correct OEM valve, fuel type, BTU rating, and ignition family.
Model number and rating plate check
Look on the rating plate near the burner compartment, access panel, or jacket side. Write down the full model and serial number, not just the brand name. Use that exact string to match the replacement part in the manufacturer parts list.
Fuel type, BTU, and series match
Gas control valves are generally not universal. Match natural gas or propane, the listed BTU input, and the heater series before ordering. A valve built for one fuel type or one input rating can create unsafe burner performance.
Pilot, igniter, and thread-direction differences
Standing pilot systems, millivolt systems, and electronic ignition units do not use the same hardware or wiring. The pilot tubing, thermocouple, thermopile, and igniter connections may differ by brand, and some fittings use opposite thread directions. Follow the manual for the exact removal and reinstall order.
For Rheem and Richmond units, confirm the exact series before ordering because even similar-looking valves can differ by ignition style and connector layout. Bradford White ICON controls are especially series-specific, and Whirlpool or GE-branded heaters often need an exact model match from the rating plate rather than a generic replacement.
How much does a water heater gas control valve cost?
Expect the part itself to be the largest cost, with total repair cost rising if you need gaskets, sealant, special tools, or a plumber. The real number depends on the exact OEM part, the access difficulty, and whether the valve is tied to an integrated control head.
Part price range
Common OEM gas control valves are often reported in the roughly $120 to $350 range, with some brand-specific controls priced higher. Aftermarket parts can cost less, but compatibility and warranty risk are real, so match the OEM listing unless the manufacturer allows an approved substitute.
Sealant, gaskets, and tools
Budget $10 to $30 for gas-rated sealant or approved sealing materials, plus $20 to $60 if you need new gaskets, tubing, or a missing wrench. If you need a multimeter, add that separately unless you already own one.
When labor is the better call
Professional labor can add $150 to $400 or more, depending on region and access. If the valve is buried behind tight piping, the manual calls for model-specific alignment, or the heater has a history of lockout codes, hiring a licensed pro is the safer choice.
Common mistakes
- Buying by brand only instead of the exact model number and OEM part number.
- Replacing the valve before checking the thermocouple, thermopile, pilot, or igniter.
- Using the wrong thread sealant method on a joint that the manual says should be dry or gasketed.
- Skipping leak checks on every disturbed gas joint.
- Ignoring a reset or lockout code that points to another failed component.
- Installing the valve without inspecting sediment, threads, and tank opening damage first.
- Forcing a pilot or burner fitting without checking thread direction and connection style.
- Leaving a leaking temperature and pressure relief valve unaddressed during service.
Frequently asked questions
How do you replace a water heater gas control valve?
Close the gas shutoff valve, disconnect power, remove the access cover, disconnect pilot and burner lines, swap in the exact OEM valve from the service manual, then leak-test every joint with soap solution or an approved detector. Relight the pilot or restart ignition and confirm stable burner operation.
How do you remove a water heater gas control valve?
Use the manufacturer service manual for the removal order, because thread direction, tubing layout, and mounting style vary by model. Shut off gas first, label every connection, then unthread or unbolt the valve without forcing the tank opening or gas train.
How do you replace a gas control valve on a water heater?
Match the exact model number, gas type, BTU rating, and ignition style before you buy anything. Install the replacement only after checking the tank opening, thread condition, and pilot hardware, then perform a zero-bubble leak test on every disturbed connection.
How much is a gas control valve for a water heater?
Most replacement valves fall around $120 to $350 for the part alone, with sealant, gaskets, and tools adding another $30 to $90 in many cases. Labor can add $150 to $400 or more if you hire a licensed plumber.
Can I replace a Rheem water heater gas control valve myself?
Yes, if you can match the exact Rheem model, follow the service manual, and perform proper gas leak testing. Stop and call a pro if the valve is in lockout, the model uses a hard-to-match ignition setup, or the fittings show damage.
How do I identify the correct gas control valve model for my water heater?
Read the rating plate and copy the full model number, serial number, fuel type, and input rating. Then use the manufacturer parts list for that exact series, because similar-looking valves across Rheem, Bradford White, Whirlpool, Richmond, and GE variants are not interchangeable.