How to Maintain a Water Heater After Installation
Check a new water heater after about 24 hours, then monthly, and plan annual service; in hard-water homes, flushing may be needed sooner. Skip those steps, and sediment, leaks, pressure issues, and warranty disputes can follow. This guide covers tank-style heaters; tankless units are noted where their maintenance differs. It covers immediate checks, monthly habits, and year-one maintenance by tank, gas, electric, and water quality.
Preventive checks: shutoffs, temperature, and leaks
Start with shutoff locations
Find the cold water shutoff valve on the inlet line, the power breaker for electric units, and the gas shutoff on gas units before you touch anything. Safe maintenance starts with stopping refill or heat, and the shutoff method changes with the heating method.
For electric heaters, turn off power at the breaker before opening covers or touching internal parts. For gas heaters, do not assume every unit has a pilot mode; follow the manufacturer’s shutdown instructions for that model. Tankless heaters often need both water and energy isolation before service.
Check the temperature setting
Set and verify the thermostat after installation. A common target is 120 degrees Fahrenheit, which helps cut scald risk and wasted energy, though some households may need a different setting for medical, bathing, or dishwashing reasons. Check the setting again after the first few weeks, because apparent temperature changes can also come from usage patterns or other system issues.
Look for leaks, drips, and vent issues
Inspect the tank base, top connections, shutoff valve, and nearby floor for moisture. Small connection drips can often be tightened or fixed, but rust on the tank body, fresh wetness on the shell, or repeated puddling can mean a larger problem. For gas and tankless units, keep the vent or air intake clear and open.
Suppose a new 40-gallon tank leaves a few drops at the cold inlet after the first day. That points more toward a fitting issue than tank failure. If the tank wall itself is damp or rust-streaked, the repair path changes fast.
Confirm safe startup
After the tank fills, confirm the heater cycles normally and delivers hot water without tripping a breaker, blowing a fuse, or shutting down on ignition faults. A newly installed unit should heat steadily without unusual noise. Rumbling, popping, or weak recovery are early warning signs, especially if they appear after the first few uses.
What should I check in the first year after installing a water heater?
Use a schedule that includes about 30 days, 90 days, and 12 months. The first month is for startup checks, the three-month mark is for sediment and leak review, and the one-year mark is for service decisions based on heater type, water quality, and manufacturer guidance. Water heater maintenance isn’t the same for every system.
First 30 days
During the first month, check shutoff access, temperature setting, and visible leaks more than once. This is also the time to confirm the TPR valve’s discharge pipe is in place and points to a safe drain path, since the valve should discharge into a drain pipe.
Around 90 days
At roughly 90 days, look for sediment clues, slight temperature drift, and small connection drips. Sediment buildup can cause rumbling or popping sounds and reduce hot-water output. A reduced hot water supply is a maintenance warning sign, especially in hard-water homes or in systems that see heavy daily use.
At 12 months
At 12 months, decide whether the tank needs flushing, whether the anode rod should be inspected during annual tank service, and whether gas or tankless venting needs a more careful service visit. Hard-water homes often need the shorter interval.
How to maintain electric water heater
Electric heaters need breaker shutdown, cover-area caution, and thermostat checks. The heating method matters because electric units use heating elements, while gas units use a burner and thermocouple, so the maintenance steps and shutdown procedure are not the same.
Electric maintenance steps
- Turn off the breaker at the electrical panel before opening any access cover.
- Check the thermostat setting and keep it near 120 degrees Fahrenheit unless household needs call for a different setting. (Wikihow)
- Inspect the top connections and tank base for moisture, corrosion, or a small drip.
- Flush sediment if the tank has a drain valve you can safely access with a hose and bucket.
What to avoid on electric units
Do not open element covers or touch wiring until power is off at the source. If the breaker will not stay off, if you see burnt insulation, or if the tank trips repeatedly, stop and call a plumber or electrician. Internal electrical work is not a routine homeowner task.
How to maintain a gas water heater
Gas water heaters need a different shutdown, a cleaner combustion area, and regular vent checks. Gas heaters should be switched to pilot mode before maintenance only when that model’s instructions say so; some modern units use different shutdown steps. Keep the burner area and vent path clean and open.
Gas maintenance steps
- Shut off the gas according to the unit’s instructions; do not assume a pilot setting exists.
- Close the cold water shutoff valve before any flush or test.
- Check the burner compartment, vent, and air intake for dust, lint, or blockage.
- Look for soot, rust flakes, error codes, or repeated ignition problems.
Vent and combustion area checks
Gas and tankless heaters need clear combustion air and a clear exhaust path. A blocked vent can cause poor performance or safety shutdowns. If you smell gas, see scorch marks, or notice flue corrosion, leave the area and call a pro. Do not open the cabinet further.
How often should you flush it?
Flush once a year for a standard schedule, then shorten the interval if your water is hard or the heater starts to rumble. In hard-water homes, sediment builds faster and can reduce recovery and hot-water volume. The right interval depends on unit type, age, and prior care.
Why hard water changes the schedule
Hard water leaves minerals behind after heating, so a tank that stays quiet in one home may start popping in another. That is why a newly installed tank in a hard-water area may need a flush sooner than an identical unit on softer water. If you hear rumbling, plan earlier service.
How to flush after relieving pressure
- Turn off power at the breaker for electric units or shut down the gas per the manufacturer’s steps, and let the tank water cool or use extreme caution because draining can release scalding water.
- Close the cold water shutoff valve.
- Open a hot water tap in the house to relieve pressure.
- Attach a hose to the drain valve near the bottom of the heater and route it to a safe drain or bucket.
- Open the drain valve and let sediment and water flow out.
- Close the valve, reopen the cold supply, and purge air through a hot tap until the flow steadies.
The drain valve is near the bottom of the heater and can clog with mineral buildup. If the valve barely flows, leaks, or refuses to open without force, stop. Forcing it can crack old plastic parts or start a larger leak.
What problems need a plumber?
Call a plumber for tank-body leaks, failed relief valves, a stuck drain valve, repeated temperature problems, or corrosion that reaches the shell. Small connection drips are one thing. Water on the tank body itself is another. If the tank shell is leaking, replacement is often the only realistic fix.
TPR valve problems
The temperature and pressure relief valve is a safety valve on the tank side. It should release pressure into a drain pipe when tested cautiously, with your hands and face clear of the outlet. Testing can be risky on older units because hot water may discharge forcefully. If the valve sticks, drips after testing, or will not reseat, many manufacturers advise replacing it, and replacement is usually a pro job for many homeowners.
Drain valve and sediment issues
If the drain valve will not open, continues to seep, or plugs with debris, a plumber can clear or replace it without damaging the tank. Heavy sediment may also mean the heater needs a full service flush rather than a quick drain. More sediment often shows up as popping, slower recovery, and less hot water.
Rust, discoloration, and leak triage
New plumbing can release temporary discoloration after installation, so rusty-looking water does not always mean tank failure. Watch the pattern. If the color clears after a short run, the issue may be disturbed sediment. If rusty water returns, the tank body or internal parts may be corroding. Visible corrosion on the exterior also deserves attention.
Say your gas tankless unit starts throwing a scale warning at month nine in a hard-water home. That is not a reason to ignore the unit until year two. It is a reason to descale sooner and check the inlet screen, vent, and water quality.
Water heater maintenance tracker
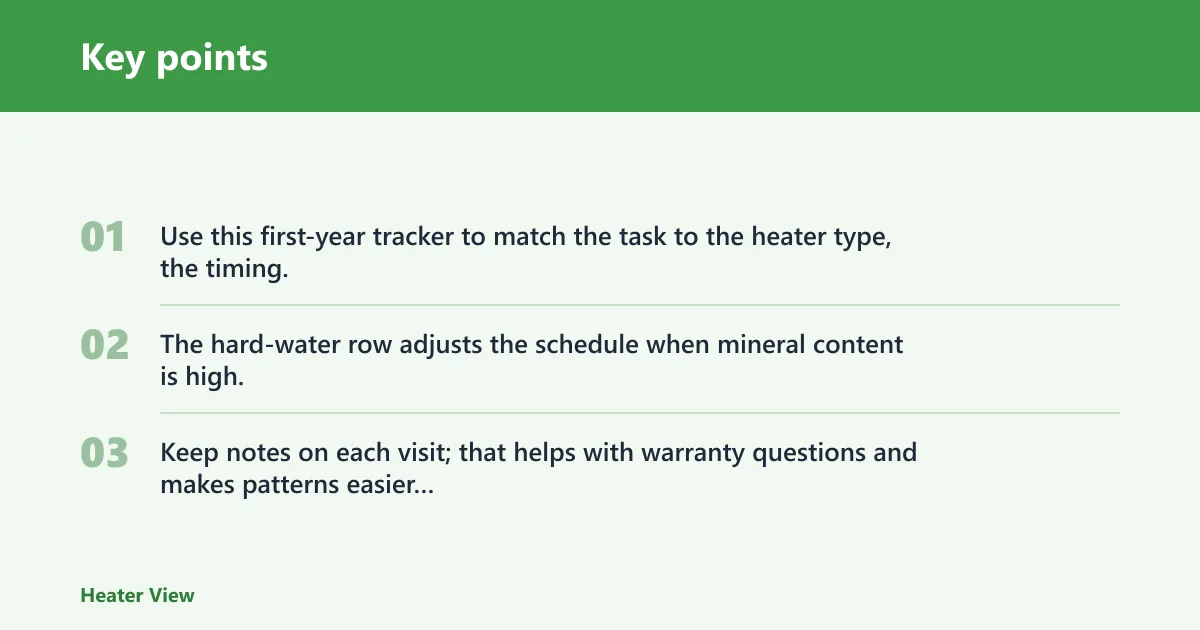
Use this first-year tracker to match the task to the heater type, the timing, and the warning signs. The hard-water row adjusts the schedule when mineral content is high. Keep notes on each visit; that helps with warranty questions and makes patterns easier to spot.
| Task | Timing after installation | Who can do it | Warning signs | When to call a plumber | Hard-water adjustment |
|---|---|---|---|---|---|
| Electric heater: breaker-off check, thermostat check, connection leak check | 24 hours, then monthly | Homeowner | Breaker trip, repeated warm water swings, moisture at fittings | If wiring looks damaged, the breaker will not hold, or the tank body leaks | Keep the first flush closer to 3 months if sediment appears early |
| Gas heater: shutdown check, burner and vent inspection, temperature review | 24 hours, then monthly | Homeowner for visible checks | Soot, gas odor, blocked vent, ignition failure | If you smell gas, see scorch marks, or the unit will not light safely | Shorten the flush interval and watch the burner area for dust or scale residue |
| Tankless heater: inlet screen, venting, scale review | 30 days, then every 3-6 months | Homeowner for filters and visual checks; plumber for descaling | Error code, fluctuating temperature, reduced flow, scale warning | If the unit locks out, leaks internally, or needs scale removal beyond simple screens | Schedule more frequent descaling and inlet screen checks |
| Hard-water adjustment | Start at 30-90 days, then set a shorter routine | Homeowner for logging; plumber for service visits | Rumbling, popping, faster sediment buildup, reduced hot water | If sediment returns soon after flushing or the drain valve clogs repeatedly | Flush sooner than annual care; follow the tighter end of the service window |
Frequently asked questions
How do you maintain a water heater after installation?
Check the shutoff locations, verify the temperature setting, and inspect for leaks after 24 hours. Then repeat a quick monthly visual check and plan annual service. Add earlier flushing if the water is hard or if you hear rumbling, popping, or notice reduced hot water output.
How do you maintain a hot water heater?
Treat it as a safety appliance, not a set-and-forget tank. Keep the thermostat near 120 degrees Fahrenheit, confirm the TPR valve has a safe discharge path, and watch for drips at fittings. If the tank shell rusts or leaks, call a plumber quickly.
How often should I flush a water heater after installation?
Once a year is a common baseline, and hard-water homes may need flushing sooner. If sediment starts causing popping, slower recovery, or less hot water, move the flush forward. For tankless units, follow the model’s scale-control schedule rather than a tank-style flush cycle.
Which water heater maintenance tasks are DIY and which need a pro?
DIY tasks usually include visual leak checks, temperature checks, clearing the area around vents, and basic flushing if the drain valve works cleanly. Call a pro for tank-body leaks, failed TPR valves, stuck drain valves, gas odor, electrical damage, or internal tankless service.
What signs show a newly installed water heater needs service?
Watch for repeated drips, rusty or cloudy water that does not clear, popping or rumbling, weak hot-water output, and any vent or ignition trouble. A new heater should run without unusual noise and heat steadily. If the tank shell is wet or corroded, do not wait.
How do I keep my new water heater from rusting or building sediment?
Keep the thermostat at a reasonable setting, flush on schedule, and act early on hard-water signs. The anode rod helps control corrosion in tank heaters and matters more in hard-water homes. For gas and tankless units, keep the intake, vent, and combustion area clean.