Emergency Steps for a Leaking Water Heater: What To Do
Turn off power, shut the cold-water supply if the leak is active, and call a plumber if water is coming from the tank body or the T&P valve keeps discharging. A leak can soak floors, swell drywall, and turn a loose fitting into a failed tank and full replacement. This guide shows what to check in the first 10 minutes, how to tell tank failure from a valve discharge or fitting leak, and when to stop troubleshooting.
What to do first when you spot water around the tank
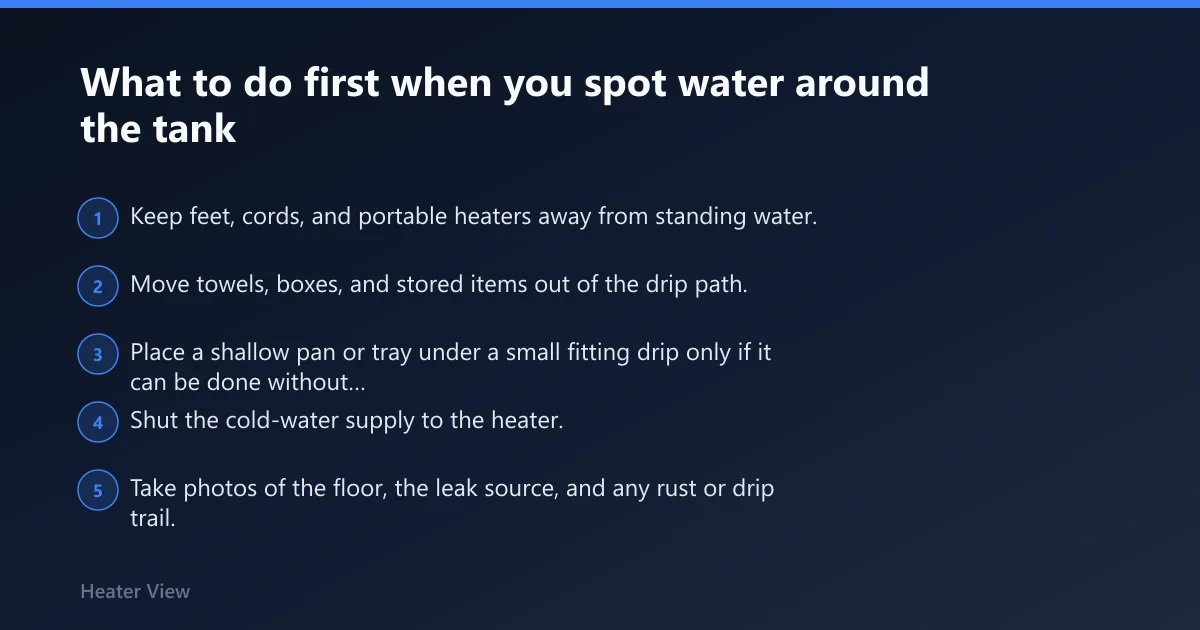
Start with the water on the floor, then stop new water from entering the heater. Keep people away from the wet area, protect nearby flooring, and shut the cold-water supply to stop the tank from refilling. After that, identify where the water is coming from before touching any valve or wire.
First 10 minutes: triage before diagnosis
- Keep feet, cords, and portable heaters away from standing water.
- Move towels, boxes, and stored items out of the drip path.
- Place a shallow pan or tray under a small fitting drip only if it can be done without reaching into water.
- Shut the cold-water supply to the heater.
- Take photos of the floor, the leak source, and any rust or drip trail.
Find the nearest source without moving the heater
Dry the outside of the tank with a towel and wait a minute. Watch where the first fresh bead appears. Water running down the shell can start higher up, so do not assume the lowest wet spot is the source.
Stop the fill first
The local service guidance says to turn off the water supply immediately, and that is the right first move when the leak is active. If the heater keeps refilling, even a small drip can turn into a larger spill fast.
According to How To Diagnose and Repair a Leaking Water Heater – This Old… — High home water pressure above 80 psi is considered high.
Should you shut off the water, power, or gas first?
If the leak is active, shut off the cold-water supply first so no new water keeps entering the tank. After that, cut power to an electric heater at the breaker, or shut off gas supply and follow the unit’s shutdown steps on a gas heater. If water is on electrical parts or the leak source is unclear, leave the heater off until a plumber checks it.
Electric water heaters: breaker after water is off
For an electric unit, stop the water first, then turn off the breaker that supplies the heater. That keeps the element from running dry if the tank is losing water. A dry-fired element can fail quickly.
Gas water heaters: gas off after water is off
For gas units, shut off the cold-water supply first, then close the gas supply or follow the unit’s shutdown steps as listed on the heater. Do not keep lighting, relighting, or testing the burner while water is leaking into the area.
When to leave it off
Leave the heater out of service if water is coming from the tank shell, the T&P valve will not stop discharging, or you cannot tell whether the leak is a fitting, a valve, or the tank itself. That is the point to stop troubleshooting and call for service.
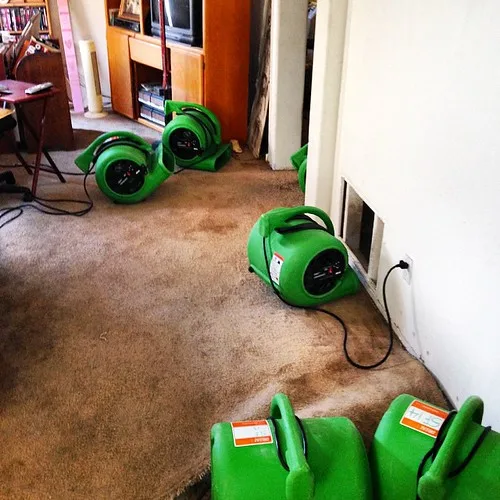
How to tell whether the leak is from the tank or a fitting
Dry the heater, watch where water reappears, and separate a shell leak from a part leak. Water from the tank body usually means replacement, while a drip from a connection, valve, or nearby joint may be repairable. Look closely at the top fittings, the bottom drain area, and any rust trail.
Check inlet and outlet connections
Inlet and outlet pipe connections are common leak points. Inspect the threaded fittings, unions, and nearby joints for moisture. A loose connection or failed seal can sometimes be tightened or repaired, but a wet shell below the fitting may point to a larger problem.
Inspect the drain valve
The drain valve near the bottom of the tank can leak from the valve body or the cap. Dry the area, then watch it again. If the valve keeps weeping, replacement is often cleaner than repeated tightening, especially if the plastic cap or packing is damaged.
Read the leak path
| What you see | Most likely source | Typical next step |
|---|---|---|
| Water reappears on the tank shell, not a fitting | Tank body leak | Replace now |
| Drip at a threaded joint or union | Inlet or outlet connection | Repair or replace the fitting |
| Drip at the bottom drain valve | Drain valve or cap | Repair or replace the valve |
Why is the T&P relief valve dripping?
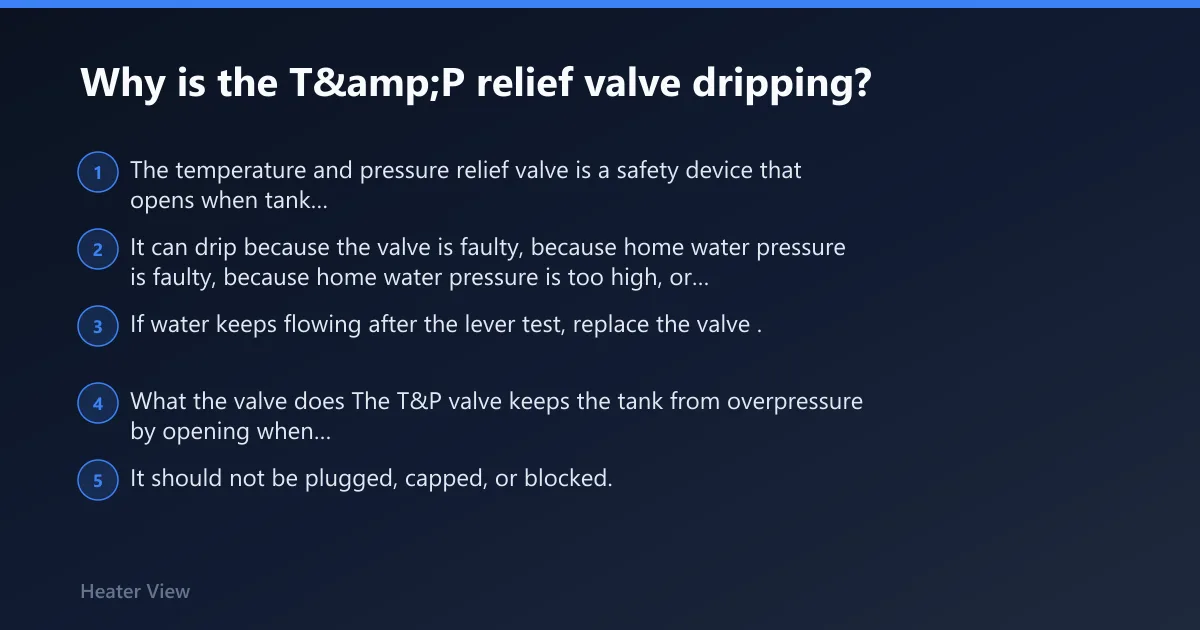
The temperature and pressure relief valve is a safety device that opens when tank pressure climbs too high. It can drip because the valve is faulty, because home water pressure is too high, or because the tank has built up pressure from heating. If water keeps flowing after the lever test, replace the valve.
What the valve does
The T&P valve keeps the tank from overpressure by opening when pressure gets too high. It should not be plugged, capped, or blocked. That is not a repair. It removes a safety device from the system.
How to test the valve
Lift the lever briefly. A small discharge can be part of the test, but water should stop when the lever is released. If water keeps flowing, or if the valve will not reseat cleanly, the valve needs replacement.
When a drip points to system pressure
Recurring discharge often points to pressure issues, not just a bad valve. High home water pressure above 80 psi is considered high. A pressure-reducing valve is usually set between 50 and 60 psi, and a faulty setting or failed valve can let pressure rise enough to trigger repeated discharge.
Use the 60-second leak triage checklist
This is the fastest way to sort the three branches. Make the branch call from what you can actually see, not from guesswork. Then choose replace now, monitor after pressure correction, or repair the valve or fitting.
60-second leak triage checklist
- Shut the cold-water supply immediately.
- Take three photos: the full heater, the wet source area, and any control labels or valve tags.
- Dry the shell and fittings. Watch where water returns first.
- Branch 1: active tank leak. Water comes from the steel shell, not a fitting. Replace now.
- Branch 2: T&P discharge. Water comes from the relief valve or its discharge pipe. Test the lever briefly. If flow stops and pressure is corrected, monitor. If flow keeps going, replace the valve.
- Branch 3: fitting or valve drip. Water comes from the inlet, outlet, drain valve, or nearby joint. Repair or replace the part.
What photos to take
Take one photo of the full setup, one close-up of the leak source, and one of any rust, mineral crust, or dripping line on the tank body. Capture the breaker label or gas control label too. Those details help a plumber and can help document damage for insurance.
What high water pressure and an expansion tank have to do with leaks
High pressure can turn a small issue into a recurring one. If the home supply is above 80 psi, the system is under stress. A pressure-reducing valve may be part of the answer, and an expansion tank helps prevent pressure buildup in plumbing systems when heated water has nowhere to expand.
Where the pressure-reducing valve fits
A pressure-reducing valve is typically installed on the incoming home supply and helps limit the pressure entering the house. When it is set too high, failed, or acting like a check valve, hot water expansion can get trapped in the plumbing system and push the T&P valve to discharge again.
When an expansion tank is the missing piece
An expansion tank is often installed on the cold-water inlet side above the heater. It gives expanding water somewhere to go. Homes with a pressure-reducing valve or check valve often need that extra buffer to stop repeat discharge and nuisance pressure spikes.
Measure before you guess
If the T&P valve drips more than once, check incoming water pressure at the home supply. Pressure above 80 psi is high enough to cause trouble. If the pressure-reducing valve is not holding near 50 to 60 psi, the pressure problem should be corrected before the new valve is installed.
When does a leaking water heater mean replacement instead of repair?
A tank leak usually means replacement, while a fitting leak or faulty valve may be repairable. If the steel tank is leaking through the shell, or if there is rusty water and rust on the outside of the tank, the heater is often at the end of its life. The local service page says a leaking tank often means replacement is needed.
What causes tank failure
A steel water-heater tank has a glass lining. When that lining cracks or wears away, corrosion begins. Once corrosion reaches the shell, the tank can leak through the metal. At that point, patching is not a durable fix.
Clues that point to replacement
Rust on the tank exterior, rusty water at the tap, and water seeping from the shell all point toward tank corrosion. If the wet spot returns on the body after drying, stop trying to chase fittings and plan for replacement.
Repairable parts versus failed tank
Loose inlet or outlet fittings, a bad drain valve, and a faulty T&P valve can often be repaired or replaced. A leaking shell is different. That is the line where repair usually stops making sense.
Can I still use hot water if the heater is leaking?
Use hot water only if the source is clearly a small fitting drip, the leak is contained, and the heater has been shut down as needed for safety. If the leak source is not confirmed, or water is coming from the tank body or T&P valve, do not keep using the heater. That can worsen the damage fast.
When to avoid hot water altogether
Do not use the heater if water is near electrical components, if the burner area is wet, or if the tank is refilling while leaking. Those conditions raise the risk of damage and make diagnosis less reliable.
Do I need a plumber right away for a water heater leak?
Yes, if the tank body is wet, the T&P valve keeps discharging, or you cannot clearly identify a simple fitting leak. A plumber should also check any system with high water pressure, because pressure problems can keep forcing the same leak to return. Waiting can mean more damage than the repair.
Call now if any of these are true
- Water is coming from the tank shell.
- The T&P valve keeps flowing after the lever test.
- Rusty water or shell rust is visible.
- The leak is near wiring, controls, or the burner area.
- The pressure problem has not been measured or corrected.
Frequently asked questions
What should I do first if my water heater is leaking?
Shut off the cold-water supply first, then protect the area around the heater and take photos of the leak source. If water is active on the floor, keep people away from the wet area. After the water is off, decide whether the leak is from the tank, the T&P valve, or a fitting.
Is a leaking water heater an emergency?
It is an urgent problem whenever water is spreading, the tank body is wet, or the relief valve will not stop discharging. Even a small leak can become costly water damage if ignored. If the leak source is uncertain, treat it as an emergency until the heater is isolated and inspected.
Should I shut off the water, power, or gas first?
Shut off the cold-water supply first so the tank stops refilling. After that, turn off the breaker on an electric heater or shut off gas supply and follow the shutdown steps for a gas unit. If water is near controls or wiring, leave the heater out of service until a plumber checks it.
How do I tell if the leak is from the tank or a fitting?
Dry the outside of the heater and watch where water reappears. A leak that returns on the steel shell usually means tank failure. Water at an inlet, outlet, drain valve, or nearby joint usually points to a repairable part. Photos of the exact wet point help confirm the source.
Can I still use hot water if the heater is leaking?
Only if the leak is clearly a minor fitting drip and the unit has been made safe. If the source is not confirmed, or if water is coming from the tank body or the T&P valve, do not use hot water. Continued operation can worsen damage and increase the chance of a full failure.
Why is my pressure relief valve dripping?
The T&P valve may be releasing excess pressure, or the valve itself may be faulty. High home water pressure above 80 psi can trigger discharge, and homes with a pressure-reducing valve or check valve may need an expansion tank to control pressure buildup. If the valve keeps flowing after a lever test, replace it.