How to Service a Water Heater Drain Valve
To service a water heater drain valve, start with the symptom. Debris at the outlet or a stuck handle usually calls for cleaning. A drip after closing usually means replacement. If you ignore it, you may end up with a tank you cannot drain, plus leaks or a bad read on sediment and pressure problems. Use this guide to test the valve, clean it, replace it, and drain the heater safely.
Drain valve location and common problems


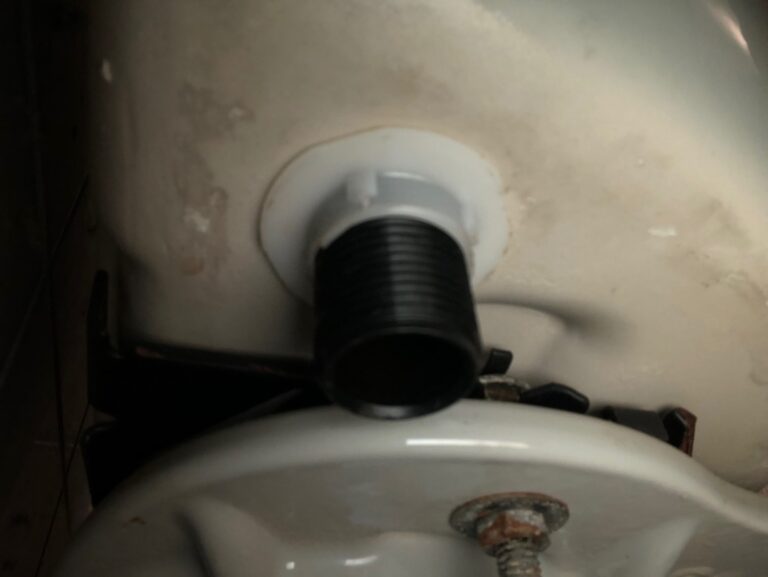
The drain valve is typically near the tank bottom. It lets you drain water and flush sediment, but mineral buildup can clog it, and the valve can leak or fail to close. Some valves are removable, which helps when sediment has packed the outlet solid.
Drain-valve service often ties into broader water heater valve work, including installation, repair, and replacement. A leak near the valve connection can point to the valve body, the threads, or the seal, not only the handle.
What you’ll need
- Garden hose long enough to reach a floor drain or an outdoor discharge point
- Bucket or shallow pan for a controlled drain at the valve
- Adjustable wrench or channel-lock pliers for a replaceable valve
- Flat-head screwdriver for a cap, handle, or simple valve mechanism
- Rags or towels
- Thread seal tape or pipe sealant, if the replacement valve calls for it
- Replacement drain valve that matches the tank connection, if the old one will not seal
- Flashlight
- Heat-resistant gloves and safety glasses
How do you know what failed?
Start with the symptom, then separate a valve problem from tank sediment or pressure trouble. No water flow often points to a clog at the outlet. A drip after closing may point to a bad seal. If the TPR valve or another relief point is also leaking, pressure may be part of the problem.
Drain valve troubleshooting matrix
| Symptom | Likely cause | Safe homeowner test | Fix or next step |
|---|---|---|---|
| No water flow | Outlet clog, closed valve, or vacuum lock | Confirm the cold-water shutoff is closed, then open a hot faucet to admit air. If the valve stays dry, the outlet is likely blocked. | Try cleaning the valve outlet. If it will not clear, plan replacement or a plumber visit. |
| Slow trickle | Sediment buildup in the tank or valve passage | Watch whether the first water is rusty or gritty. If flow improves only after repeated short drains, sediment is still moving out. | Flush longer, then reassess. If flow stays weak, the valve may need to come out. |
| Valve drips after closing | Failed seal, worn washer, or damaged seat | Dry the outlet and check again after closing. If the drip returns from the valve body, not the hose, the valve is not sealing. | Replace the drain valve. |
| Valve won’t open | Seized stem, heavy mineral buildup, or damaged handle | Use gentle hand pressure only. If the handle will not move, forcing it can break the body or snap the stem. | Stop and replace the valve if it remains stuck. |
Clogged valve versus tank sediment
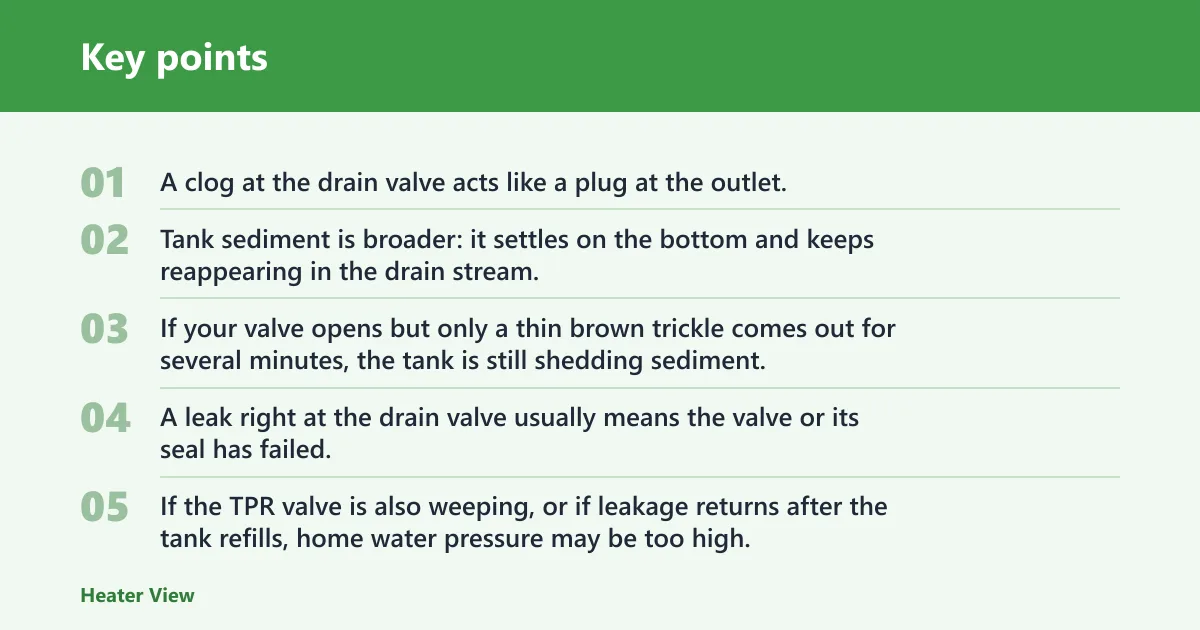
A clog at the drain valve acts like a plug at the outlet. Tank sediment is broader: it settles on the bottom and keeps reappearing in the drain stream. Rust-colored water, repeated clogging, and a drain that starts then stalls usually point to sediment inside the tank, not only a bad valve.
If your valve opens but only a thin brown trickle comes out for several minutes, the tank is still shedding sediment. Cleaning the valve alone will not solve it.
Leak at the valve versus pressure issue
Look for where the water appears. A leak right at the drain valve usually means the valve or its seal has failed. If the TPR valve is also weeping, or if leakage returns after the tank refills, home water pressure may be too high. Family Handyman identifies residential pressure as usually from 60 to 80 psi, so a pressure issue belongs on the list when multiple valves complain.
The TPR valve is a safety feature, usually located on the top or near the top of the tank. Do not use it as the default air path for draining unless the manufacturer says to.
How to service the drain valve
Shut off the cold-water supply valve before any drain-valve work. On an electric water heater, turn off power at the breaker and leave it off until the tank has refilled. On a gas water heater, set the thermostat to Pilot or Off and let the unit cool before draining. A hot-water faucet is the safer air path while the tank drains.
- Shut off the heater. Turn off the breaker for an electric unit, or set a gas unit to Pilot or Off. Close the cold-water supply valve on the pipe entering the top of the tank so refill stops during service.
- Attach the hose. Thread a garden hose onto the drain valve at the bottom of the tank. Route it to a floor drain, a sump-safe discharge point, or outside. Basement units may need multiple hose lengths to reach a proper drain path.
- Open a hot faucet. Open a hot-water faucet in the house to let air enter the tank. This helps the water drain without creating a vacuum.
- Open the drain valve. Turn the valve slowly and watch the first discharge. If the flow is weak, let it run, then close and reopen once to clear loose sediment. Bob Vila recommends letting water drain completely, not just for five minutes.
- Flush until clear. Let fresh water enter briefly by opening the cold supply valve for a moment, then close it again and drain. Repeat until the water runs clearer, especially if sediment buildup has caused rust-colored water or reduced heating.
- Close and inspect. Close the drain valve firmly, remove the hose, and watch for drips. Refill the tank fully, then restore power only after water runs from the open hot faucet without sputtering.
Bob Vila says to drain a water heater every year. Today’s Homeowner says draining once a year can add five to 10 years of service, and that DIY draining costs next to nothing. It also estimates plumber drainage service can cost about $100 to $200, while a tank-style water heater replacement typically costs $1,300 to $2,500.
How do you clear a stubborn valve?
If the valve is partly blocked, the first goal is to clear the passage without cracking the body. If the outlet will not clear, replacement is safer than repeated force. A valve that will not seal after cleaning should not stay in service.
Cleaning a partially blocked valve
Drain the tank until flow slows, then close the valve and remove the hose. Use a flashlight to inspect the outlet for grit, mineral flakes, or rust scale. If the valve has a removable cap or removable body, take it apart only after the tank is drained and pressure is relieved through a hot faucet.
- Clear loose debris. Flush short bursts through the valve while the hose is attached, then stop and inspect the discharge. Repeat only if the outlet is improving and the handle still moves normally.
- Remove the fitting. If the design allows it, remove the valve insert or whole valve with the right wrench. Clean mineral buildup from the passage, then reinstall with the correct seal method for that valve.
- Stop if the body cracks. Replace the valve if threads strip, the handle breaks, or the housing splits. A cracked drain valve is not a safe candidate for repair.
A common first-timer mistake is forcing a stuck handle. Picture a valve that moves a quarter-turn, stops hard, and then leaks after a second tug. At that point, the safer move is replacement, not another twist.
Replacing a valve that will not seal
If the valve drips after closing, the seal or seat is worn. Replacement is the reliable fix. Before removing it, check whether the old valve is threaded directly into the tank or held by a removable assembly. Match the replacement to that connection type by checking the model listing or the owner’s manual, because valve designs vary by model.
- Drain below the valve. Lower the water level below the drain opening so the tank does not spill when the old valve comes out.
- Remove the old valve. Use the proper wrench and steady pressure. If it will not budge, stop before the tank fitting is damaged.
- Install the new valve. Fit the replacement valve according to the manufacturer’s instructions for that model, then tighten without overtorquing the tank connection.
- Leak-check the joint. Refill the tank and watch the replacement valve and nearby connection for seepage before restoring normal operation.
Common mistakes
- Opening the TPR valve as a routine draining step. Use a hot faucet for air unless the manufacturer says otherwise.
- Forgetting the cold-water shutoff. That can keep feeding the tank while you are trying to drain it.
- Turning power back on before the tank refills. Electric elements can be damaged if they fire dry.
- Assuming every leak comes from the drain valve. A TPR valve leak or higher water pressure can point somewhere else.
- Stopping a flush too early. Sediment can keep moving after the first few gallons.
- Forcing a stuck valve. That often turns a serviceable valve into a broken one.
Prevention is simple: drain the tank before sediment hardens, and watch for rust-colored water or reduced heating during routine use. If those signs keep returning soon after a flush, the tank may be too scaled to justify more valve work.
Does a water heater need to be serviced?
Yes. A tank heater benefits from periodic draining, valve checks, and attention to leaks near the connections. Servicing helps catch a drain valve that is clogging, a TPR valve issue, or pressure trouble before the tank becomes harder to drain or starts leaking at more than one point.
Do all water heaters have a drain valve?
No. Most tank-style water heaters have a drain valve near the bottom, because the tank needs a way to empty and flush sediment. Some designs use service arrangements that vary by model, so check the unit before planning a drain. Tankless units do not use the same drain-valve setup.
How does a water heater drain valve work?
The drain valve opens at the bottom of the tank so water can leave while air enters from a hot faucet. That flow carries out sediment settled on the tank floor. If mineral buildup narrows the passage, the valve can clog, slow the drain, or stop sealing cleanly when closed.
How to remove a water heater drain valve
Remove it only after the tank is drained below the opening and the unit is safe to work on. The valve may be threaded or part of a removable assembly, so identify the connection on your model before you loosen anything. If the body is seized or cracked, replacement is usually the next step.
Frequently asked questions
Are water heater drain valves universal?
No. Connection style, body shape, and replacement method vary by model, so the fit is not universal. Check the manufacturer’s listing or the owner’s manual before buying a replacement valve, especially if the old one threads into the tank or uses a removable insert.