How to Charge Sidas Boot Heaters: Full Instructions
To charge Sidas boot heaters, connect the battery pack to the charger until the indicator light shows a full charge, typically 4-6 hours. Ensure you use the correct Sidas charger and follow these simple steps for warm, comfortable feet all day.
Worrying about cold feet ruining your ski trip or outdoor adventure? You’re not alone. Keeping Sidas boot heaters charged is key, but sometimes the process can seem a bit confusing. Don’t let a dead battery cut your fun short! This guide will show you exactly how to get your Sidas boot heaters powered up and ready to go, making sure your feet stay toasty warm no matter the weather. We’ll break it down into easy steps, so you can get back to enjoying the snow with confidence.
Understanding Your Sidas Boot Heater System
Before we dive into charging, let’s quickly get acquainted with the main parts of your Sidas boot heating system. Most Sidas systems consist of two main components: the heating elements (which are usually embedded in your boot’s insole) and the battery pack. The battery pack is the powerhouse that supplies the energy to the heating elements. It’s crucial to know that Sidas boot heaters are designed to work with specific Sidas chargers. Using a charger not made by Sidas could damage your battery or, worse, be a safety hazard. Always look for the Sidas logo on your charger and battery.
Understanding these components helps ensure you’re using the right parts together. The battery pack typically attaches to the outside of your ski boot, often clipped to the cuff or a special strap. It’s designed to be durable and weather-resistant, but like any electronic device, it needs proper care, especially when it comes to charging.
The Sidas Battery Pack: Your Warmth Source
The battery pack is where the magic happens. It stores the energy that warms the heating elements in your boots. Sidas offers various battery pack models, but they generally share similar charging principles. You’ll find a charging port on the battery pack itself. This is where the charger connects. Most Sidas battery packs are rechargeable lithium-ion or lithium-polymer batteries, known for their good energy density and ability to hold a charge for a significant amount of time, usually several hours of active heating depending on the heat setting.
It’s important to note that battery performance can be affected by extreme cold. While Sidas products are designed for winter conditions, the battery itself might not last as long in very low temperatures compared to milder conditions. This is a common characteristic of most rechargeable batteries. Keeping the battery pack in a relatively warmer place when not in active use, like inside your jacket pocket, can help maintain its performance on very cold days.
The Sidas Charger: Powering Up
Your Sidas charger is specifically designed to safely and efficiently deliver power to your Sidas battery pack. It typically comes with a cable that connects to the battery pack and a plug that goes into a standard wall outlet. Some chargers might also include an adapter for charging in a car or via a USB port, offering flexibility for different situations. Always ensure the charger unit itself is in good condition, with no visible damage to the cable or plug.
Using the official Sidas charger is non-negotiable for the longevity and safety of your equipment. Trying to “trick” or use a generic charger can lead to overcharging, undercharging, or even fire risks. These chargers are engineered with specific voltage and current requirements to match Sidas batteries precisely. If you’ve misplaced your original charger, it’s best to purchase a genuine Sidas replacement from an authorized dealer.

How to Charge Sidas Boot Heaters: Step-by-Step
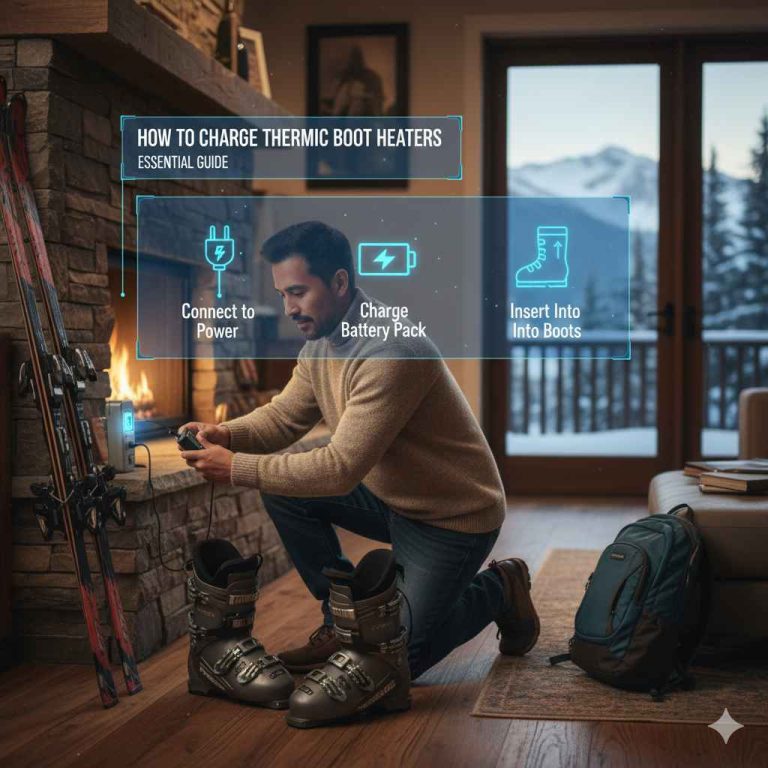
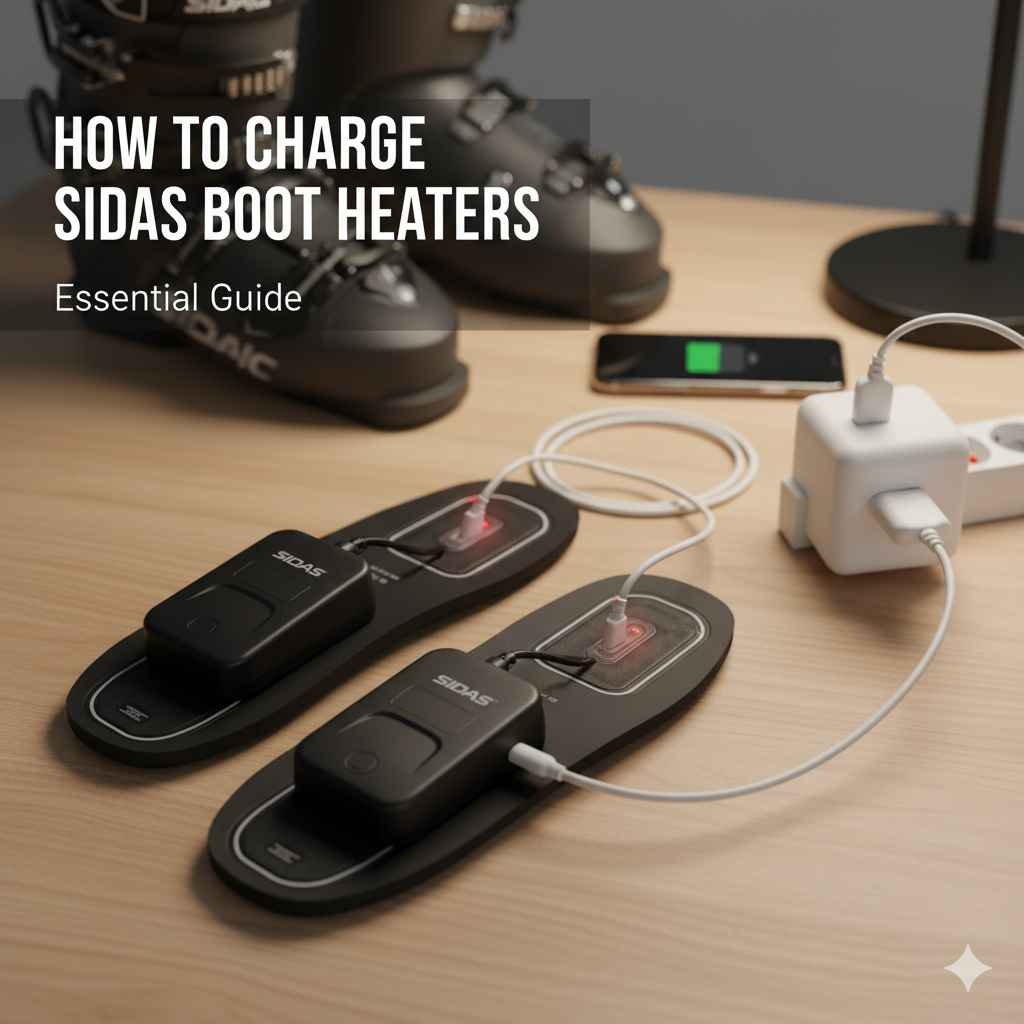
Charging your Sidas boot heaters is straightforward. Following these steps will ensure your batteries are ready for your next adventure:
- Gather Your Equipment: You’ll need your Sidas battery pack(s), the official Sidas charger that came with your system, and a working power outlet.
- Locate the Charging Port: Find the charging port on your Sidas battery pack. It’s usually a small, specific connector designed to match the charger cable.
- Connect the Charger: Plug the charger cable firmly into the battery pack’s charging port. Ensure it’s a snug fit.
- Plug into the Outlet: Connect the other end of the charger (the plug) into a standard electrical outlet.
- Check the Indicator Light: Your Sidas charger and/or battery pack will have an indicator light. This light tells you the charging status.
- Red/Orange: Usually means the battery is charging.
- Green/Blue (or light turns off): Typically indicates the battery is fully charged.
- Allow Sufficient Charging Time: A full charge usually takes between 4 to 6 hours. It’s best not to interrupt the charging cycle, especially for the first few uses.
- Disconnect When Full: Once the indicator light signifies a full charge, unplug the charger from the wall outlet first, and then disconnect it from the battery pack.
- Store Properly: If you’re not using the batteries immediately, store them in a cool, dry place. Avoid extreme temperatures.
Understanding Charging Indicator Lights
The charging indicator lights are your best friends when it comes to knowing the status of your Sidas boot heaters. While specific colors can vary slightly between Sidas models, here’s a general guide:
- Solid Red/Orange Light: This is almost universally the “charging” indicator. It means power is flowing from the charger to the battery, and the battery is replenishing its energy.
- Solid Green/Blue Light: This color typically signifies that the battery is fully charged and ready to go. The charger has completed its job.
- Flashing Light: A flashing red or orange light might indicate a fault or that the battery is very low. Consult your Sidas manual. A flashing green light could sometimes mean it’s in a trickle charge mode after being fully charged, though this is less common.
- No Light: If you plug in the charger and see no light at all, check that the outlet is working, the charger is plugged in correctly to both the outlet and the battery, and that the charger itself isn’t damaged.
Always double-check your Sidas manual for the precise meaning of the indicator lights for your specific battery model. This ensures you interpret the signals correctly and avoid any guesswork.
Optimal Charging Conditions
For the best charging performance and battery health, consider these conditions:
- Room Temperature: Charge your batteries at typical room temperatures (around 15-25°C or 59-77°F). Extreme cold or heat can hinder charging and potentially damage the battery. This is why charging your batteries in your heated accommodation is ideal.
- Clean Connections: Ensure the charging port on the battery and the connector on the charger are clean. Dust or debris can prevent a good connection. You can gently clean them with a dry cotton swab if needed.
- Avoid Overcharging (Generally): Modern Sidas chargers are designed with overcharge protection, meaning they stop charging once the battery is full. However, it’s still good practice to disconnect the charger once the full charge indicator is illuminated. Leaving it plugged in for days on end isn’t recommended for maximizing battery lifespan, although many systems are safe to leave connected longer.
- First Use: For the very first charge, it’s often recommended to charge the battery until the indicator shows it’s full. This helps calibrate the battery’s charge indicator.
Troubleshooting Common Charging Issues
Even with the best guidance, you might occasionally run into a snag. Here are some common issues and how to resolve them:
Battery Not Charging
If your Sidas battery pack isn’t charging:
- Check Power Source: Ensure the outlet you’re using is working. Try plugging in another device to confirm.
- Verify Connections: Make sure the charger is securely plugged into both the battery pack and the wall outlet. There should be no loose connections.
- Inspect Charger and Cable: Look for any visible damage to the charger, its cable, or the plug. A frayed cable or bent pins can prevent charging.
- Clean the Port: As mentioned, clean any dust or debris from the battery’s charging port and the charger’s connector.
- Battery Health: If the battery is very old, it might no longer hold a charge. Lithium-ion batteries have a finite lifespan.
- Faulty Charger or Battery: In rare cases, the charger or the battery itself might be defective. If you’ve tried everything else, contact Sidas customer support or an authorized dealer.
Charging Takes Too Long
If your battery seems to be taking an unusually long time to charge:
- Ambient Temperature: Charging in very cold or very hot environments can slow down the process. Move to a more moderate temperature.
- Battery is Deeply Discharged: If the battery has been completely drained, it might take longer to reach a full charge.
- Partial Charge: Sometimes, an indicator might show “full” prematurely if the battery management system isn’t perfectly calibrated. A full charge cycle should always be completed.
- Faulty Charger: An underperforming charger might take longer to deliver the necessary power.
Battery Drains Too Quickly
If your fully charged battery doesn’t last as long as it used to:
- Heat Setting: Higher heat settings consume more power. If you use the highest setting for extended periods, expect shorter battery life.
- Ambient Temperature: Extremely cold weather reduces battery efficiency and runtime.
- Battery Age: Like all rechargeable batteries, Sidas batteries degrade over time and with use. Their capacity diminishes with age.
- Parasitic Drain: Ensure the battery is fully disconnected from the heating elements when not in use, as a continuous connection can drain it.
- Memory Effect (Less Common with Lithium-ion): While less of an issue with modern lithium-ion batteries, fully discharging and then fully recharging can sometimes help recalibrate the battery’s capacity indicator.
Maximizing Battery Life and Performance
To get the most out of your Sidas boot heater batteries, consider these tips:
- Charge Fully: Always aim for a full charge before heading out.
- Avoid Extreme Temperatures: Store batteries in your pocket or a relatively warm place when not in use, especially in very cold conditions.
- Don’t Store Fully Drained: If you’re storing the batteries for an extended period (e.g., over the summer), try to store them with a partial charge (around 50-70%). Storing them completely empty or fully charged for months can degrade them.
- Use the Right Heat Setting: You don’t always need the highest setting. Experiment to find a comfortable level that conserves battery life.
- Regular Use is Good: Batteries tend to perform better when used periodically. Storing them for too long without use can sometimes lead to issues.
- Inspect Regularly: Check for any damage to the battery pack, cables, or connectors.
- Follow Manufacturer Guidelines: Always refer to your specific Sidas product manual for detailed care and maintenance instructions.
When to Replace Your Sidas Battery Pack
All batteries have a lifespan, and Sidas battery packs are no different. You’ll know it’s likely time to replace your battery pack when:
- Significantly Reduced Runtime: Even on the lowest heat setting, the battery only lasts a fraction of its original duration.
- Failure to Hold a Charge: The battery dies very quickly after charging, or won’t charge at all anymore.
- Physical Damage: If the battery pack casing is cracked, swollen, or leaking, it should be replaced immediately for safety reasons.
- Inconsistent Performance: The heat output is very weak, or the battery repeatedly shuts off unexpectedly.
When it’s time for a replacement, ensure you purchase an official Sidas battery pack that is compatible with your boot heating system. You can usually find these through authorized Sidas retailers or ski shops.
A Quick Look at Sidas Battery Specifications and Charging Times
Here’s a table that gives you an idea of typical Sidas battery specifications and charging times. Please note that these are general figures and can vary by model. Always check your specific product documentation for exact details.
| Feature | Typical Specification | Notes |
|---|---|---|
| Battery Type | Rechargeable Lithium-ion / Lithium-Polymer | Offers good power density and fewer charging cycles issues than older types. |
| Typical Capacity | 1800 – 3000 mAh (milliampere-hours) | Higher mAh generally means longer runtime. |
| Voltage | 3.7V, 7.4V (dual cell) | Matches the requirements of Sidas heating elements. |
| Runtime per Charge | 4-12 hours (depending on heat setting and ambient temperature) | Lower settings and warmer temps result in longer runtimes. |
| Charging Time | 4-6 hours (for a full charge) | Can be longer if the battery is deeply discharged or in very cold conditions. |
| Charger Type | Dedicated Sidas AC Charger | Essential for safe and efficient charging. May include optional DC car adapters. |
Why Use a Sidas-Specific Charger?
Using a charger designed by Sidas is crucial for several reasons:
- Safety: Sidas chargers are built to prevent overcharging, overheating, and short circuits, which are potential fire hazards with incompatible chargers. The U.S. Consumer Product Safety Commission (CPSC) highlights the dangers of using uncertified or improper chargers for electronics. [1]
- Battery Longevity: Chargers are precisely calibrated to deliver the correct voltage and current that Sidas batteries are designed to accept. Using the wrong charger can damage the battery’s internal components, drastically shortening its lifespan.
- Optimal Performance: A matched charger ensures the battery charges efficiently, reaching its full capacity and providing consistent heat output when you need it most.
- Warranty: Using a non-Sidas charger may void the warranty on your battery pack and heating system.

Frequently Asked Questions (FAQ) about Charging Sidas Boot Heaters
How long does it take to fully charge Sidas boot heater batteries?
Typically, it takes about 4 to 6 hours to fully charge Sidas boot heater batteries. This can vary slightly depending on the specific battery model and its remaining charge level.
Can I use any USB charger to charge my Sidas boot heaters?
No, you should only use the official Sidas charger that came with your boot heating system. Most Sidas batteries use proprietary connectors and require specific voltage and amperage that a generic USB charger might not provide safely or effectively.
What do the indicator lights on the Sidas charger mean?
Generally, a red or orange light indicates that the battery is charging, while a green or blue light signifies that the battery is fully charged. However, always refer to your Sidas manual for the exact color codes for your specific model.
Is it bad to leave my Sidas batteries charging overnight?
Modern Sidas chargers are designed with overcharge protection, so it’s generally safe to leave them plugged in overnight. However, for optimal battery longevity, it’s best practice to disconnect the charger once the full charge indicator light is illuminated.
My Sidas battery isn’t charging. What should I do?
First, check that the power outlet is working and that all connections are secure. Ensure the charging port and connector are clean. If the problem persists, the charger or battery might be faulty, and you may need to contact Sidas customer support or an authorized dealer.
Can I charge my Sidas batteries in a very cold car?
It’s not recommended to charge Sidas batteries in extreme cold. Extreme temperatures can affect charging efficiency and potentially damage the battery. It’s best to charge them indoors at room temperature.
How often should I charge my Sidas boot heater batteries?
You should charge your batteries whenever they are low or fully depleted, especially before you plan to use them for an extended period. For long-term storage, it’s advisable to charge them to about 50-70% and store them at room temperature.
Conclusion
Keeping your Sidas boot heaters charged is a simple but vital part of ensuring warm and comfortable feet during your winter activities. By understanding your battery pack and charger, following the straightforward charging steps, and paying attention to indicator lights, you’ll easily maintain your system.