
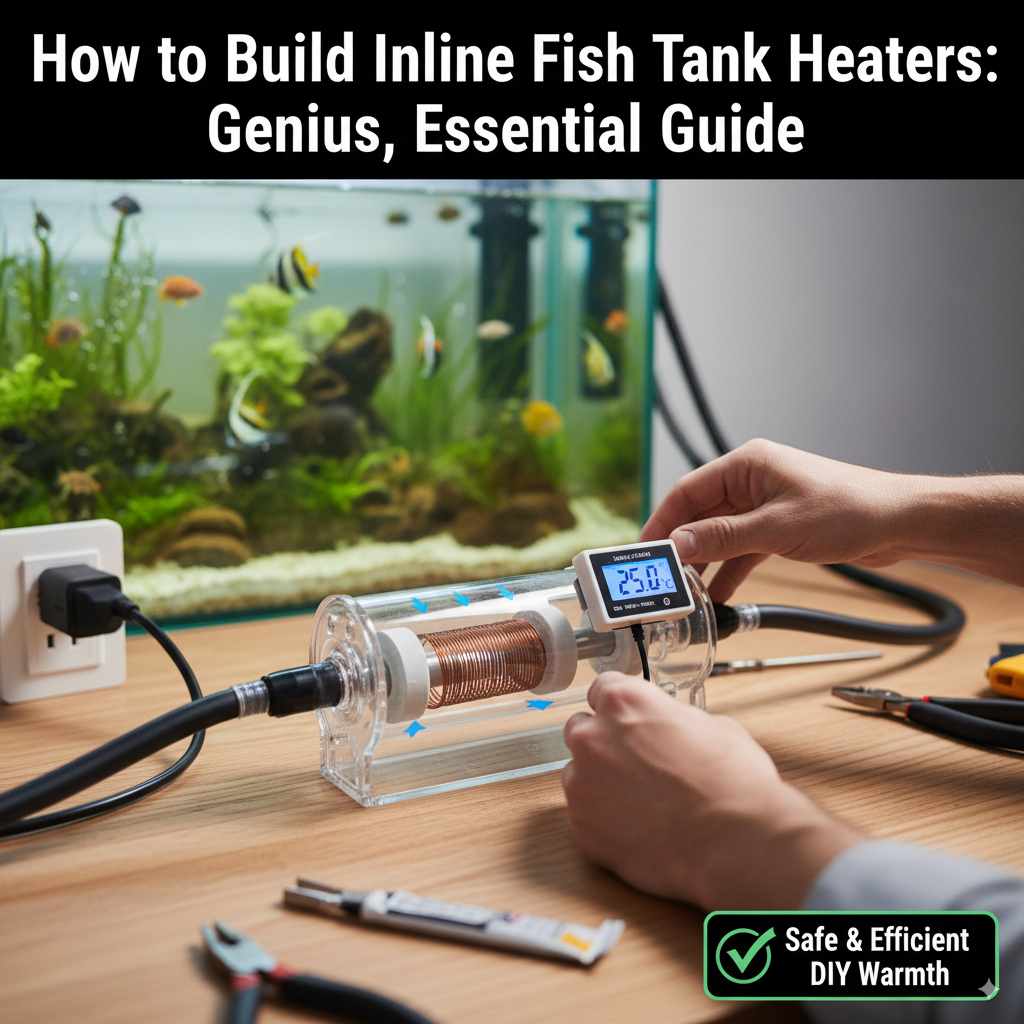
Yes, you can absolutely build your own inline fish tank heater! It’s a remarkably efficient and essential DIY project for maintaining a stable, cozy environment for your aquatic friends. With a few common materials and simple steps, you can create a reliable heating system that outperforms many store-bought options, saving you money and giving you peace of mind.
Are you looking for a smarter way to keep your fish tank at the perfect temperature? Many aquarium owners worry about fluctuating water temperatures being bad for their fish. Traditional heaters can sometimes be ugly, bulky, or less efficient. What if there was a way to create a heating system that’s hidden, effective, and tailored just for your tank? Building an inline fish tank heater might sound complicated, but it’s surprisingly simple. This guide will walk you through everything you need to know, step-by-step, so you can provide the best possible home for your fish. Let’s dive in and explore how you can build this genius and essential heating solution!
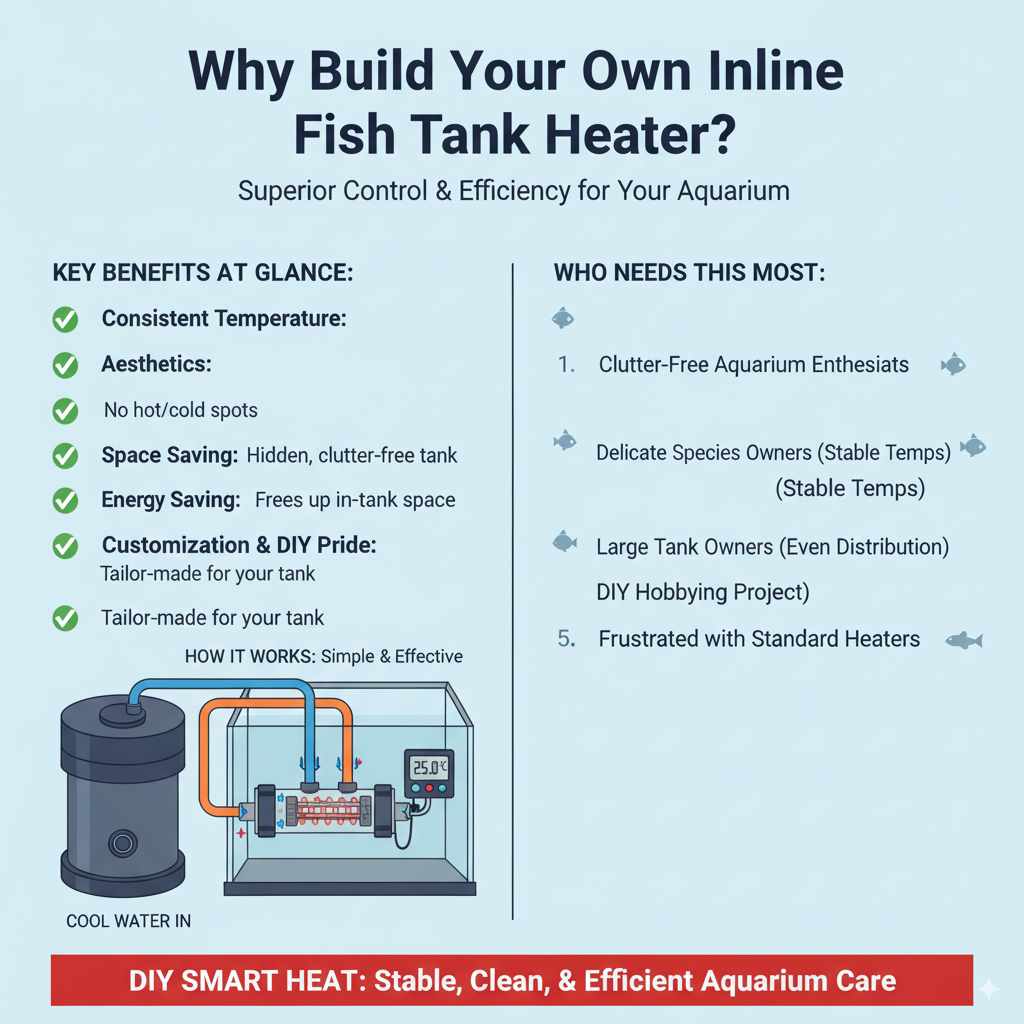
Why Build Your Own Inline Fish Tank Heater?
Creating your own inline fish tank heater offers several fantastic advantages. It’s not just about saving a few bucks; it’s about gaining a superior level of control and efficiency for your aquarium’s environment.
Key Benefits at a Glance:
- Consistent Temperature: Inline heaters integrate directly into your filter’s water flow, distributing heat evenly throughout the tank. This prevents hot spots and cold spots, ensuring a stable temperature vital for fish health.
- Aesthetics: Unlike submersible heaters that can be unsightly, inline heaters are typically hidden within your filter tubing. Your aquarium looks cleaner and more natural.
- Space Saving: They don’t take up precious space inside your aquarium, which is especially helpful for smaller tanks or tanks with unique aquascaping.
- Efficiency: By heating the water as it passes through, you can often achieve the desired temperature with less energy consumption compared to less direct heating methods.
- Customization: You can build a heater that perfectly matches the size and flow rate of your specific aquarium setup.
- DIY Satisfaction: There’s immense pride in building something functional and essential for your hobby!
Who Needs This Most?
Building an inline heater is perfect for:
- Anyone who wants a visually appealing, clutter-free aquarium.
- Hobbyists with delicate fish species that require very stable temperatures.
- Owners of larger tanks where a single submersible heater might struggle to maintain an even temperature.
- DIY enthusiasts looking for a rewarding and practical project.
- Those often frustrated by the maintenance or inconsistent performance of standard aquarium heaters.
The core idea is simple: heat water before it enters the main body of your aquarium. This is achieved by placing a heating element within a section of your filter’s intake or output tubing. Let’s get to the fun part – building it!
Understanding the Essential Components
Before we start building, let’s get familiar with the parts you’ll need. Think of it like gathering your ingredients before cooking; knowing what everything is helps everything run smoothly.
Your ‘Shopping List’ for a DIY Inline Heater:
- Water Pump or Powerhead: You need something to move the water. This can be a small internal water pump, a powerhead, or you can tap into the outflow of an existing canister filter. The flow rate should be appropriate for your tank size. For a DIY setup where you’re controlling circulation, a dedicated small pump is often easiest.
- Heating Element: This is the heart of your heater. For simple builds, a submersible aquarium heater (with its outer casing removed, if possible, though many DIYers use them whole and waterproof them) or a dedicated heating rod designed for DIY fluidics is ideal. Ensure it’s rated for your tank size or slightly larger so it doesn’t have to work too hard.
- Tubing/Piping: Food-grade PVC or flexible aquarium tubing that fits the intake/outflow of your pump and allows for connection to the heating element. The diameter should be chosen based on your pump fitting and desired aesthetics.
- Watertight Housing/Enclosure: This is crucial for safety and water management. A small waterproof project box, a section of larger diameter PVC pipe sealed at both ends, or a specialized watertight fitting. It needs to be large enough to house the heating element and connect your main tubing.
- Waterproof Sealant/Adhesives: Aquarium-safe silicone sealant is your best friend here. It needs to be non-toxic to fish and create a durable, watertight bond.
- Thermometer/Thermostat (Optional but Recommended): While many aquarium heaters have built-in thermostats, an external thermostat connected to the heating element (and a relay if needed for higher wattages) provides more precise control and an extra layer of safety. An independent aquarium thermometer is also vital for monitoring.
- Wire Connectors and Waterproofing: If you’re working with electrical components beyond a pre-built submersible heater, heat-shrink tubing and waterproof wire connectors are essential for electrical safety.
- Basic Tools: PVC cutters or pipe saw, drill with appropriate bits, screwdriver set, wire strippers (if needed), measuring tape.
Sizing Your Heater
The wattage of your heating element is critical. Too low, and it won’t heat your tank. Too high, and it could overheat the small volume of water passing through, potentially damaging the heater or even the fish if temperature control fails. A good rule of thumb is to aim for 3-5 watts per gallon of aquarium water.
Here’s a quick guide:
| Aquarium Size (Gallons) | Recommended Wattage Range |
|---|---|
| 10-20 | 30-100 watts |
| 20-40 | 50-150 watts |
| 40-75 | 100-200 watts |
| 75-125 | 150-300 watts |
| 125+ | 200-400+ watts |
Always consult the manufacturer’s recommendations for any specific heating element you choose.
Your Step-by-Step Inline Heater Build
Let’s put it all together! This guide focuses on a common approach using a small submersible pump and a sealed housing. Safety first – always unplug any equipment before working on it.
Step 1: Prepare and Seal Your Watertight Housing
If you’re using a PVC pipe section, cut two pieces of a larger diameter PVC pipe. At both ends, attach PVC end caps using PVC cement. Then, drill two holes in each of the end caps large enough for your aquarium tubing or pump fittings to pass through snugly. One end will be for water intake, and the other for outflow from the housing.
Alternatively, a waterproof electrical project box works well. You’ll need to drill holes for tubing inlet and outlet. Ensure the box has a reliable seal. For instance, you might use bulkhead fittings for a secure and clean tubing connection.
Step 2: Install the Heating Element
If your heating element is a self-contained submersible unit, you’ll likely place it inside the housing. If you’re using a bare heating rod, you’ll need to ensure it’s securely mounted within the housing and that its electrical connections are kept far away from the water – this is where advanced electrical knowledge and waterproofing measures (like epoxy encapsulation for connections) become paramount. For beginners, using a repurposed, integrated submersible heater is safer and simpler.
Crucial Safety Note: If you are modifying a commercial heater, ensure you understand electrical safety. It is often safer to build an inline system around a standard submersible heater, containing it within a larger housing.
Ensure the heating element’s power cord can exit the housing safely and watertight. You might use a grommet or a specialized waterproof cable gland. Fill the housing with water before permanently sealing any remaining access points to test for leaks and ensure the heater is fully submerged.
Step 3: Connect Tubing and Pump
Attach your chosen tubing to the inlet and outlet ports of your housing. If using a separate pump, you might design the housing to receive the pump’s outflow directly, or you’ll run a tube from the pump’s output to the heater housing’s inlet, and another tube from the housing’s outlet back to the aquarium or main filter.
Position the heating element inside the housing so that water will flow directly over it. Use aquarium-safe silicone to seal the tubing into the housing and around any cable exits. Make sure all connections are secure and watertight. Allow the silicone to cure completely as per the manufacturer’s instructions (usually 24-48 hours).
Step 4: Integrate into Your Filter System
Now, you’ll connect your DIY heater assembly into your aquarium’s water circulation system. There are a few common ways to do this:
- Using a Canister Filter: If you have a canister filter, you will typically connect the heater’s outflow tubing to the return line from the filter back to the tank. The water will be pumped from the tank, through the filter, and then through your inline heater. For very DIY setups, you might even place the heater housing between filter outflow and the return nozzle.
- Using a Sump: Sump systems offer a lot of flexibility. The heater can be placed in the return pump chamber of the sump, or inline with the return plumbing.
- Using a Powerhead/Small Dedicated Pump: If you’re using a separate small pump dedicated to this task, place your DIY heater housing where the pump can push water into it, and run the outflow tubing back into the aquarium. This is often the simplest method for a standalone DIY heater. The pump itself acts as the circulation source.
Ensure the water intake for your pump is placed in an area of the tank where it can circulate effectively and draw water that needs heating. The outflow should return to a different part of the tank to encourage good circulation.
Step 5: Testing and Ensuring Safety
Once everything is connected and sealed,
- Electrical Safety First: Double-check all electrical connections. Ensure they are dry and secured.
- Fill and Prime: Ensure your tank and filter are filled with water. Prime your pump and filter so water starts flowing through the system.
- Check for Leaks: Watch every connection point carefully for drips or leaks. Tighten fittings or reapply sealant if needed.
- Power Up: Plug in the pump and the heater.
- Monitor Temperature: Use an independent, reliable aquarium thermometer and monitor the temperature closely. Check it at different points in the tank. Let it run for at least 24 hours to ensure stability.
- Thermostat Check: If your heater has an adjustable thermostat, set it to your desired temperature and verify it’s cycling on and off appropriately. If you used an external thermostat, calibrate it according to its manual.
Always set your heater slightly lower than your target temperature and let it reach the desired temp naturally. This gives your thermometer and thermostat time to sync. For example, if you want 78°F, set the heater to 76°F and let it climb.
Advanced Tips & Troubleshooting
Once you’ve got your DIY heater up and running, these tips can help you optimize its performance and ensure lasting success.
Optimizing Performance
- Water Flow is Key: The rate at which water flows through your heater housing will significantly impact its heating efficiency. Too fast, and the water might not absorb enough heat. Too slow, and the heater element could overheat. Experiment to find a balance that provides stable temperatures without overworking the pump or heater.
- Positioning Matters: Place the heater housing strategically within your filter loop. Generally, placing it after the filter media but before the water returns to the display tank is effective.
- Redundancy for Safety: For valuable tanks or sensitive species, consider using two smaller heaters in series instead of one large one. This provides a backup if one fails and allows each heater to work less strenuously.
- Consider a Controller: For ultimate control and safety, especially with bare heating elements or sensitive setups, invest in an external aquarium temperature controller. These devices monitor water temperature and can switch the heater on and off more precisely than many built-in thermostats, often available with safety shut-offs and alarms. Reputable sources for these include manufacturers like Inkbird or Finnex controllers.
- Regular Maintenance: Periodically check for algae buildup on the heating element or inside the housing, which can reduce efficiency. Clean your pump and filter media regularly.
Common Issues and How to Solve Them
No DIY project is without its potential hiccups. Here’s how to tackle common problems:
| Problem | Possible Cause | Solution |
|---|---|---|
| Tank is not heating up sufficiently. | Heater wattage is too low for tank size. | Upgrade to a higher wattage heating element. |
| Water flow is too fast. | Reduce pump speed/flow rate or adjust tubing diameter. | |
| Tank is overheating. | Heater wattage is too high for tank size. | Use a lower wattage heater, or a heater with a more precise thermostat. |
| Thermostat is malfunctioning or not calibrated. | Test with an independent thermometer and recalibrate or replace the thermostat. | |
| Leaks from the housing/connections. | Incomplete or faulty seals. | Disassemble, clean, and re-apply aquarium-safe silicone sealant. Ensure all fittings are snug. |
| Cracked housing or fittings. | Replace the damaged component and re-seal. | |
| Tubing not seated properly. | Ensure tubing is fully inserted into fittings and secured. | |
| Heater not turning on. | Power issue. | Check all electrical connections, plug, and outlet. Ensure pump is running and pushing water. |
| Unusual noises or vibrations. | Pump issue. | Check pump intake for blockages; verify pump is properly seated and secured. |
Your Safety is Paramount
Working with water and electricity requires extreme caution. Always use GFCI (Ground Fault Circuit Interrupter) outlets for all aquarium equipment. Ensure all electrical connections are well away from any potential splashes or submersion. Never attempt repairs on electrical components you’re not comfortable with; consult a qualified electrician if unsure. The National Fire Protection Association (NFPA) provides excellent resources on electrical safety.
Frequently Asked Questions
Q1: Is it safe to use a regular submersible heater in a DIY inline setup?
A1: Yes, it can be very safe and is a common method! The key is to place the entire submersible heater inside your custom watertight housing. This protects the heater and contains any potential issues. Ensure the housing is large enough for the heater and allows adequate water flow around it.