Water Heater Maintenance Checklist for Homeowners Tips
Use a symptom-driven water heater maintenance checklist: monthly visual checks, annual flush for tank units, descaling when mineral buildup appears, and call a plumber fast for leaks, rust, gas smell, or repeated pressure relief valve discharge. Small leaks, rust streaks, and a noisy tank cut service life fast, push bills up, and can leave you without hot water when you need it. This guide breaks the checklist into normal, hard-water, and aging-unit steps, with clear DIY limits and plumber thresholds.
Water heater maintenance checklist for homeowners
This checklist is built for triage. Do the safety setup first, then sort each task into three buckets: do now, watch and monitor, or hand off to a plumber. That keeps a damp fitting from being treated like a tank that is already failing.
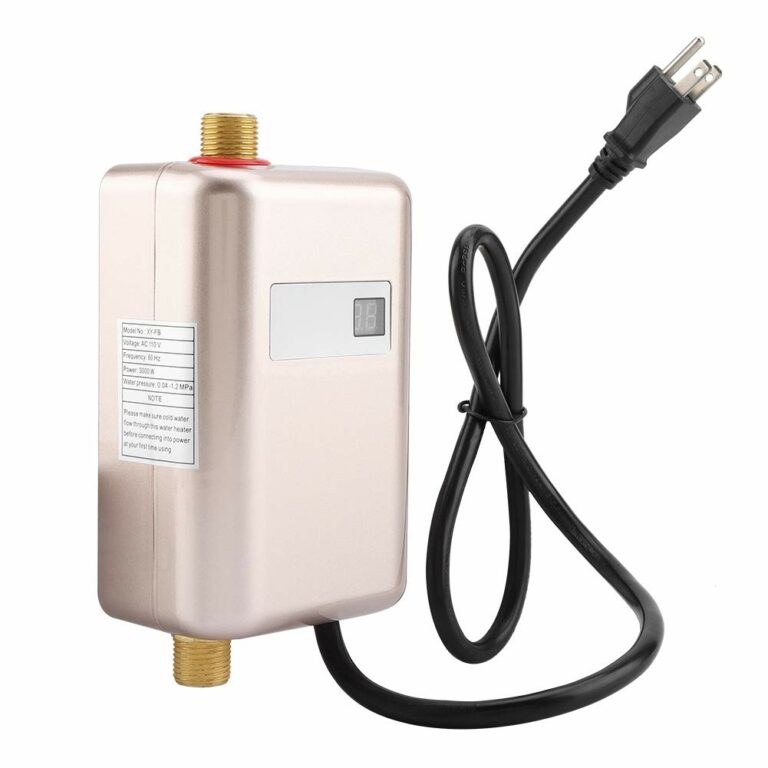
The core path is different for tank and tankless units. Tank heaters need periodic flushing and occasional anode checks. Tankless units usually need filter cleaning and venting checks, with descaling done when mineral buildup or flow problems appear.
What you’ll need before you start
- Gloves and eye protection
- Garden hose for tank flushing
- Bucket or drain pan
- Adjustable wrench
- Screwdriver set
- Flashlight
- Towels or rags
- Owner’s manual for the unit
- Descaling solution for tankless maintenance, if the manufacturer allows it
- Replacement air intake filter, if your tankless model uses one
One-page maintenance triage checklist
| Task | Risk level | When to do it | What to watch for |
|---|---|---|---|
| Visual leak and corrosion check | DIY-safe | Monthly | Moisture, rust, stained fittings, rust-colored water |
| Set thermostat to 120°F | DIY-safe | Once, then recheck if hot water feels too hot or too cool | Scald risk, energy use, vacation mode availability |
| Flush tank water heater | DIY-with-caution | Annually; sooner with hard water or sediment noise | Rumbling, popping, cloudy discharge, weak flow |
| Test T&P valve | DIY-with-caution | Annually | Strong burst of hot water or air, proper reseating, no steady drip afterward |
| Inspect sacrificial anode rod | DIY-with-caution | Every 2 to 5 years | Heavy depletion, corrosion, short life in hard water |
| Clean tankless air intake filter | DIY-safe | As needed, often during periodic service | Dust, lint, restricted airflow |
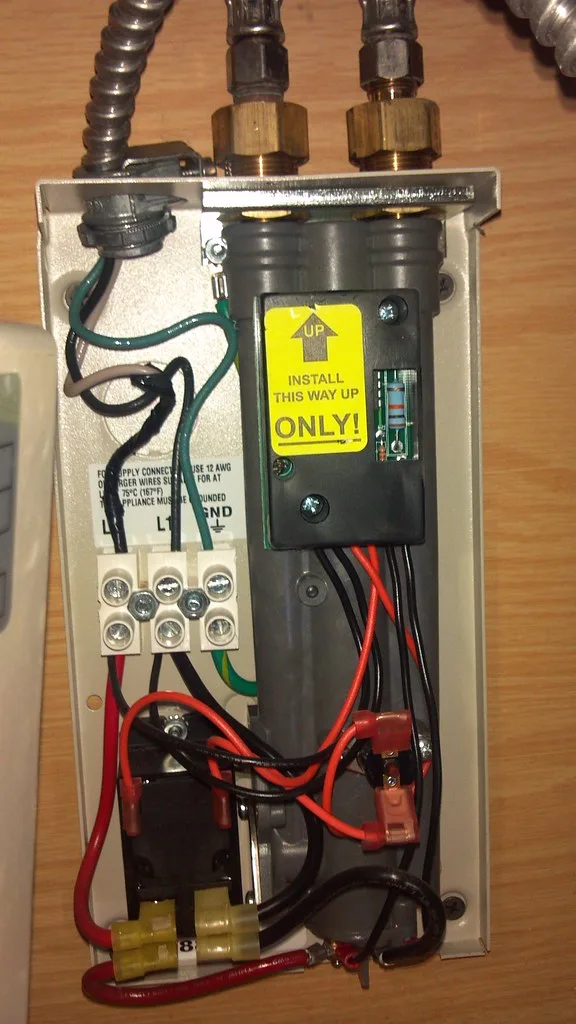
| Check gas venting or electric wiring | Pro-only | During service or if a fault appears | Loose venting, combustion concerns, exposed wiring |
| Repair repeated leaks or corrosion | Pro-only | Right away | Recurring seepage, rust, failing valve, tank aging |
What should you do first?
Shut off power or gas, close the cold-water supply, and put on gloves and eye protection before touching anything. If you smell gas, stop and leave the area. If the tank or pipes are hot, wait for them to cool before testing valves or loosening fittings.
Start with the safety gate
- Switch off the breaker for an electric unit, or set the gas valve to pilot/off for a gas unit.
- Close the cold-water supply valve to stop incoming flow.
- Check for gas odor, active leaking, or hot surfaces before continuing.
- Keep a clear path to the shutoff and do not relight a gas unit if you smell fuel.
Why this comes first
These steps block burns, flooding, and gas exposure during flushing or inspection. The cold-water shutoff keeps the tank from refilling while you open the drain or test relief parts. The power or gas shutoff keeps the unit from heating while it is partly drained.
How do you inspect the heater for problems?
Look for moisture, rust, or staining at the base of the unit, then inspect fittings and connected pipes for seepage. Rust-colored water, corrosion, or a damp pan points to trouble that needs more than a routine wipe-down. A dry tank with clean fittings can usually stay on the monitoring track.
Inspect the obvious failure points
- Check the base of the unit for standing water.
- Inspect inlet and outlet fittings for greenish corrosion, rust, or dampness.
- Look at nearby pipes, the drain valve, and the pressure relief discharge pipe.
- Run a brief hot-water draw and watch the water color at a fixture if needed.
What changes the action level
A one-time stain is a monitor item. Repeated moisture, active dripping, or rust coming back after drying means the issue has moved into repair territory. If the tank shell itself is rusting, replacement planning should start sooner rather than later.
Which maintenance steps are DIY-safe?
Tank flushing, T&P testing, thermostat checks, and tankless air filter cleaning are the main homeowner tasks, but they are not equal in risk. The thermostat is low-risk. The T&P valve and tank drain are more sensitive because they involve hot water, pressure, and discharge lines that can misbehave if handled carelessly.
Tank water heater maintenance
- Attach a garden hose to the drain valve and route it to a safe drain point.
- Open the drain valve slowly and flush until the water runs clearer.
- Stop if flushing produces heavy sediment that clogs the drain repeatedly.
- Restore the cold-water supply and power or gas only after the tank is full again.
A tank heater should be flushed once a year. WikiHow recommends flushing the tank once a year, and both Simplify Home Tech and HomeField Experts point to about annual service for many tank units. In hard water homes, sediment buildup can push the schedule tighter. (wikihow.com)
How do you test a water heater T&P valve safely?
Lift the lever briefly until a burst of hot water or air comes through the discharge pipe, then release it and confirm it reseats and stops dripping. The valve is a safety device, so it should move freely and close cleanly. If it keeps leaking or fails to open, stop using that valve and call a plumber.
- Stand clear of the discharge pipe.
- Lift the lever for a short test only.
- Watch for a burst of hot water or air.
- Release the lever and confirm it closes fully.
- Replace the valve if it continues to leak or fails to open.
What temperature should I set my water heater to?
Set the thermostat to 120 degrees Fahrenheit. That target supports safety and energy savings without making the tank work harder than it needs to. If the unit has a vacation mode, use it when the home will be empty for a longer stretch.
- Open the thermostat cover only if the model allows simple access.
- Adjust the setting to 120°F.
- Use vacation mode when away for an extended period.
Tankless water heater branch
- Clean the air intake filter if the model has one.
- Check venting for blockage, looseness, or visible damage.
- Descale only when flow drops or mineral buildup is present.
- Do not flush tankless units like storage tanks.
Tankless service follows a different path. Cleaning a filter is a normal homeowner task; opening combustion parts or sealed gas components is not. If venting looks wrong or the unit faults repeatedly, that is a pro job.
How often should you maintain a water heater?
The right cadence depends on water quality and unit age. A normal-home tank may need one annual flush and periodic checks. Hard water often demands more frequent attention. Older units need closer monitoring because wear, sediment, and corrosion move faster once the tank is past its easier years.
Cadence table by water quality and age
| Condition | Visual check | Tank flush | T&P test | Anode check |
|---|---|---|---|---|
| Normal water | Monthly | Once per year | Once per year | Every 3 to 5 years |
| Hard water | Monthly | Every 6 months to 1 year | Once per year | Every 2 to 3 years |
| Older unit | Monthly | More often if sediment is present | Once per year | Every 2 years, then compare wear |
Cool Wichita recommends flushing once a year, or every 6 months in hard water areas. That cadence lines up with the practical problem: hard water deposits settle faster, so sediment buildup starts reducing efficiency, creating noise, and wearing parts sooner.
What parts need closer attention?
The sacrificial anode rod, the T&P valve and discharge pipe, and the venting or wiring path are the parts that decide whether routine care stays routine. The anode rod is a corrosion shield. The relief valve controls pressure. Venting and wiring keep fuel or electricity from becoming a secondary hazard.
Sacrificial anode rod
The sacrificial anode rod protects the tank from corrosion and is a standard water heater component. A useful inspection window is every 2 to 5 years, with replacement when it is heavily depleted. Hard water shortens service life, and many tanks in mineral-heavy homes need closer attention.
- Shut off the unit and water supply first.
- Locate the anode access point.
- Inspect for heavy thinning, pitting, or a core wire showing through.
- Replace the rod if depletion is advanced.
Gas and electric safety checks
Gas units need venting checks for loose joints, blockages, or poor draft. Electric units need safe wiring and element checks, but sealed panels should stay closed for the homeowner. If a check requires opening a combustion chamber or electrical cabinet, it is pro-only.
When should you call a plumber?
Call a plumber when a leak keeps coming back, corrosion returns after drying, the T&P valve drips or sticks, flushing throws out heavy sediment, or hot water weakens along with rising noise. An aging unit that keeps adding symptoms is no longer in simple maintenance territory.
Stop and escalate when you see this
- Recurring leak at the base, fittings, or drain valve.
- Rust-colored water that returns after flushing.
- T&P valve that will not reseat or does not open cleanly.
- Rumbling, popping, or slow recovery after flushing.
- Gas odor, damaged venting, or wet electrical components.
When maintenance turns into replacement planning
If the tank is older, corrosion is spreading, or repairs keep stacking up, start replacement planning instead of repeating the same maintenance cycle. A heater that needs a new valve, new anode, and repeated flushes in the same season is often telling you the tank itself is near the end.
Common mistakes
The biggest mistakes are simple: skipping the shutoff steps, treating tankless like a tank heater, ignoring hard water, and assuming every drip will fix itself. The right move is to match the task to the symptom and the risk level.
- Skipping the shutoff: Always cut power or gas first, then close the cold-water supply.
- Overflushing a clogged tank: If heavy sediment keeps clogging the drain, stop and escalate.
- Testing the T&P valve carelessly: A valve that will not reseat needs replacement, not repeated forcing.
- Treating tankless like storage tanks: Clean filters and check venting instead of running tank-only steps.
- Ignoring hard water: Tighten the flush schedule when mineral load is high.
- Waiting on recurring leaks: Repeated moisture is a repair signal, not a wipe-and-walk-away issue.
Prevention: Keep a monthly reminder for the visual check and note whether the water is normal, hard, or mineral-heavy. That small log makes cadence changes obvious before sediment and corrosion become expensive.
Frequently asked questions
How often should you flush a water heater at home?
Flush a tank water heater once per year under normal conditions. In hard water homes, shorten that to every 6 months if sediment starts showing up early. If flushing releases heavy debris, cloudy water, or repeated clogs, stop and have a plumber inspect the tank and drain valve.
How do I know if my water heater anode rod needs replacement?
Inspect it every 2 to 5 years, sooner in hard water homes. Replace it when it is heavily depleted, badly pitted, or reduced to a thin wire core. If the tank shows corrosion but the rod is already worn out, plan for quicker follow-up checks after replacement.
When is a leak or corrosion serious enough to call a plumber?
Call right away if the leak keeps returning, the base of the heater stays wet, rust-colored water comes back after flushing, or corrosion is spreading around fittings and the tank shell. Those signs usually mean the problem is beyond routine maintenance and needs repair or replacement planning.