How to Build a Masonry Heater Step by Step
Build a masonry heater for efficient, long-lasting warmth. This guide breaks down the process, from understanding its benefits to foundational steps, materials, construction, and crucial safety tips, making it accessible for beginners seeking a cozy, eco-friendly heating solution.
Tired of drafty rooms and high heating bills? You’re not alone! Many homeowners wish for a reliable, cozy way to heat their homes that’s also kind to their wallets and the planet. Traditional heating systems can be a mixed bag, sometimes leaving you feeling chilly or spending too much on energy. But what if there was a way to create a beautiful, efficient heating system right in your home? This guide is here to show you exactly how to build a masonry heater by breaking down everything you need to know, step-by-step. Get ready to discover an amazing way to bring lasting warmth into your living space!
What is a Masonry Heater and Why Build One?
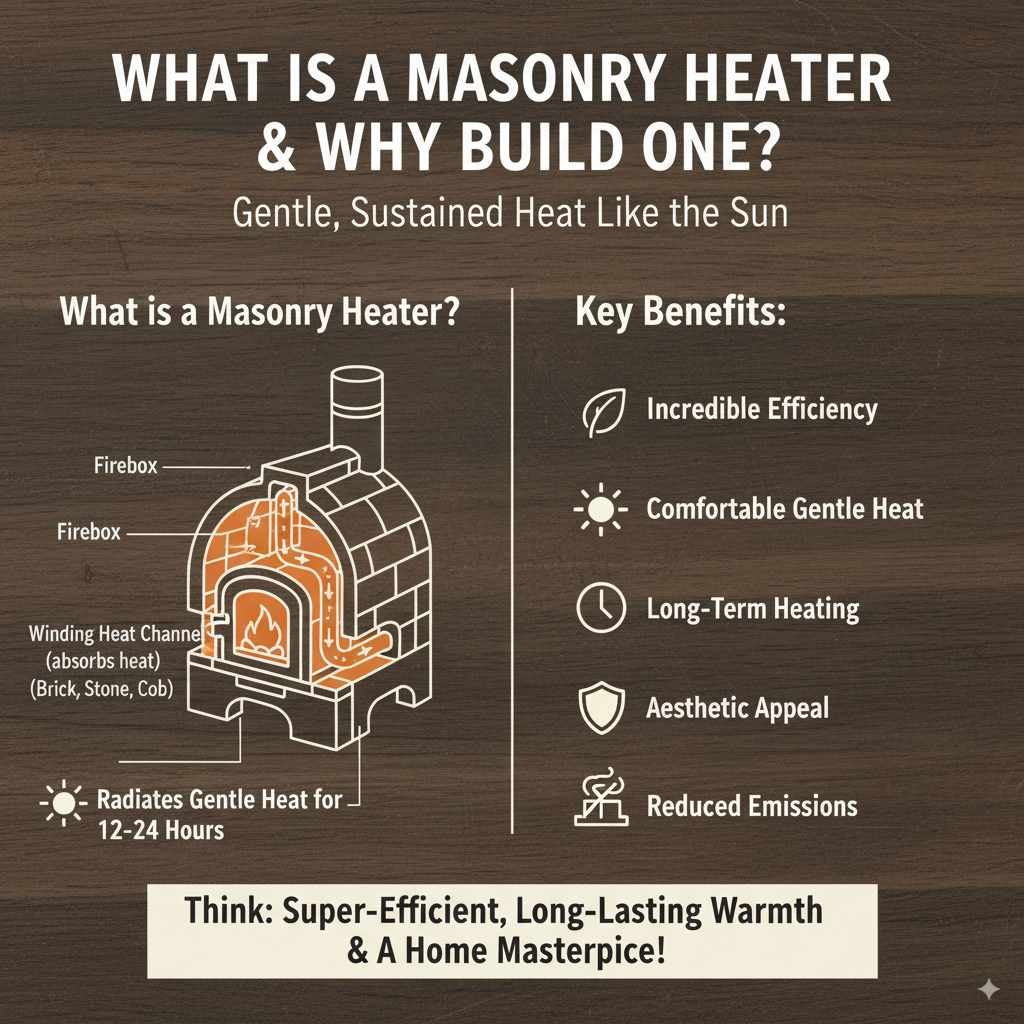
Imagine a heating system that feels like the warmth of the sun – radiating gentle, comfortable heat for hours after just one short fire. That’s the magic of a masonry heater! Unlike a traditional fireplace or wood stove that loses heat up the chimney, a masonry heater is designed to absorb and store heat in its heavy, dense materials, like brick and stone. Then, it slowly releases that warmth into your home.
Building one yourself might sound like a big project, but with the right knowledge, it’s a rewarding way to create a unique and highly efficient heating source. Here’s why homeowners are increasingly turning to masonry heaters:
Key Benefits of Masonry Heaters:
- Incredible Efficiency: They burn wood very cleanly and release heat slowly, meaning you use less fuel for longer-lasting warmth. This is great for saving money and reducing your environmental impact.
- Comfortable, Gentle Heat: The radiant heat given off is very different from the dry, intense heat of forced-air systems. It feels more natural and cozy, like sitting near a warm stone on a cool day.
- Long-Term Heating: A well-built masonry heater can retain heat for 12-24 hours with just one or two short, hot burns per day.
- Aesthetic Appeal: These heaters are often beautiful, handcrafted works of art that become a stunning focal point in any room.
- Durability: Built with sturdy masonry materials, they are designed to last for decades, even generations.
- Reduced Emissions: Modern masonry heaters burn so efficiently that they produce significantly fewer emissions than conventional wood stoves or open fireplaces.
Is Building a Masonry Heater Right for You?
Building a masonry heater is a substantial project. It requires careful planning, suitable space, and a willingness to learn and follow precise instructions. It’s a more involved process than installing a portable electric heater, but the long-term benefits of comfort, efficiency, and beauty are often well worth the effort.
Consider these points:
- Time Commitment: This isn’t a weekend project. Building a masonry heater typically takes several weeks, depending on the complexity and your experience level.
- Physical Effort: You’ll be working with heavy materials like bricks, mortar, and potentially stone.
- Budget: While potentially saving money on heating bills long-term, the initial material and potential labor (if you hire help) costs need to be considered.
- Space Requirements: Masonry heaters are substantial structures and need adequate floor space, especially near a chimney or where venting will occur.
- Local Regulations: Always check your local building codes and permit requirements before starting any construction.
If you’re looking for a straightforward heating solution and don’t have the time or inclination for a large DIY project, you might prefer to explore other home heating options. However, if you’re eager for a rewarding challenge and are dedicated to creating a truly special heating system, this guide will walk you through the essential steps.
Planning Your Masonry Heater Project
Before you lay a single brick, thorough planning is crucial. This stage sets the foundation for a successful and safe build. Let’s walk through the key considerations.
1. Choosing a Design
Masonry heaters come in many shapes and sizes, but most fall into a few broad categories based on their internal heat path:
- Contraflow: The most common and efficient design, where hot gases rise through the combustion chamber and then travel down through channels built into the heater’s mass before exiting to the chimney.
- Downfeed: Fuel is fed from the top and burns downwards.
- Peruvian (or Updraft): A simpler design where heat rises directly to the flue.
For beginners, a well-documented contraflow design is often recommended due to its proven efficiency and ease of understanding the heat flow. You can find excellent plans from organizations like the International Masonry Heating Society (IMHS). They offer resources, workshops, and a community of experts that can provide invaluable guidance.
2. Location, Location, Location
The placement of your masonry heater is critical for both its performance and safety. Consider these factors:
- Proximity to Chimney: Ideally, a masonry heater is built around an existing, properly sized chimney or is connected to a new, dedicated masonry chimney. This ensures safe and efficient venting.
- Structural Support: Masonry heaters are heavy! They require a strong, non-combustible floor that can support their significant weight. A concrete slab or reinforced floor is usually necessary. Consult a structural engineer if you have any doubts about your floor’s capacity.
- Air Supply: Efficient wood burning requires adequate air. Ensure your chosen location has access to fresh outside air, either through a dedicated air intake duct or sufficient natural ventilation.
- Clearances: All combustible materials (wood framing, furniture, rugs) must be kept a safe distance from the heater and its chimney. Always follow the manufacturer’s or designer’s clearance recommendations, which are often mandated by local building codes.
- Room Layout: Think about how you want the heat to circulate in your home. Placing the heater in a central location can help distribute warmth more effectively.
3. Understanding Materials and Components
The choice of materials is key to your heater’s performance and longevity.
- Firebricks: The interior of the firebox and heat passages must be lined with high-temperature firebricks. These are designed to withstand the intense heat of a wood fire. Standard building bricks will not work here.
- Insulation: High-temperature ceramic fiber blanket or board is often used around the firebox and initial heat channels to keep heat within the heater’s mass.
- Mortar: Special high-temperature mortar is required for laying firebricks, as standard mortar will degrade quickly under intense heat. For the exterior, a lime-based or refractory mortar suited for masonry heaters may be best, as it allows for some flexibility and breathability. Always consult your plans or design specialist.
- Structural Bricks/Stone: For the exterior shell, durable, attractive materials like common building bricks, natural stone, or specialized masonry units can be used.
- Steel Components: Depending on the design, you might incorporate a steel firebox lining, refractory hearth, or even structural steel elements for support.
- Foundation: A reinforced concrete slab is often required.
4. Tools and Equipment Checklist
Here’s a list of common tools you’ll likely need. It’s always better to have too many than too few!
- Masonry trowels (various sizes)
- Brick hammer
- Cold chisel
- Measuring tape
- Level (short and long)
- Wheelbarrow or mixing tub for mortar
- Shovel
- Buckets
- Angle grinder with a masonry cutting wheel (for precise cuts)
- Safety glasses
- Work gloves
- Dust masks
- Concrete mixer (if pouring a foundation)
- Rebar and concrete tools (if pouring a foundation)
- Sump pump (if working in a wet area for foundation)
- Sturdy scaffolding or work platforms
Step-by-Step Guide to Building Your Masonry Heater
This section provides a generalized overview of the construction process. Always follow your specific architectural plans and any manufacturer instructions precisely.
Step 1: Prepare the Foundation
Your masonry heater needs an unyielding base. This is often a poured concrete slab designed to bear the significant weight.
- Excavate and Prepare: Dig down to the required depth for your slab, ensuring adequate support and insulation if necessary (check local codes for frost lines and required R-values).
- Formwork: Build a robust wooden form to contain the concrete.
- Reinforcement: Place rebar (steel reinforcing bars) within the form for strength.
- Pour Concrete: Mix and pour the concrete, ensuring it is vibrated to remove air pockets.
- Cure: Allow the concrete to cure completely according to manufacturer recommendations, which can take several days to weeks.
If building on an existing strong floor, you might need to add a layer of non-combustible insulation and a sturdy base layer of concrete board or steel. Ensure this base can safely support the heater’s weight.
Step 2: Install the Hearth and Initial Firebox Structure
This is where the core functionality begins. The hearth is the floor of the firebox, and the inner structure will contain the fire.
- Hearth Placement: Lay firebricks or a durable, non-combustible material for the hearth floor.
- Build the Firebox Walls: Using high-temperature mortar, carefully lay firebricks for the firebox walls. Ensure precise cuts and tight joints for a robust structure.
- Incorporate Air Intakes: If your design includes dedicated combustion air intakes, ensure they are properly installed at this stage.
Step 3: Construct the Heat Passages (M-Channel or Contraflow)
This is the heart of your masonry heater, where the hot gases do their work. For a contraflow design, this is where the magic of slow heat release happens.
- Laying Firebricks: Carefully lay firebricks and potentially insulation materials to create the upward and downward channels that will guide the hot flue gases from the firebox.
- Forming the Passages: Precision is key here. Each brick must be placed accurately to allow for smooth flow of gases and maximum heat transfer to the masonry mass.
- Securing Joints: Use high-temperature, refractory mortar to bond these bricks. You may need to create temporary supports during this phase.
Step 4: Build the Main Body of the Heater
Once the internal heat-retaining structures are in place and set, you’ll build the main external shell of the heater.
- Outer Walls: Using standard building bricks or stone and appropriate mortar, build the exterior walls around the internal firebricks and heat passages.
- Integrate Insulation: If your design calls for additional insulation between the inner firebrick mass and the outer shell, install it now.
- Create Doors and Openings: If your design includes a wood-loading door, an ash cleanout door, or an oven compartment, install these securely, ensuring non-combustible clearances are maintained.
Step 5: Connect to the Chimney
This is a critical safety step. The hot gases need a safe exit route.
- Flue Transition: The top of your heater’s heat passages will transition to a standard masonry flue liner. Ensure a clean, well-sealed connection using refractory mortar.
- Chimney Construction/Integration: If you’re building a new chimney, this involves laying bricks around a flue liner. If connecting to an existing chimney, ensure it is in good condition, properly sized, and has a suitable flue liner.
- Cleanout Access: Ensure there’s easy access for chimney cleaning.
Step 6: Finishing Touches and Curing
With the main structure complete, it’s time for the final steps.
- Exterior Finish: You can leave the exterior bricks exposed, or apply a plaster, stucco, or veneer finish depending on your aesthetic goals and the material chosen.
- Curing of Mortar: Allow the entire structure to cure slowly and completely. This is vital for the mortar’s longevity. Rushing this process can lead to cracking and structural issues.
- Initial Fires: After the appropriate curing time (which can be several weeks), start with very small, controlled fires. Gradually increase the intensity and duration of fires over a week or two to gently bake out any remaining moisture and fully cure the materials without thermal shock.
Your First Few Fires: Getting to Know Your Heater
This is an exciting part! You’re about to experience the unique warmth of your new masonry heater. However, the first few fires are crucial for bedding in the system.
Tips for the First Fires:
- Start Small: Begin with a very small fire using dry, seasoned kindling. The goal isn’t to heat the house, but to gently warm the masonry.
- Short Duration: Keep the first few fires very short – perhaps 30 minutes to an hour.
- Gradual Increase: Over the next few days, slowly increase the size and duration of the fires.
- Observe: Watch for any unusual signs like excessive smoke, steam, or strange noises.
- Ventilation: Ensure good ventilation during these initial burns to help draw out moisture.
This “curing” process helps drive out residual moisture trapped in the mortar and masonry. Moisture trapped inside can cause thermal stress and lead to cracking when exposed to higher temperatures. Patience here will pay dividends in the long-term performance and durability of your heater.
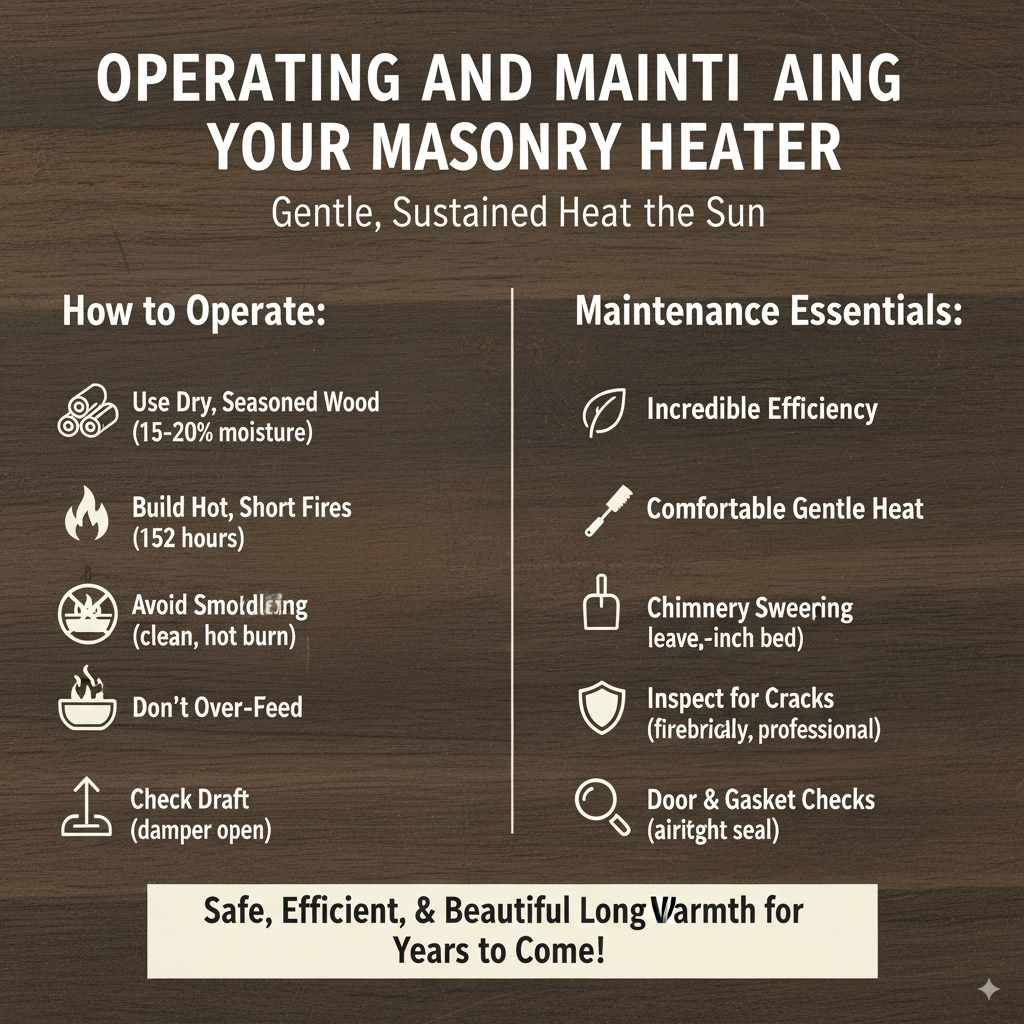
Operating and Maintaining Your Masonry Heater
Once your heater is fully cured, you can start enjoying its amazing performance! Using it correctly will maximize its efficiency and longevity.
How to Operate:
- Use Dry, Seasoned Wood: This is paramount! Wet or unseasoned wood burns poorly, creates creosote (a fire hazard), and produces much less heat. Aim for wood with a moisture content of 15-20%.
- Build Hot, Short Fires: The secret to masonry heater efficiency is to get the firebox extremely hot for a short period (often 1-2 hours). This allows the masonry to absorb maximum heat.
- Avoid Smoldering: Unlike a traditional fireplace meant for ambiance, you want a clean, hot burn. Let the fire burn down hot, and then let the heat radiate.
- Don’t Over-Feed: Stuffing the firebox too full can lead to incomplete combustion and reduced efficiency.
- Check Draft: Ensure your damper is open when starting a fire and can be adjusted as combustion stabilizes.
Maintenance Essentials:
Regular maintenance ensures your heater stays safe and functional, and it’s much simpler than you might think.
- Ash Removal: Remove excess ash from the firebox regularly (leave a shallow ash bed of about 1 inch for insulation). Ensure ashes are completely cool before disposal in a safe metal container away from your home.
- Chimney Sweeping: This is the most important safety task. Have your chimney professionally inspected and swept at least once a year, or more often if you burn frequently or notice creosote buildup. A creosote fire in a masonry heater can be very dangerous.
- Inspect for Cracks: Periodically check the firebricks and mortar joints for any signs of cracking or deterioration. Small hairline cracks in the mortar might be normal, but larger ones or significant firebrick spalling should be addressed by a professional.
- Door and Gasket Checks: Ensure gaskets on doors are in good condition to maintain an airtight seal when needed for efficiency.
Adhering to these operating and maintenance practices will ensure your masonry heater provides safe, efficient, and beautiful warmth for many years to come.
Frequently Asked Questions (FAQ) About Building a Masonry Heater
Q1: How long does a masonry heater last?
A: A properly built and maintained masonry heater can last for 50 to 100 years, or even longer. They are designed for longevity and robust performance.
Q2: Do masonry heaters require a lot of maintenance?
A: No, relative to their performance, they require very little maintenance. The most important task is annual chimney sweeping and inspection. Regular ash removal is also necessary.