

Figuring out How to Install an Air Filter in a Heater can seem tricky at first. Many people find it a little confusing because it’s not something we do every day. But don’t worry! This guide will make it super easy. We’ll break down each step so you can do it yourself, saving you money and keeping your home air clean. Get ready, it’s simpler than you think!
What You Need Before You Start
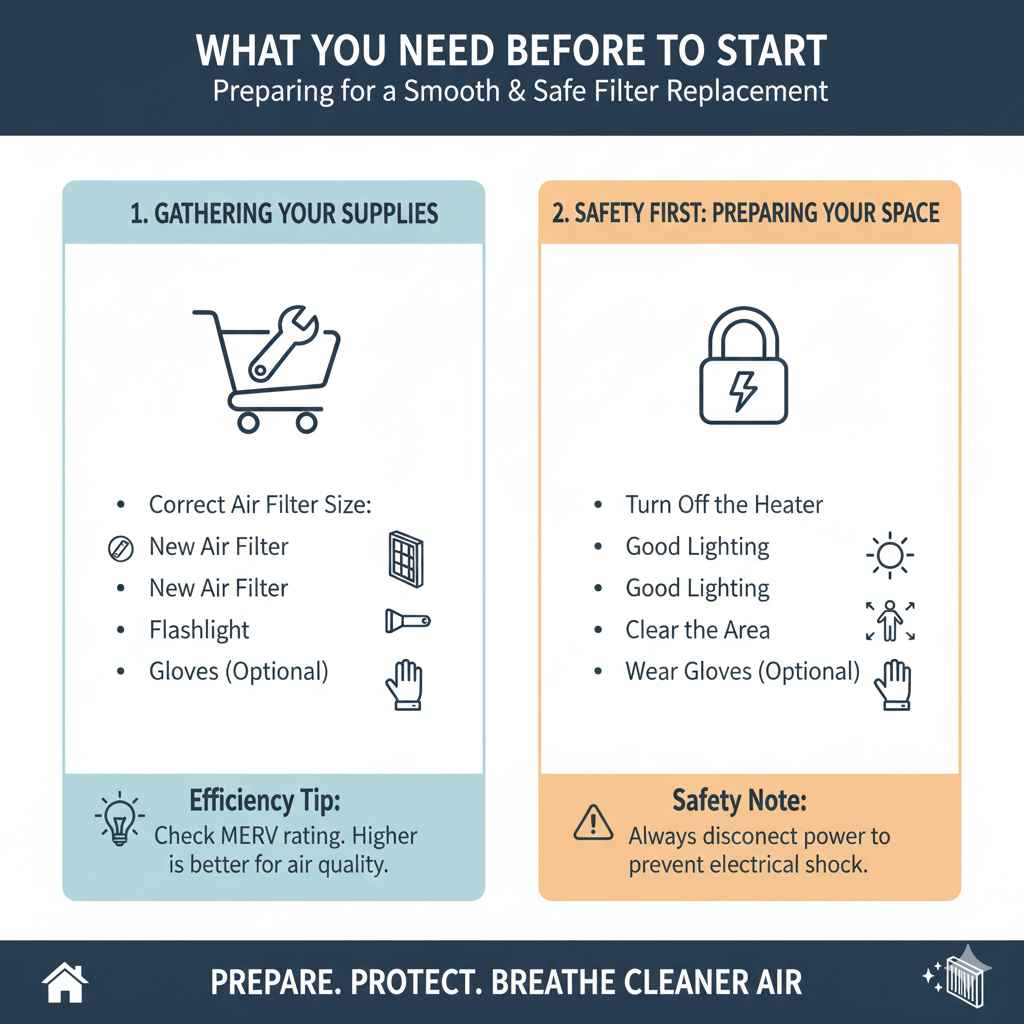
Before you get going, it’s good to make sure you have the basics ready. This helps make the whole job go smoothly. A little bit of prep work will help you breeze through the process. Having everything you require handy can make the difference between a quick replacement and a frustrating scavenger hunt. Being prepared ensures you’re ready when the time comes to keep your air clean.
Gathering Your Supplies
First, you need the right tools and supplies. This means finding the correct air filter size. You can usually find the filter size printed on the old filter itself. If not, check your heater’s manual or measure the old filter with a ruler. Bring these measurements to the store. You’ll also need a new filter of the correct size. Make sure you get the right type too, depending on the level of filtration you want. Consider the MERV rating of your filters as well; higher MERV ratings indicate a greater ability to trap small particles. Finally, grab a flashlight to make finding the filter easier.
- Correct Air Filter Size: Essential to fit properly and work efficiently.
- New Air Filter: Choose the right type and MERV rating for your needs.
- Flashlight: Helps you see the filter compartment clearly.
- Gloves (Optional): Keep your hands clean.
A good-quality air filter is not just about keeping your air clean. It also affects how well your heater runs. A clogged or dirty filter makes the heater work harder, which can hike up your energy bills. Using the right filter keeps the heater working its best and saves you money in the long run. Different filter types provide different levels of filtration. For instance, pleated filters are better at trapping small particles than basic fiberglass ones.
Safety First: Preparing Your Space
Always prioritize safety when working with any appliance. Start by turning off your heater. You can do this at the thermostat or by switching off the power at the circuit breaker. This prevents any accidental start-ups while you are working. Next, make sure your work area is well-lit. This allows you to clearly see what you’re doing. It also helps you avoid any accidents. Finally, clear any obstacles around the heater. This gives you plenty of space to move around and work comfortably.
- Turn Off the Heater: Disconnect power to avoid accidents.
- Good Lighting: Helps you see what you’re doing.
- Clear the Area: Make sure you have enough space to move.
- Wear Gloves (Optional): Protect hands from dirt and allergens.
Taking these simple steps can prevent hazards. A good work environment makes the job go more easily. Remember, safety first! Your home’s HVAC system depends on clean filters and clean air. Regular replacement is a small price to pay for cleaner air quality.
Finding the Filter: Location and Access
The next thing to do is find where your air filter lives. Knowing where your filter is located is critical to ensure proper
Locating the Filter Compartment
The air filter compartment is usually easy to find. In most homes, it’s located near the furnace or air handler. This is the main part of your heating and air conditioning system. You might find the filter in a slot or behind a door. The location of the filter compartment can vary based on your home’s setup. Some homes have filters in the return air vents, often in the ceiling or walls. Others might have the filter directly inside the furnace itself.
- Furnace: Look for a slot or door near the furnace.
- Return Vents: Check return air vents in the ceiling or walls.
- Air Handler: Some systems may have filters directly inside the air handler.
Locating the filter might require some exploration, but usually, it is close by. If you cannot find the filter, check your user guide. The guide will have a diagram that clearly shows where the filter is. Another option is to search online. There are many tutorials that describe how to find an air filter in different types of HVAC systems. Knowing where the filter is simplifies the replacement process.
Opening the Filter Compartment
Once you’ve found the filter compartment, you’ll need to open it to access the filter. This process is very simple. It might involve removing a panel or opening a door. In some cases, there might be a latch or clip you need to release. Do this carefully. The filter compartment is usually held in place by a secure system. If you cannot open it immediately, look closely for any latches or screws.
- Remove Panel/Door: Gently remove the access cover.
- Release Latches/Clips: If applicable, unfasten any clips or latches.
- Check for Screws: Some systems require removing screws.
Opening the compartment should not be hard. In many cases, it is a simple matter of lifting a panel or opening a door. If you encounter any problems, check your heater’s manual for specific instructions. The manual can show you how to open the filter compartment without causing damage. Once the compartment is open, you will be able to remove the old filter and prepare for the new one.
Swapping the Filter: Step-by-Step Instructions
Once you can access the old filter, it’s time for the swap. This is the heart of the process. Replacing the filter involves a few simple steps. The following instructions are easy to follow and will ensure that the replacement is done right. Keeping your filter fresh is one of the best ways to keep your home’s air quality at its best.
Removing the Old Filter
Now, gently take out the old filter. Note the direction of the airflow. Most filters have an arrow on the side. This arrow indicates the direction of the airflow. The arrow needs to point towards the furnace. Carefully slide the old filter out of its slot. Be sure to check it for dust and debris. If it’s dirty, this is a sign that it needs to be replaced. Place the old filter in a trash bag immediately to avoid spreading dust and allergens.
- Note Airflow Direction: Check the arrow on the filter.
- Slide Out Old Filter: Carefully remove the old filter.
- Inspect Old Filter: Notice how dirty it is.
- Dispose of Filter: Place it in a bag to prevent dust.
Removing the old filter is pretty straightforward. Pay attention to how it fits in the compartment, so you can put the new one in the same way. The airflow direction is key to the filter working correctly. This is usually marked by an arrow. Disposing of the old filter immediately is important to prevent allergens from spreading. This is part of maintaining a clean home environment.
Inserting the New Filter
Now, it’s time to put in the new filter. Take the new filter out of its packaging. Make sure it is the correct size. The filter has an arrow to show the airflow direction. This arrow must point in the same direction as the arrow on the old filter. Slide the new filter into the compartment, making sure it fits snugly. Ensure the filter is in securely. Doing so will let the filter function at its best. Close the filter compartment door or panel.
- Unpack the New Filter: Check the filter size is correct.
- Airflow Direction: Match the arrow to the correct direction.
- Insert Securely: Make sure it fits properly.
- Close Compartment: Secure the access panel or door.
Putting in the new filter is the final step. Take a moment to check that the filter is positioned correctly. This ensures the filter does its job. Closing the compartment completes the process. The filter is now ready to clean your home’s air. Keep in mind how often you need to replace your filter. You should change it regularly for the best results. Check it monthly, and change it every 1-3 months. This will depend on the filter type and conditions in your home.
Final Checks and Ongoing Maintenance
After you’ve changed the filter, it’s smart to do a few final checks. This ensures that everything is working well. Ongoing maintenance is also important. Doing this will keep your heater running at its best. Maintaining your HVAC system can increase its lifespan and also ensure that your home’s air quality remains high. Maintaining your filter means you can extend the life of your HVAC system.
Final System Check
Once you’ve replaced the filter, it’s a good idea to perform a system check. Switch the power back on. Turn on your heater. Listen to the sound. Ensure that the heater starts and runs properly. Check to see if there is any unusual noise. If everything seems fine, your heater is ready to heat your home. Make a note to remind yourself when you need to change the filter again. This will keep your air clean and keep your heater running efficiently.
- Turn On Power: Restore power to the heater.
- Operate Heater: Make sure it runs properly.
- Listen for Unusual Sounds: Check for anything out of the ordinary.
- Check for Optimal Performance: The system should heat your home.
- Note Filter Change Dates: Mark when to change the filter next time.
Doing a final check is important. It confirms that the filter replacement was done correctly. It makes sure that your heater is running safely and efficiently. If you hear any strange noises or notice any problems, it is best to turn off the heater. Contact a qualified HVAC professional to inspect the system. Regular checks will prevent any future problems. Make sure the system functions the way it should.
Regular Filter Replacement Schedule
Regular filter
- Fiberglass Filters: Replace every 1-3 months.
- Pleated Filters: Replace every 1-3 months.
- Homes with Pets: Replace more often.
- Check Monthly: Check the filter condition regularly.
Setting a regular schedule will make sure that your air stays clean. Write down when you replaced the filter. Set a reminder on your calendar, phone, or computer. Changing the filter often ensures that your heater works efficiently. If you have any allergies or respiratory issues, changing your filter on schedule is critical. A healthy, well-maintained system will make your home a cleaner, more comfortable space.
Did you know that dirty filters can reduce your heater’s efficiency by up to 15%? According to the U.S. Department of Energy, regular filter replacement can lead to significant energy savings and improved indoor air quality. Maintaining your filter is an investment in your home’s comfort and your family’s health.
| Filter Type | Replacement Frequency | Benefits |
|---|---|---|
| Fiberglass | 1-3 Months | Affordable, basic protection |
| Pleated | 1-3 Months | Better particle capture, improved air quality |
| HEPA | 1-3 Months | Highest filtration, excellent for allergies |
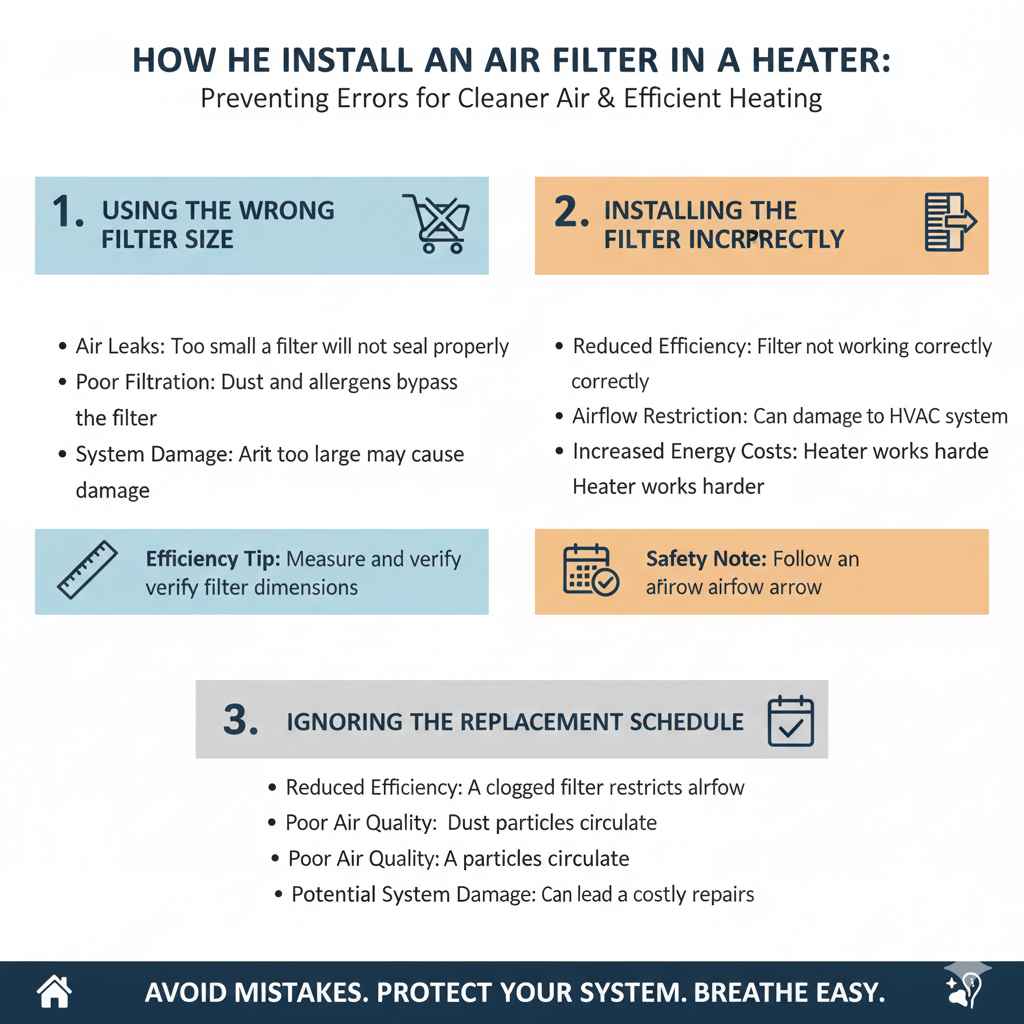
How to Install an Air Filter in a Heater: Common Mistakes
Even though replacing your air filter is usually easy, people sometimes make mistakes. A few things can go wrong if you’re not careful. Knowing the common mistakes can help you prevent them. Avoiding these pitfalls will ensure that your heater functions correctly. Also, this will ensure that your home’s air stays clean.
Using the Wrong Filter Size
Using the wrong size filter is a common mistake. This happens when people are in a rush. When you use the wrong size filter, it can create several problems. A filter that is too small won’t fit well. Air will bypass the filter and let dust and allergens into your home. A filter that is too big will not fit at all. It might damage your heater. Always double-check the filter size. Measure it before you buy a new one. Write down the measurements. Also, bring the old filter with you to the store.
- Air Leaks: Too small a filter will not seal properly.
- Poor Filtration: Dust and allergens bypass the filter.
- System Damage: A filter that is too large may cause damage.
Checking the size is a simple step, but it is super important. The right size filter ensures that your system runs efficiently. It also keeps the air in your home clean. When in doubt, always measure your filter and confirm the size. This can prevent serious issues. Making sure you know the correct dimensions is a key element of effective air filtration.
Installing the Filter Incorrectly
Another mistake is putting the filter in the wrong way. Most filters have an arrow that indicates airflow direction. This arrow must point toward the furnace or air handler. If you install it backward, the filter won’t work correctly. It may also restrict airflow, making your heater work harder. This can lead to increased energy costs. It can damage the unit. Double-check the arrow on the filter before you put it in. Always make sure it matches the direction of the airflow inside the compartment.
- Reduced Efficiency: Filter not working correctly.
- Airflow Restriction: Can damage the HVAC system.
- Increased Energy Costs: Heater works harder.
Correct installation is important for the filter to work its best. Taking the time to read the instructions will make sure that the filter is installed correctly. Doing this ensures that your heater runs efficiently. It will also help keep the air in your home fresh and clean. Paying attention to detail will ensure that your air quality stays at its best. If you’re unsure, check the instructions again.
Ignoring the Replacement Schedule
The final mistake is not replacing your filter often enough. Filters get clogged with dust and particles over time. They become less effective. A dirty filter will restrict airflow. This makes your heater work harder. It reduces its efficiency. It can also cause problems with your indoor air quality. Setting a reminder to change your filter every few months helps. This ensures that your system functions correctly. Keeping a replacement schedule means your home is better protected.
- Reduced Efficiency: A clogged filter restricts airflow.
- Poor Air Quality: Dust and particles circulate.
- Potential System Damage: Can lead to costly repairs.
Following a regular filter replacement schedule is essential. It’s an easy way to keep your home’s air clean. It will also help keep your heater running efficiently. Create a habit of checking your filter regularly. Replace it on schedule, or more often if needed. Make this an important part of your home maintenance plan. Following the schedule will lead to a healthier and more comfortable home.
Frequently Asked Questions
Question: How often should I replace my air filter?
Answer: It is best to replace your air filter every 1-3 months. This depends on the type of filter and your home environment. Check your filter every month to see if it needs replacing earlier.
Question: Where is my air filter located?
Answer: The air filter is usually near your furnace or air handler. It might be in a slot or behind a door. Check your heater’s manual if you can’t find it.
Question: What does MERV rating mean?
Answer: MERV stands for Minimum Efficiency Reporting Value. It indicates how well the filter captures particles. Higher MERV ratings mean the filter catches more particles.
Question: What happens if I use the wrong size air filter?
Answer: If you use the wrong size filter, it won’t fit properly. This can cause air leaks, poor filtration, and can damage your HVAC system.
Question: Can I wash and reuse my air filter?
Answer: It’s best not to wash and reuse your filter. Washing a filter can damage it and reduce its effectiveness. Always
Final Thoughts
Replacing your air filter is a straightforward task that greatly affects your home’s air quality and HVAC system efficiency. This guide covered the necessary steps, from gathering supplies and finding the filter to the final checks. Following these simple steps will improve your indoor air and help your heating system operate better. Remember to replace your filter regularly, and always double-check the size and airflow direction. By making filter replacement a regular part of your home maintenance, you’re taking a key step in keeping your home healthy. Your commitment to changing the air filter provides cleaner air for you and your family.
Last Updated on January 6, 2026 by Tanim