How to Replace a Block Heater Cord
Replace a block heater cord only when the damage is at the plug end or a molded-end repair kit fits. If the jacket is nicked, swollen, or burned farther up the cord, replace the full cord. A poor repair can short out, trip a breaker, or leave your engine unheated on a cold start. This guide covers inspection, plug-end replacement, and verification before use.
What you’ll need
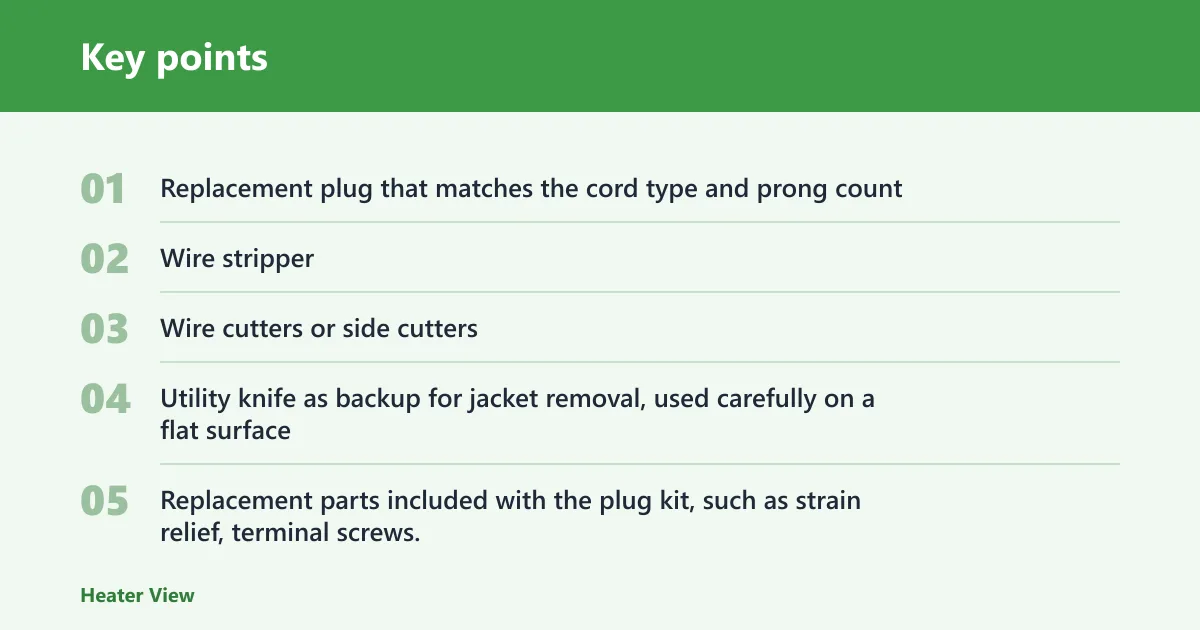


- Replacement plug that matches the cord type and prong count
- Wire stripper
- Wire cutters or side cutters
- Utility knife as backup for jacket removal, used carefully on a flat surface
- Replacement parts included with the plug kit, such as strain relief, terminal screws, or clamp inserts
- Electrical tape or heat-shrink if the plug instructions call for it
- Work light so you can see terminal labels and wire markings
- Owner’s manual or the heater manufacturer’s listing for your model
Safety note: follow the vehicle/product manual, never work under a vehicle held only by a jack, never exceed the vehicle’s rated roof/hitch/tow limit, keep items out of airbag zones and the driver’s view, and check local laws.
📊 Family Handyman says most block heaters plug into an ordinary 120-volt outlet. Source: Familyhandyman.
How do you know the cord end is repairable?
Repair the plug end only when the damage stays at the blades, the molded plug body, the strain relief, or the first few inches of cord outside the plug. If the jacket is cracked farther up, the cord feels brittle, or continuity comes and goes as it is flexed, replace the full cord.
What to look
- Cracked or split jacket near the plug
- Loose blades or loose terminal screws inside the plug
- Heat marks, melted plastic, or darkened copper
- Damaged strain relief that no longer grips the cord
- Intermittent continuity when the cord is wiggled
If the plug shell is split but the outer jacket behind it is clean and the cord passes testing, that usually points to a plug-end repair. If the insulation is swollen or burned for several inches, stop there and replace the cord assembly instead.
Block heater cord decision checklist
| Branch | Observable damage | Required tools | Final go/no-go test |
|---|---|---|---|
| Replace plug end | Damaged blades, cracked plug body, broken strain relief, intact jacket beyond the plug | Replacement plug, wire stripper, cutters, strain relief parts from the kit | Continuity through each conductor, no shorts between conductors, correct ground continuity where applicable |
| Replace full cord | Jacket damage past the plug, heat damage along the cord, intermittent continuity, broken vehicle-side connector | Correct full cord assembly by model, basic hand tools, manufacturer’s fasteners | Only proceed if the replacement matches the vehicle-side heater setup and passes the same electrical checks |
| Stop and use a professional | Freeze plug block heater, hidden heater damage, wiring you cannot verify, melted connector at the engine | None for DIY repair | No-go until a pro confirms the heater type and replacement method |
What tools and parts do you need?
You need a replacement plug that matches the cord type and prong count. Replacement plugs are sold in hardware stores and online, but the terminal labels on the part determine where hot, neutral, and ground go. Do not guess by wire color alone unless the plug maker says to use that marking. (Wikihow)
Before you start
- Unplug the block heater cord from power.
- Confirm the heater system in the owner’s manual or the manufacturer’s listing for your model.
- Inspect the cord for jacket cracks, burn marks, or a damaged strain relief.
- Match the replacement plug to the cord’s prong count and listed cord type.
For cold-weather use, confirm the cord is rated for outdoor duty. A block heater cord sits outside the vehicle in winter, so a weak jacket or loose clamp can fail fast.
How do you replace the plug end?
Unplug the cord first, then cut off the damaged end and re-terminate only if the rest of the cord is sound. Use the replacement plug’s markings for strip length and terminal mapping; the directions can vary by part, so do not use one fixed measurement for every kit.
Step-by-step replacement
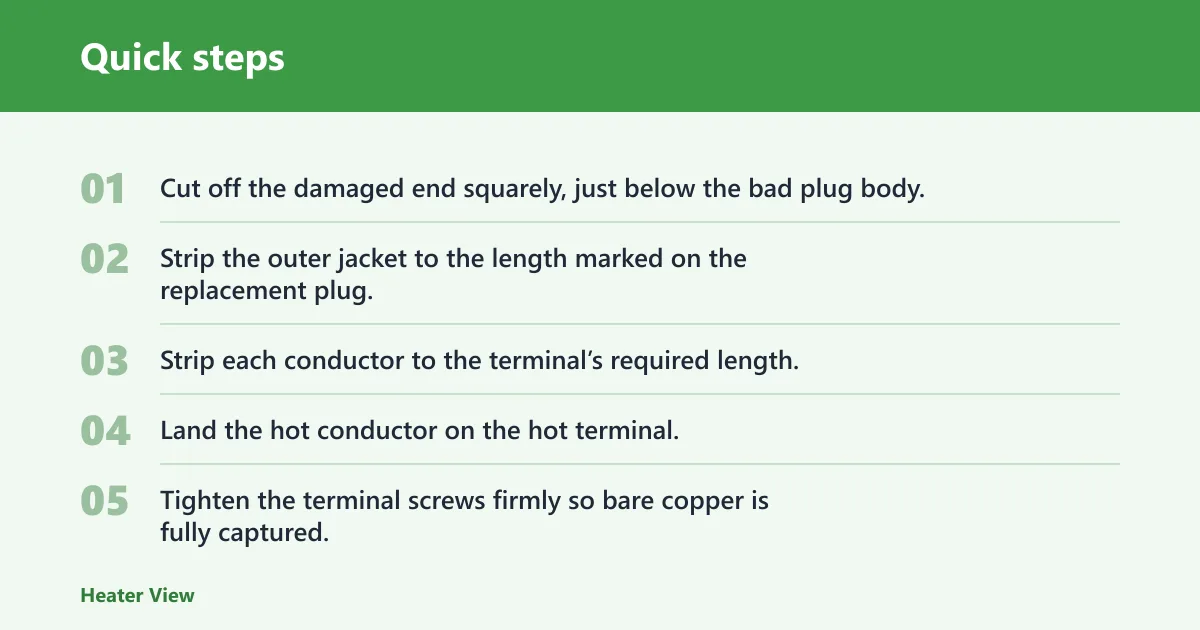
- Cut off the damaged end squarely, just below the bad plug body.
- Strip the outer jacket to the length marked on the replacement plug, or follow the kit instructions exactly.
- Strip each conductor to the terminal’s required length.
- Land the hot conductor on the hot terminal, the neutral conductor on the neutral terminal, and the ground conductor on the ground terminal if the plug has one.
- Tighten the terminal screws firmly so bare copper is fully captured.
- Fit the strain relief and tighten it so the cord jacket, not the conductors, takes the pull.
- Close the plug body and confirm no copper is exposed outside the terminals.
Use a wire stripper for the jacket and conductor insulation whenever possible. A utility knife is only a backup, and it should be used on a flat surface with thick gloves so you do not nick the conductors.
How do you test the cord after repair?
Test the cord before it goes back on the vehicle. Continuity alone is not enough. Check for shorts between conductors and, where applicable, continuity to the ground pin so a hidden wiring mistake does not send power where it should not go.
Post-repair verification
- Set a multimeter to continuity or resistance mode.
- Check continuity from one blade or pin to its matching conductor at the heater end.
- Check the other conductor the same way.
- Check for shorts between hot and neutral.
- Check for shorts between hot and ground and between neutral and ground where ground is present.
- Flex the repaired end while watching the meter to catch intermittent breaks.
- Inspect the plug shell again for tight assembly and no exposed copper.
If your meter beeps only when the cord sits still, then opens when you bend the plug neck, that points to a broken conductor or poor clamp grip. Keep the cord out of service until you fix the fault.
When should you replace the whole cord?
Choose a full cord assembly when the damage goes beyond the plug end. That includes jacket failure along the length, a vehicle-side connector that is melted or cracked, or a cord that fails the continuity and shorts checks even after the plug is cut off. The correct replacement should match the vehicle model and heater type.
What to confirm on the new assembly
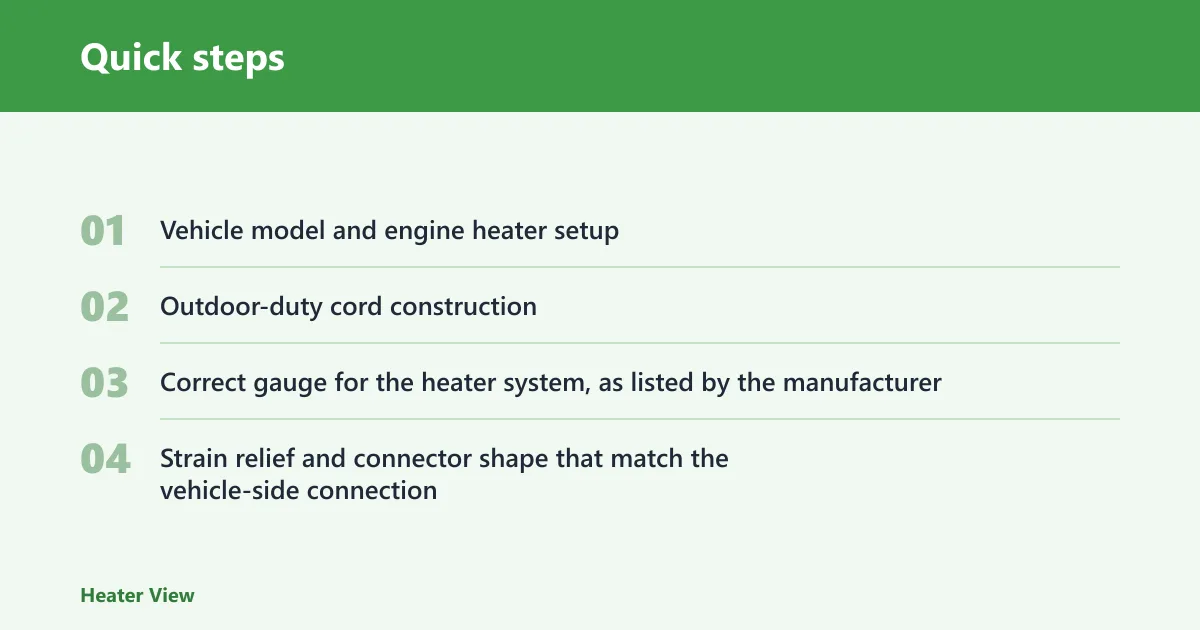
- Vehicle model and engine heater setup
- Outdoor-duty cord construction
- Correct gauge for the heater system, as listed by the manufacturer
- Strain relief and connector shape that match the vehicle-side connection
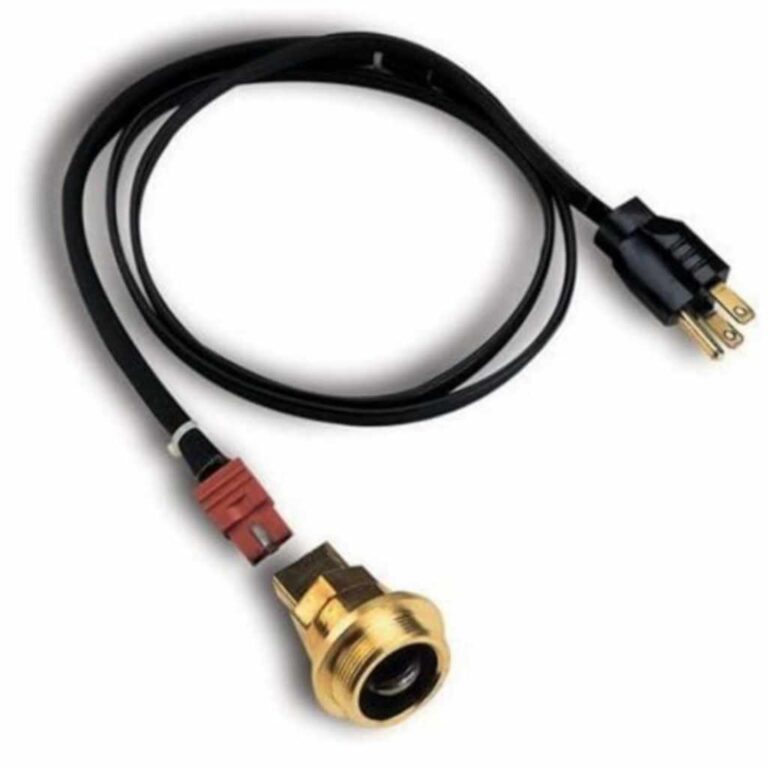
Freeze plug block heaters are described as the most effective type, but Family Handyman says they should be left to pros if you are installing them. Oil pan heaters are another option; they can attach with magnets to metal oil pans or use self-stick adhesive pads on composite pans. In-line coolant heaters are usually inserted into a heater hose and may use a small pump to circulate warm coolant.
Common mistakes
- Using the wrong replacement plug for the prong count
- Guessing at terminal placement instead of using the labels on the new plug
- Using a knife carelessly when a wire stripper would make a cleaner cut
- Skipping shorts testing or ground checks after repair
- Ignoring cracked jacket, loose blades, or heat damage and trying to save the cord anyway
- Forcing a DIY repair on a freeze plug block heater that should go to a professional
Price is usually lower for a plug-end repair than for a full cord assembly, but exact cost varies by model and parts source. A plug kit may be a modest parts purchase, while a full vehicle-specific cord can cost more because the connector and cable assembly are model-matched.
Can I repair a block heater cord instead of replacing it?
Yes, but only when the damage is limited to the plug end and the cord passes electrical testing. If the jacket is damaged past the plug, the cord heats intermittently, or the heater connection at the vehicle is compromised, replacement is the safer call. Use the vehicle manual for model-specific details.
How do I tell if my block heater cord is damaged?
Look for cracked insulation, melted plastic, darkened metal on the blades, a loose plug shell, or a strain relief that no longer clamps the cord. A cord that only works when bent is also damaged. Unplug it before inspection and do not reuse it until testing confirms it is sound.
What replacement plug do I need for a block heater cord?
You need a replacement plug that matches the cord’s prong count and the terminal layout on the part. Some plugs are built for 2-prong cords and others for 3-prong cords. Check the package or listing, then wire the conductors to the labeled hot, neutral, and ground terminals.
How do I test a block heater cord for damage?
Use a meter to check continuity through each conductor, then check for shorts between the conductors and to ground where applicable. Flex the repaired area while testing so you can catch an intermittent break. If the meter reading changes with movement, do not plug the cord back in.
Frequently asked questions
How do you replace a block heater cord?
Start by unplugging the cord, then inspect whether the damage is limited to the plug or extends along the jacket. If only the end is bad, cut it off, install the correct replacement plug, and test continuity plus shorts before reconnecting it to the heater and outlet.
How do you replace a block heater plug?
Cut off the damaged plug, strip the jacket to the kit’s marked length, and strip the conductors to the terminal spec printed on the plug. Connect hot, neutral, and ground to the labeled terminals, tighten the clamp, then verify there are no exposed strands or continuity faults.
Is it safe to replace the plug on a block heater cord myself?
It is reasonable only if the damage is limited to the plug end and you can test the repair with a meter. If the cord is heat-damaged, the heater connection is hidden, or the system uses a freeze plug heater, the safer move is professional service.
What tools do I need to replace a block heater cord end?
Use a replacement plug, wire stripper, cutters, and the hardware supplied with the kit. A utility knife can work as backup for jacket removal, but only with care. A meter is necessary for the final check, because visual inspection alone will miss some faults.