Common Water Heater Installation Mistakes to Avoid
Avoid common water heater install mistakes such as using the wrong size, skipping permits, poor venting, missing an expansion tank, loose fittings, a poorly set drain pan, and incorrect temperature settings. I have watched these small misses turn into leaks, banging pipes, pressure spikes, and safety problems within 30 days, then a repeat service call. This guide shows what to check on install day so the heater starts clean, quiet, and safe.
What installation mistakes cause the fastest callbacks?
The fastest callbacks usually come from setup errors that do not look serious on day one. A loose joint, a missing drain path, a wrong vent part, or a bad temperature setting can create leaks, noise, pressure problems, and scald risk before the first month ends. Many water heater issues start before the system heats its first tank of water.
Why small setup errors turn into bigger problems
Installation mistakes are a common cause of costly callbacks and safety concerns. I have traced plenty of service calls back to one weak connection or a missing safety part. One bad choice can ripple through the whole system, so checking the full install matters, not just whether the unit fires up.
The failures that show up first usually fall into three groups: leaks, pressure complaints, and performance complaints. A heater may run, but still hammer the pipes, drip at a fitting, or cycle badly because the setup was rushed.
Which failures show up on day one versus week three
Day-one failures are easier to spot. These include water at the base, a loose union, no hot water, a burner that will not light, or a fan unit that sounds strained. Week-three failures are sneakier: a slow pan leak, repeated T&P discharge, noisy pipes, or a scald complaint after someone raises the setting.
What a homeowner can spot before the installer leaves
A homeowner can visually check that fittings are dry, the tank looks level, the pan is in place, the shutoff valve is reachable, and no vent or drain pipe appears crushed or disconnected. A licensed technician should finish combustion checks, pressure testing, vent sizing, electrical verification, and code-specific items.
What are the most common water heater installation mistakes?
The most common mistakes are the ones that seem minor during the install and expensive later. Wrong size, poor placement, bad pipe work, missing permit work, weak venting, and skipped safety devices can all create leaks, service failures, or code problems. Many of these issues are preventable before startup.
Wrong size, wrong location, wrong clearances
A heater that is too small runs out of hot water fast. A heater that is too big wastes energy. Wrong placement can also block service access, crowd combustion air, or make future replacement harder. Bad location choices often turn a simple repair into a long shutdown later.
How much clearance does a water heater need? The exact number depends on the unit and local code, but the practical test is simple: service access must be possible, combustion air must not be restricted, and the technician must be able to inspect valves, venting, and connections without moving other equipment.
Pipe work mistakes that leak later
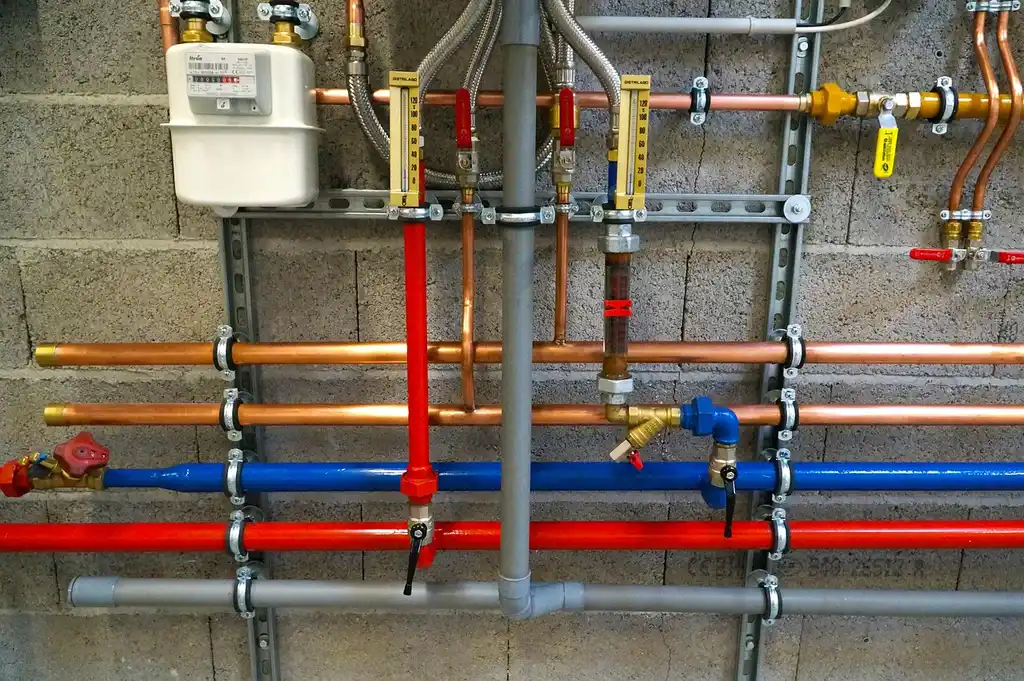
Loose fittings, bad unions, and poor support are classic leak starters. Mixed materials can also create corrosion risk if the transition is done badly. Flexible connectors must be rated for hot water use, and all joints should be supported so vibration and pipe movement do not work the fittings loose.
The cold-line shutoff valve should be part of the piping layout, not an afterthought. It supports service and isolation, and it gives the next technician a fast way to shut down the unit without draining the whole system.
Can a water heater be installed without a permit?
Sometimes people try to skip the permit, but that creates real risk. Skipping permits can cause a failed inspection later, and local rules may cover venting, drain pans, seismic straps, and valve piping. If the area requires a permit, the right answer is to get it before the work starts.
Why permits matter even when the heater works
A heater can produce hot water and still fail inspection. That is common with venting, drain routing, seismic restraints, and T&P piping. Permit and code compliance also matter because they often set the minimum safety rules for the exact home and fuel type being installed.
What local rules often cover
- Venting material and vent size
- Drain pans and drain line routing
- Seismic straps in required zones
- Valve piping and discharge routing
What should I check on the T&P valve and drain pan?
The T&P valve is a safety device, so its discharge piping must be installed correctly and kept visible. The drain pan should catch slow leaks and direct water to a safe drain path, especially in attics or finished spaces. Both parts are there to limit damage when the system misbehaves.
T&P valve discharge pipe rules that prevent dangerous discharge issues
The discharge pipe must not be capped or plugged. It should discharge safely and remain visible so a leak or relief event is noticed quickly. If the piping is wrong, pressure relief water can be trapped, redirected into unsafe areas, or hidden until damage is already done.
What happens if the T&P valve discharge pipe is installed wrong? The system may not relieve pressure as intended, water may dump where it can damage finishes, and a concealed discharge can hide an overheat or overpressure problem. That is a safety issue, not just a cleanup issue.
How to spot a bad drain pan setup
A drain pan without a proper drain line is only partial protection. Look for a pan that actually sits under the heater, with a route for water to leave the space. In attics or finished rooms, a pan that cannot drain is a weak setup and often a sign of rushed work.
Do I need an expansion tank with my water heater?
An expansion tank can help when pressure rises as water heats. It is often needed when a check valve or pressure-reducing valve traps pressure in the system. If thermal expansion has nowhere to go, pressure spikes can show up as dripping valves, pipe noise, or repeated relief events.
When pressure control and thermal expansion matter
Expansion tanks are common on closed systems because heated water expands and system pressure rises. The tank should match the system pressure, and in many setups it is installed on the cold side. If the home already has a check valve or pressure-reducing valve, the need becomes even more likely.
What can happen if pressure is not managed
Pressure swings can create banging pipes, nuisance drips at the relief valve, and stress on fittings. Over time, that can shorten the life of the heater and the connected plumbing. It is a small component with a large effect when the home’s supply is effectively closed.
Gas, electric, tankless, and heat pump mistakes are not the same
Different heater types fail in different ways. Gas units need correct venting and gas supply. Electric units need proper wiring and grounding. Tankless and heat pump models add their own airflow, drain, and control issues. A one-size checklist misses the fault that causes the callback.
Gas piping, venting, and backdraft testing
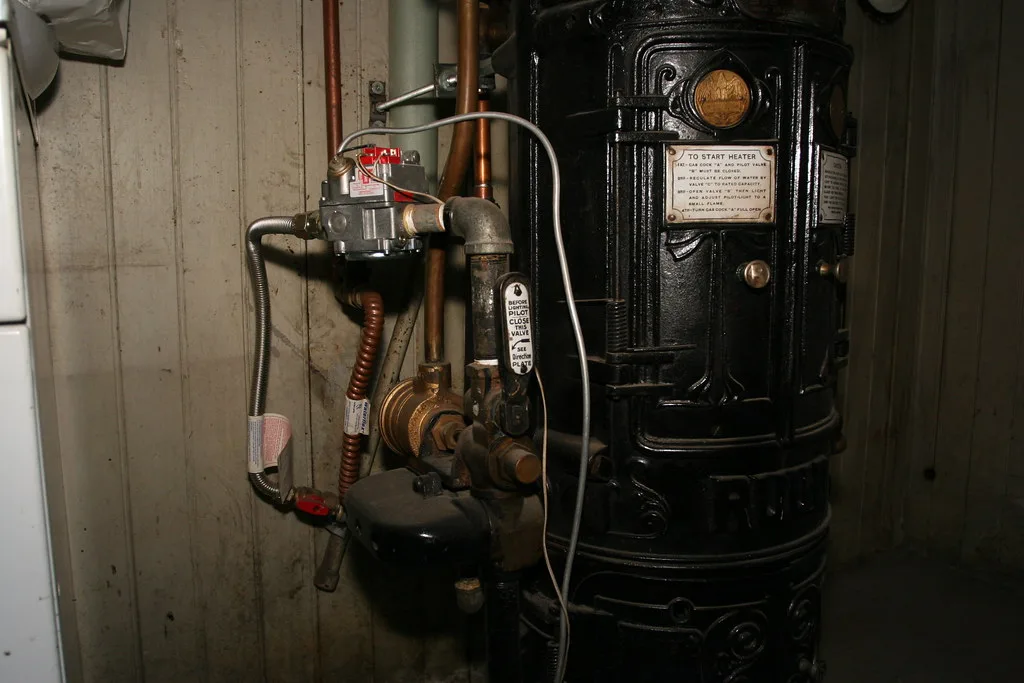
Gas piping must be sized for the load. Undersized gas piping can cause poor combustion, slow recovery, or ignition issues. Venting must match the heater type, vent materials should not be mixed, and vent size should not be reduced. Backdrafting should be tested, not assumed away.
Gas units also need the vent path checked for proper slope, secure joints, and safe termination. A vent that looks “close enough” can still spill combustion gases or create nuisance shutdowns once the heater cycles under load.
Electric hookup mistakes
Electrical connections need strain relief on the cable, and grounding and bonding should not be ignored. Damaged wire should not be reused. Loose or rough electrical work can cause nuisance trips, heat at the connection, or a no-heat complaint that shows up after the owner moves in.
Tankless and heat pump setup issues that are easy to miss
Tankless units are sensitive to flow, venting, and service clearances. Heat pump models are sensitive to airflow, condensate routing, and room temperature around the unit. These systems can look installed and still fail early if the surrounding setup is wrong.
The one-page pre-startup installation audit
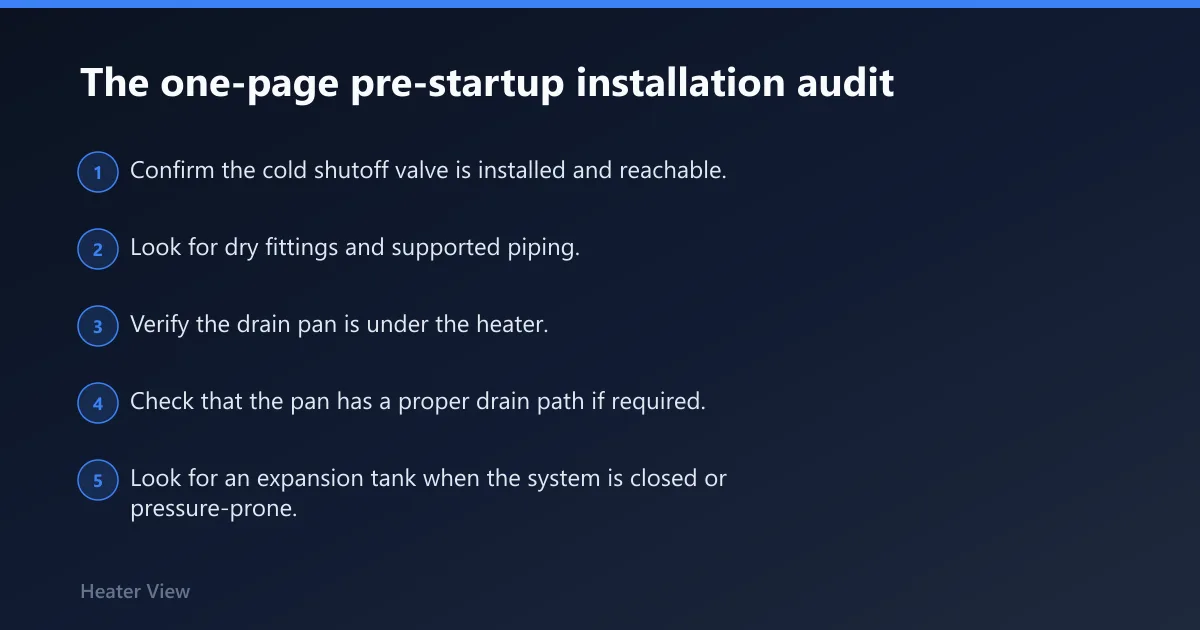
Use this audit before the installer leaves. It separates what a homeowner can verify visually from what a licensed technician must confirm. It also catches the mistakes that turn into leaks, pressure spikes, venting problems, and early service calls during the first 30 days.
| Check | Pass condition | Homeowner can confirm | Licensed technician must confirm |
|---|---|---|---|
| Cold-line shutoff valve | Present, reachable, and clearly labeled | Yes | Operation and leak test |
| Pipe joints | No visible drips, stains, or wet insulation | Yes | Pressure test and final tightening |
| Flexible connectors | Rated for hot water use | Partly | Yes |
| Drain pan | Installed under unit and supported | Yes | Drain line slope and termination |
| Pan drain line | Routes water to a safe discharge point | Visible route only | Yes |
| T&P valve | Installed and accessible | Yes | Function and discharge sizing |
| T&P discharge pipe | Not capped, not plugged, safely visible | Yes | Termination and material compliance |
| Expansion tank | Present where closed-system pressure can rise | Yes | Match to system pressure |
| Seismic straps | Installed where required | Yes | Upper and lower strapping zones |
| Venting system | Matches heater type and is not reduced | Partly | Yes |
| Gas piping | No obvious strain, sagging, or poor support | Yes | Load sizing and combustion check |
| Electrical cable | Has strain relief and intact insulation | Yes | Grounding and bonding |
| Temperature setting | Set near 120°F for most homes | Yes | Final setting and safety review |
| Startup leak check | No leaks during fill and first heat cycle | Yes | Yes |
| Noise and operation | Runs quietly and normally | Yes | Combustion, vent, and performance checks |
Water checks: valves, fittings, pan, drain, and pressure points
- Confirm the cold shutoff valve is installed and reachable.
- Look for dry fittings and supported piping.
- Verify the drain pan is under the heater.
- Check that the pan has a proper drain path if required.
- Look for an expansion tank when the system is closed or pressure-prone.
Venting and fuel checks: vent path, gas piping, combustion, and airflow
- Confirm the vent matches the heater type.
- Check that vent materials are not mixed.
- Make sure vent size has not been reduced.
- Look for obvious gas piping strain or undersized routing.
- Have backdraft testing and combustion checks completed by a licensed technician.
Electrical, safety device, and startup checks: T&P, temperature setting, leak test, and first heat cycle
- Confirm the T&P valve discharge pipe is visible and not capped or plugged.
- Check that the electrical cable has strain relief and no damaged wire is reused.
- Set the temperature to a moderate setting, often around 120°F, for many homes.
- Start the heater and watch for leaks during fill and first heat cycle.
- Listen for banging, hissing, or burner noise that seems out of place.
What is the wrong temperature setting for a water heater?
For most homes, 120°F is the safer setting. A 140°F setting can increase scald risk, and higher settings can also increase standby losses. If the heater is serving children, older adults, or anyone with slower reaction time, the lower setting matters even more.
Should a water heater be set to 120 or 140 degrees?
A 120°F setting is recommended for most homes. A higher setting, such as around 140°F, can raise scald risk and waste energy while the tank sits between uses. If a higher setting is needed for a specific reason, it should be deliberate, documented, and matched with scald protection.
What happens if the water heater is the wrong size?
A heater that is too small runs out of hot water fast. A heater that is too big wastes energy. Both problems create complaints after the install, because the owner notices either short showers or unnecessary operating cost within days, not months.
How wrong sizing shows up in daily use
Undersizing usually shows up as short hot-water runs, temperature swings, and rushed recovery. Oversizing often shows up as longer standby time, higher energy use, and a larger tank than the household actually needs. The wrong size also makes it harder to judge whether the system is working properly.
Which installation mistakes cause leaks later?
The leaks that show up later usually come from loose fittings, poor support, bad unions, mixed materials done badly, and drain systems that were never finished correctly. These are the mistakes that stay hidden until the plumbing warms, expands, vibrates, and starts moving under normal use.
Hidden failure modes that create callbacks within 30 days
A fitting can look dry during startup and still seep after the first few heat cycles. A drain pan can overflow if the line is wrong. A T&P discharge line can leak at the wrong termination. Expansion pressure can also force a weak joint to open after the system has been running for a while.
What should I check after a new water heater is installed?
After installation, check for leaks, confirm the temperature setting, verify the venting or combustion setup on gas units, and listen for quiet, normal operation. The first few weeks matter because some failures may show up only after several heat cycles and changes in household demand.
Post-install checks that catch the first month failures
Look for water under the heater, moisture around fittings, and any drip at the T&P discharge. On gas units, watch for abnormal flame behavior or backdraft signs. On electric units, confirm the breaker is stable and the wiring stays cool. On all units, confirm the system runs without banging, hissing, or short cycling.
Frequently asked questions
What are the most common water heater installation mistakes?
The most common mistakes are wrong sizing, bad venting, skipped permits, loose fittings, missing expansion control, poor drain pan setup, and an unsafe temperature setting. Those errors often show up as leaks, pressure complaints, service failures, or failed inspection after the heater has already been put into use.
Can a water heater be installed without a permit?
Sometimes a homeowner can physically install equipment without one, but that does not make it acceptable. Skipping permits can cause a failed inspection later, and local rules may cover venting, drain pans, seismic straps, and valve piping. If a permit is required locally, it should be obtained before work starts.
Do I need an expansion tank with my water heater?
You may need one when the plumbing system traps pressure as water heats. That is common with check valves or pressure-reducing valves. An expansion tank can absorb thermal expansion, but it should be matched to system pressure and installed in the correct location for the setup.
What happens if the T&P valve discharge pipe is installed wrong?
If the discharge pipe is capped, plugged, routed unsafely, or hidden from view, the system may not relieve pressure the way it should. That can lead to water damage, missed warning signs, or a dangerous overpressure condition. The pipe should discharge safely and remain visible.
How much clearance does a water heater need?
Clearance depends on the unit and local code, but the practical standard is simple: the heater must remain serviceable, venting must not be obstructed, and combustion air must not be blocked. If a technician cannot inspect valves, wiring, or vent connections without moving other items, the placement is poor.
Should a water heater be set to 120 or 140 degrees?
For most homes, 120°F is the safer setting. The U.S. Department of Energy warns that 140°F increases scald risk, and higher settings also increase standby losses. A higher setting should only be used when there is a clear reason and proper scald protection is in place.
Which installation mistakes cause leaks later?
Loose fittings, poorly supported piping, bad unions, mixed materials done badly, and incomplete drain pan work are the usual leak starters. These often stay quiet during startup and then show themselves after heat cycles, vibration, or pressure changes. That is why a dry first test is not enough.