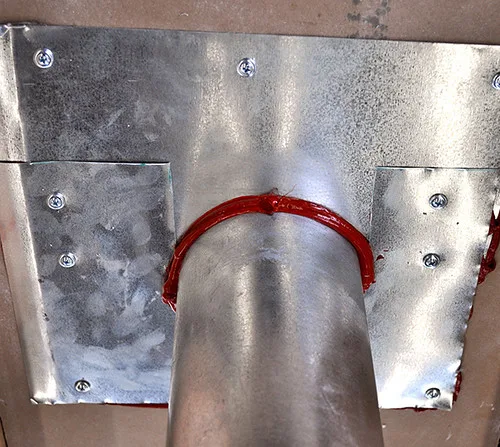
Water Heater Maintenance for Mobile Homes
Water heater maintenance for mobile homes is mostly the same as in other houses, but you should flush the tank once a year, test the T&P valve once a year, and follow the unit’s exact venting, clearances, and fuel requirements. Manufacturer installation manuals, HUD manufactured-home rules, and ENERGY STAR maintenance guidance all point to the same basics: keep the tank clean, keep safety devices working, and keep the installation compliant. Skipping those checks can shorten tank life, raise energy use, and create leak, fire, or carbon-monoxide risks in tight spaces. This article covers what changes in manufactured-home installs, what stays the same, and when you need a licensed pro.
Why mobile homes need special attention


Mobile home water heater maintenance starts with fit, access, and venting, because those details can change what you can safely service. The core tasks are still draining sediment, checking the anode rod, and confirming shutoffs, but a manufactured-home install may use tighter closets, different drain routing, and model-specific replacement requirements. HUD installation rules for manufactured homes and the heater’s own manual matter here because clearance, venting, and listed use are part of the installation, not just the appliance.
What changes in a manufactured-home install
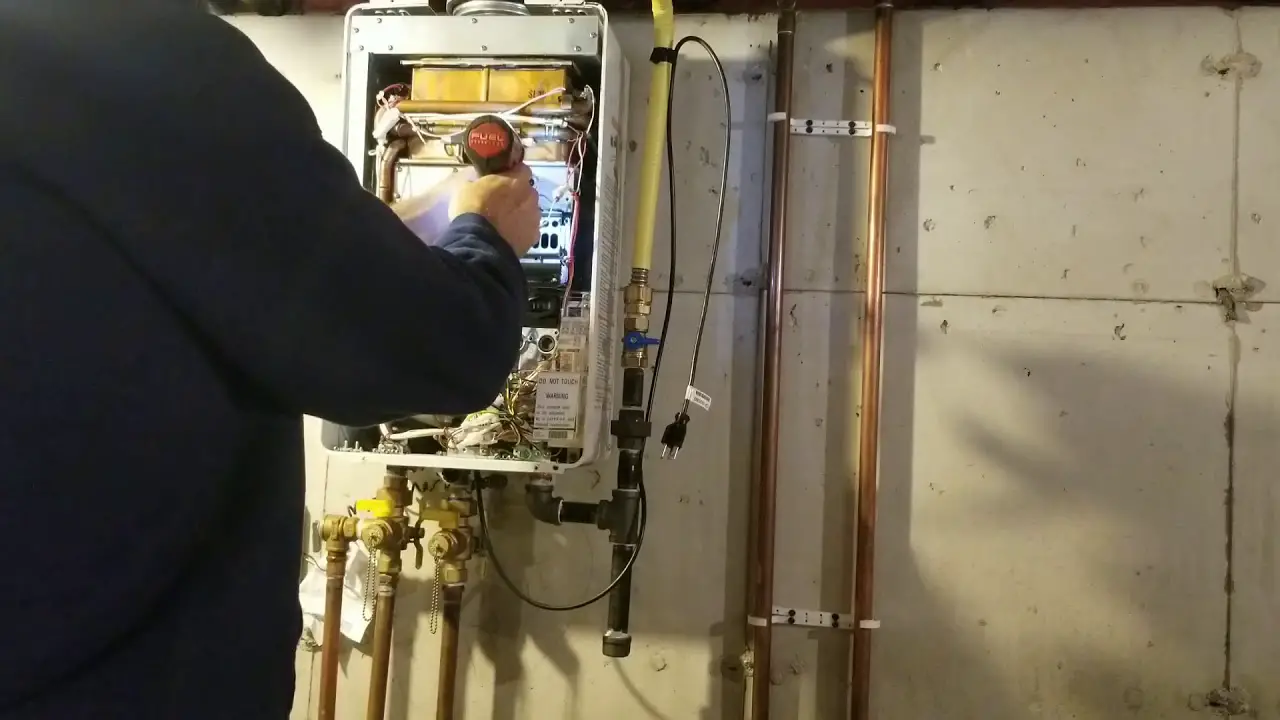
Many mobile home units sit in compact utility spaces, so the heater may have limited side clearance, a short pan drain route, or a drain point that is hard to reach. That matters because a task that is simple in a basement can become awkward or unsafe in a closet with low headroom and cramped access. Follow the water heater’s installation manual and the manufactured-home installation requirements for placement, venting, and service access.
Mobile home water heaters can be tank or tankless, and the right maintenance plan depends on the exact installation, fuel type, access clearance, and whether the unit is built for manufactured-home use. A gas unit may bring vent and combustion-air checks into the picture, while an electric unit adds shock risk if power is not off before service. If you are comparing layouts, the differences in a mobile home water heater vs regular water heater often come down to clearance, venting, and listed installation requirements rather than the tank itself.
Tank vs tankless maintenance differences
Tank units need draining, flushing, and anode-rod inspection. Tankless units do not have a storage tank to flush in the same way, so the service plan changes. Do not assume the same steps apply to both, even if they sit in similar spaces or serve the same household. The manufacturer’s manual should always decide whether a flush, vinegar descale, or another maintenance step is required.
Size also varies by install. A mobile home may use a smaller tank than a larger site-built house, but there is no single standard size for every unit. Capacity depends on the number of occupants, fuel source, and how much room the installer had for the tank and venting.
Fuel type and access constraints
Electric and gas water heaters both require shutdown before service, but the hazards differ. Gas units add burn and gas-control concerns. Electric units add shock risk. In both cases, the location of the heater, the drain route, and the available working space affect what maintenance is practical. If the unit is electric, the service steps and parts access may also differ from gas models in the same closet.
Say your 30-gallon gas heater sits in a narrow closet with a shallow pan under it. You can still flush it, but only if the drain hose can run to a lower point and the access panel leaves enough room to work without forcing fittings or blocking the vent path. The installation manual and HUD’s manufactured-home placement rules are the best guide for whether the space is serviceable.
Mobile home water heater service checklist
This checklist helps you confirm whether the installation is serviceable before you start. A pass means the part or access point is usable for basic maintenance. A fail means the setup may need a plumber, especially if the unit is cramped, the fittings are seized, or the replacement part must match a manufactured-home installation.
| Component | Mobile-home-specific access issue | What to inspect | Pass/fail sign | When to call a pro |
|---|---|---|---|---|
| Shutoff valves | Valve may sit behind a tight panel or low in a closet | Cold water supply shutoff, hot-side isolation if present | Pass if the cold supply closes fully and stays closed | Call a pro if the valve leaks, will not turn, or is missing |
| Drain routing | Hose may need a long, low path to a safe drain point | Drain valve location, hose fit, and drain height | Pass if the drain point is lower than the heater | Call a pro if you cannot route water safely outdoors or to a drain |
| Anode rod access | Top access may be blocked by low ceiling or ductwork | Top cap removal, rod condition, wrench clearance | Pass if you can reach the rod with a large adjustable wrench | Call a pro if the rod is stuck or the top is too tight to work in |
| Clearance | Closets can limit working room around the heater | Space to open panels, attach a hose, and lift tools | Pass if you can service it without forcing parts | Call a pro if clearance is too tight for safe service |
| Pan and leak signs | Pan drain may be hard to inspect behind trim or skirting | Moisture, rust marks, standing water, drip traces | Pass if the pan is dry and the floor shows no active leak | Call a pro for active leaks or corrosion near fittings |
| Unit compatibility | Replacement must fit the manufactured-home install | Size, fuel type, venting, and listed use for the space | Pass if the replacement matches the install requirements | Call a pro if you are unsure about fit, venting, or code issues |
- Turn off electrical power or set the gas control to the manufacturer’s off position before touching the tank.
- Close the cold water supply valve so the tank will not refill while you drain it.
- Open a hot-water faucet if needed to let air in and help the tank drain fully.
- Attach a hose to the drain valve and route it to a lower, safe drain point.
- Flush until the water runs clearer and sediment is reduced.
- Inspect the anode rod, drain valve, visible fittings, and pan for wear or leaks.
- Refill the tank, restore power or gas only after the tank is full, and check for drips.
How do you maintain a mobile home water heater?
Start by shutting off power or gas, then close the cold water supply, drain enough water to remove sediment, and inspect the anode rod and visible fittings. The same basic steps apply to mobile homes and other houses, but the tight access and the drain route often decide how far you can go safely. Manufacturer manuals typically call for regular flushing, anode inspection, and T&P valve testing, while ENERGY STAR recommends routine maintenance to protect efficiency and life span.
Turn off power or gas first
Before draining, the water heater should be turned off. That applies to both electric and gas units. It is the first safety step because you do not want a dry-firing electric element or an active burner working while the tank level drops. Follow the exact shutoff steps in the unit’s manual; for gas models, that can include the gas control, pilot, and vent safety guidance.
Close the cold water supply
The cold water supply should be shut off before maintenance. That prevents the tank from refilling while you drain it. If the unit has a hot-side isolation valve, close that too. If it does not, open a hot water faucet to help the tank drain completely and prevent vacuum lock.
Drain and flush sediment
Sediment buildup can create popping noises in the tank, cause a rumbling sound, and reduce efficiency over time. Draining and refilling the tank can solve some sediment problems. A drain valve is located at the bottom of the water heater, and a hose may be required depending on where the heater is installed. Many manufacturer manuals call for periodic flushing because sediment can interfere with heat transfer and shorten service life.
For a hose setup, the drain should be lower than the water heater. That lets gravity do the work. If the drain point is higher than the tank, the water may not empty correctly, and you may end up with slow flow or a mess inside the closet.
A common mistake is skipping the tank flush on a mobile home water heater and letting sediment stay packed around the burner area. The tank keeps refilling, so the flush never really clears sediment. In a tight mobile home closet, that can also send water toward the pan and make a minor issue look like a leak.
Inspect the anode rod
The anode rod is typically accessed from the top of the heater. During maintenance, inspect it for heavy wear. A large adjustable wrench is needed to remove the anode rod, and if it is severely pitted, it should be replaced. Manufacturer guidance commonly treats the anode as a wear part, so a heavily consumed rod is a sign to replace it before tank corrosion accelerates.
How often should you flush it?
Annual maintenance is recommended to extend a water heater’s life, and that yearly interval is a good baseline for mobile homes too. Flush sooner if you hear popping or rumbling, see cloudy drain water, or notice slower hot-water recovery. Heavy mineral content can justify more frequent service, and manufacturer manuals often call for at least annual inspection of key safety and wear components.
Annual service as the baseline
For many owners, a yearly flush is a common rule of thumb for the simplest schedule. It keeps sediment from building up for long periods and gives you a regular chance to check valves, the pan, and the anode rod. In a mobile home, that yearly visit also lets you confirm that the drain route still works.
When noise or slow recovery suggests sediment
If the tank starts rumbling, popping, or taking longer to recover after showers, sediment may already be collecting at the bottom. That is when flushing matters most, because scale and grit can insulate the burner or element and make the heater work harder for the same result. ENERGY STAR also recommends staying on top of water-heater maintenance because neglected sediment can reduce efficiency.
What changes the interval
Water quality changes the schedule. Hard water, older piping, and a unit that sees high use all push sediment buildup faster. A small tank serving a full household may need more attention than a lightly used one, especially if the heater is installed where access makes cleanup difficult.
What parts should you check?
Check the drain valve, the anode rod, visible leak points, the pan, and the clearance around the heater. Also confirm that hot-water faucet isolation and refilling behavior make sense before you put the unit back in service. In a mobile home, those checks matter because the installation can magnify a small defect. Manufacturer manuals also call for T&P valve inspection or testing at least annually, since that valve is a critical safety device.
Drain valve condition
The drain valve sits at the bottom of the tank, so it can collect scale and debris. It should open and close cleanly, not drip when shut, and allow water to move out without a long delay. If it sticks, leaks, or breaks under gentle force, do not keep turning it. A damaged drain valve often turns a simple flush into a replacement job.
Anode rod wear
The anode rod should be checked for severe pitting or heavy loss of material. That is normal wear over time, but a badly pitted rod no longer protects the tank as well. Replace it when the rod is heavily consumed, or have a pro handle it if access is poor. The owner’s manual is the best source for the rod type and replacement interval.
Pan, leak signs, and clearance
Look for rust tracks, damp insulation, water in the pan, or warped flooring near the heater. Because mobile homes often place the unit in a narrow closet, even a small leak can run into places you cannot see right away. Keep enough clearance to reach the valve, rod, and panel covers. If the pan drain is hard to inspect, treat hidden moisture as a warning sign rather than waiting for a visible puddle.
Hot faucet isolation and refill check
If there is no hot-side isolation valve, opening a hot water faucet helps the tank drain completely. After service, close the faucet only after the tank has refilled and the lines have purged air. That step confirms the system is refilling instead of pulling air through a trapped line. It also reduces the chance of an air pocket that can confuse your leak check.
T&P valve test and vent review
The temperature-and-pressure relief valve should be tested according to the manufacturer’s instructions, usually annually. The discharge pipe should point to a safe location and remain unobstructed. For gas units, also verify that venting is intact and that the vent connector and combustion air path match the manual and HUD installation rules for manufactured homes.
When to call a plumber
Call a plumber if the anode rod is stuck, the access is too tight for safe service, the replacement fit is unclear, or the heater shows signs of a leak or venting problem. Professional plumbing service is also appropriate when you are not comfortable with gas, electric, or drain-line work. The right call is often the one that prevents damage to the tank, vent system, or enclosure.
Stuck fittings or cramped access
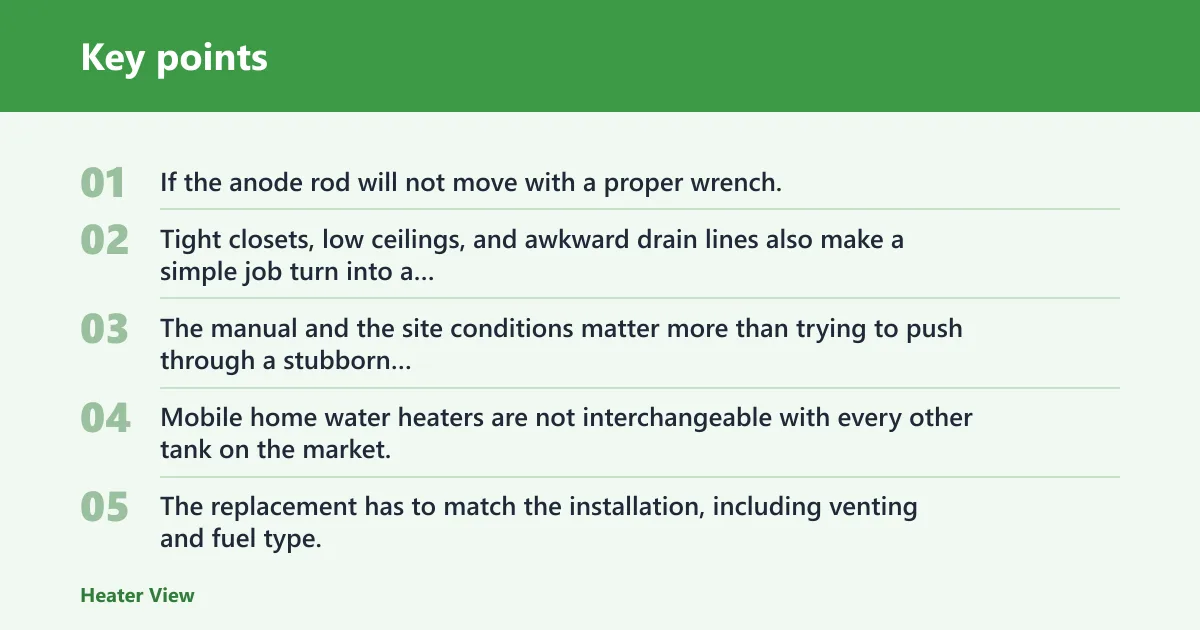
If the anode rod will not move with a proper wrench, forcing it can damage the tank top or the hex head. Tight closets, low ceilings, and awkward drain lines also make a simple job turn into a risky one. That is a reasonable point to stop. The manual and the site conditions matter more than trying to push through a stubborn fitting.
Replacement fit and code questions
Mobile home water heaters are not interchangeable with every other tank on the market. The replacement has to match the installation, including venting and fuel type. If you are unsure whether a standard unit will fit a manufactured-home space, call a plumber before buying parts that cannot be installed correctly. HUD installation rules and the manufacturer’s listing are the key references here.
Suppose your electric heater is in a shallow closet and the old anode rod is nearly fused in place. A plumber can remove the rod, confirm the replacement fit, and check whether the drain and pan setup still meet the space requirements without turning the job into a larger repair.
Electric shock or gas safety concerns
Electric units can shock you if power is not properly shut off, and gas units can create burn or fuel-control risks if the burner area or venting is not right. If you smell gas, see scorch marks, or cannot confirm the shutdown steps, do not continue the service yourself. In those cases, the safest next step is professional service and a full inspection.
How much is a water heater for mobile home?
For a mobile home, the total cost depends on the unit type, capacity, venting, and whether the install must match manufactured-home requirements. Recent homeowner cost guides and service-price listings commonly place a mobile-home water-heater replacement in the rough range of $1,000 to $3,000+, with basic tank units lower and constrained installs higher. Replacement quotes rise when access is tight, venting must be updated, or the old unit is hard to remove (Angi, HomeAdvisor, Forbes Home, 2024-2025).
For budgeting, a simple flush or inspection is usually much less than replacement, while a service call for a stuck anode rod or compatibility question can cost more because it takes more labor. Current service guides commonly put a flush or basic service visit around $75 to $250, while tougher service calls and parts replacement can move higher when the unit is in a cramped closet or the drain route is awkward (Angi, HomeAdvisor, Fixr, 2024-2025).
What increases price most in mobile-home installs is limited access, long drain routing, vent changes, code-compliance work, and replacement parts that must match the manufactured-home setup. If the heater sits in a shallow closet, the labor can climb because the technician has less room to remove the old tank, hook up the new one, and verify clearance, venting, and the pan.
Frequently asked questions
What size water heater is in a mobile home?
There is no single size for every mobile home. Capacity depends on the number of occupants, the fuel type, and the space available for installation. Many manufactured homes use smaller tanks than larger site-built homes, but the correct size is the one that matches the actual install and demand.
Why are mobile home water heaters different?
They are different because the installation is often tighter and more specific. Clearance, venting, drain routing, and replacement compatibility can all change how the unit is serviced. That means a maintenance plan that works in a basement may not work in a mobile home closet. HUD installation rules for manufactured homes also add placement and service constraints that standard replacements may not meet.
How do I maintain a water heater in a mobile home?
Shut off power or gas, close the cold water supply, drain and flush the tank, and inspect the anode rod and drain valve. Check the pan, leak signs, and clearance too. If the access is cramped or any fitting is stuck, stop and call a plumber. The manual should also be used for T&P testing and any vent-specific steps on gas models.
How often should I flush a mobile home water heater?
Flush it once a year as a baseline. Do it sooner if you hear popping or rumbling, see reduced hot-water recovery, or notice cloudy sediment in the drain water. Hard water and heavy use can justify a shorter interval. Manufacturer manuals and utility guidance both support yearly maintenance as a practical minimum.
What parts should be checked on a mobile home water heater?
Check the drain valve, anode rod, shutoff valves, leak signs, pan condition, and the drain route. Also confirm whether hot-water faucet isolation is needed to drain the tank fully. In a mobile home, these parts matter because access and routing are often limited, and the T&P valve should be tested per the manufacturer’s instructions.
Should I call a plumber for mobile home water heater maintenance?
Yes, if the anode rod is stuck, the access is too tight, the drain path is unsafe, or you are unsure about compatibility. A plumber is also the safer choice for gas concerns, electric shock concerns, or any sign of venting trouble or active leakage. When the installation is constrained, professional removal and reinstallation can prevent damage and help keep the setup compliant.
How do I drain sediment from a mobile home water heater?
Turn off the heater, shut off the cold water supply, open a hot faucet if needed, and attach a hose to the drain valve at the bottom of the tank. Let the drain point sit lower than the heater. Flush until the water runs clearer, then refill and check for leaks. If sediment keeps returning quickly, the anode rod and water quality may need attention too.