How to Route a Block Heater Cord Safely
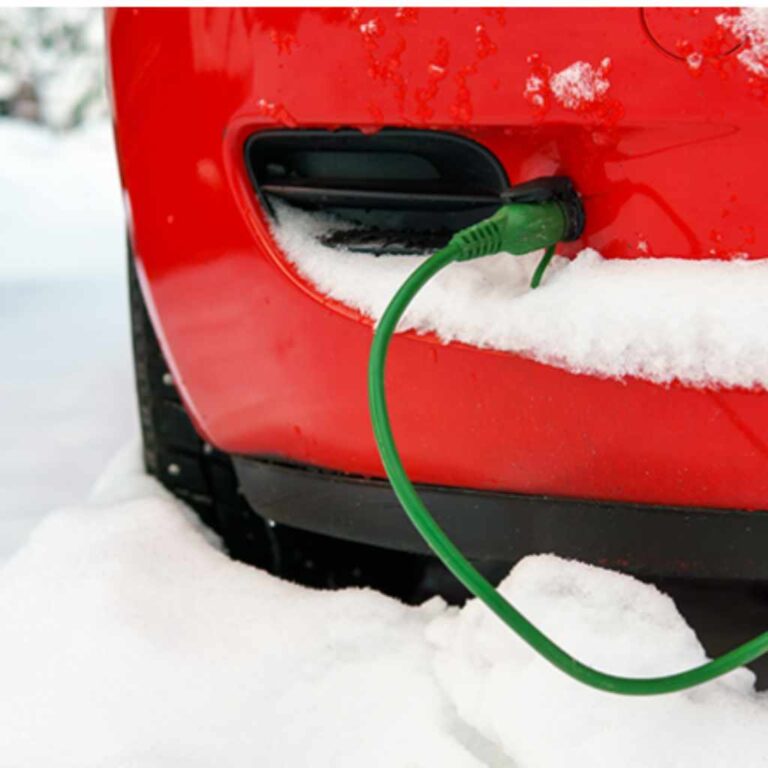
Route a block heater cord along one protected path that stays clear of exhaust, belts, fans, steering parts, and sharp metal. Use clips or ties every 12 to 18 inches, and add a drip loop before the plug. Poor routing can melt insulation, pull the plug loose, or chafe the cord until it fails in freezing weather. This guide covers safe cord paths, mounting points, abrasion protection, moisture control, and winter checks.
What a block heater cord needs to avoid
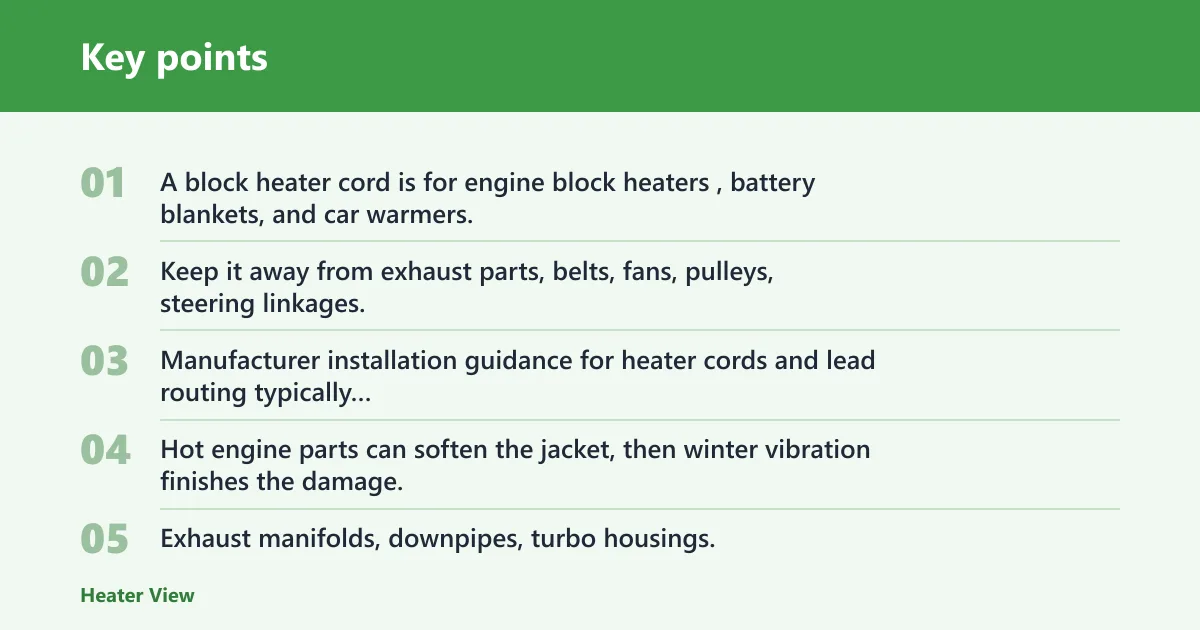


A block heater cord is for engine block heaters, battery blankets, and car warmers, so the cord path should protect it from heat, motion, and abrasion all season. Keep it away from exhaust parts, belts, fans, pulleys, steering linkages, and any edge that can cut insulation or trap the cord in a moving part. Manufacturer installation guidance for heater cords and lead routing typically emphasizes clearance from hot and moving components.
Heat sources that soften insulation
Hot engine parts can soften the jacket, then winter vibration finishes the damage. Exhaust manifolds, downpipes, turbo housings, and other hot surfaces can raise the cord temperature enough to make the insulation stiff, sticky, or cracked later. If the cord has a cold-weather insulation jacket, it still needs clearance from heat and friction, per common manufacturer routing instructions.
Moving parts that can grab the cord
Anything that moves with the engine or steering can snag a loose loop. Belts, fans, pulleys, steering linkages, and suspension travel zones all need a clear corridor. The cord should never hang where it can flutter into motion or rub until the jacket wears through. A secure route is part of safe heater-cord installation, not just convenience.
Edges, splash zones, and pinch points
Sharp metal edges, hood seams, bumper corners, and splash-prone openings create a second failure path. Road spray can work into connectors, and packed ice can pry a cord out of position. A safe route keeps the cord off sharp edges, out of pinch points, and above areas where snow and slush collect. Keep connections elevated and out of standing water.
Where should you run the cord?
Run the cord through the grille or bumper area only if that exit stays clear of heat, tire spray, and moving parts. Start with the shortest path you can inspect in one glance. Leave enough slack for engine movement, but do not let the cord sag low enough to catch on snow, brush, or road debris.
Use a short, visible exit path
Choose a path that comes out near the grille or bumper opening, then rises to a fixed point before it heads to the outlet. That makes inspection easier and reduces the chance that the cord will drag in slush or snag on brush. The exit should not force the cord across a fan opening or around a hot exhaust side.
Keep the exhaust side out of the route
The exhaust side is a poor path because it combines heat, tight clearances, and moving parts. Even if the cord clears the exhaust at idle, vibration and engine movement can change that gap. A route on the cooler, more open side of the vehicle is easier to secure and easier to check after snow or mud buildup.
Leave slack without letting it hang low
Give the cord enough slack for engine movement, but do not leave a loose loop that can sway. A good route bends gently and stays above the lowest chassis parts. If the cord must cross a frame member or support, protect it with a clip or retainer rather than letting it rest on metal.
Routing checklist
Use this labeled checklist to verify the full path before the first cold snap and again after a storm. A route that looks fine in the garage can still fail after road spray, vibration, and ice buildup. If any item fails, reroute before use.
- Start point: Start at the heater connection and identify the shortest protected path to the front opening.
- Heat clearance: Keep the cord away from exhaust parts, belts, pulleys, and steering motion.
- Attachment points: Use heat-resistant, weather-resistant clips or retainers at regular intervals.
- Service slack: Leave a small service loop where engine movement can tug the cord.
- Drain path: Create a drip loop before the plug end so water drains off before it reaches the connector.
- Storage point: Finish with a visible plug storage point that stays off the ground and out of snow.
How do you secure the cord without damaging it?
Secure the cord with clips or retainers that hold it in place without crushing the insulation. The cord should stay still, but the jacket should remain round and unmarked. Use weather-resistant hardware, keep the cord away from suspension travel and steering movement, and store the plug end where it stays dry, clean, and easy to inspect.
Choose retainers that hold, not pinch
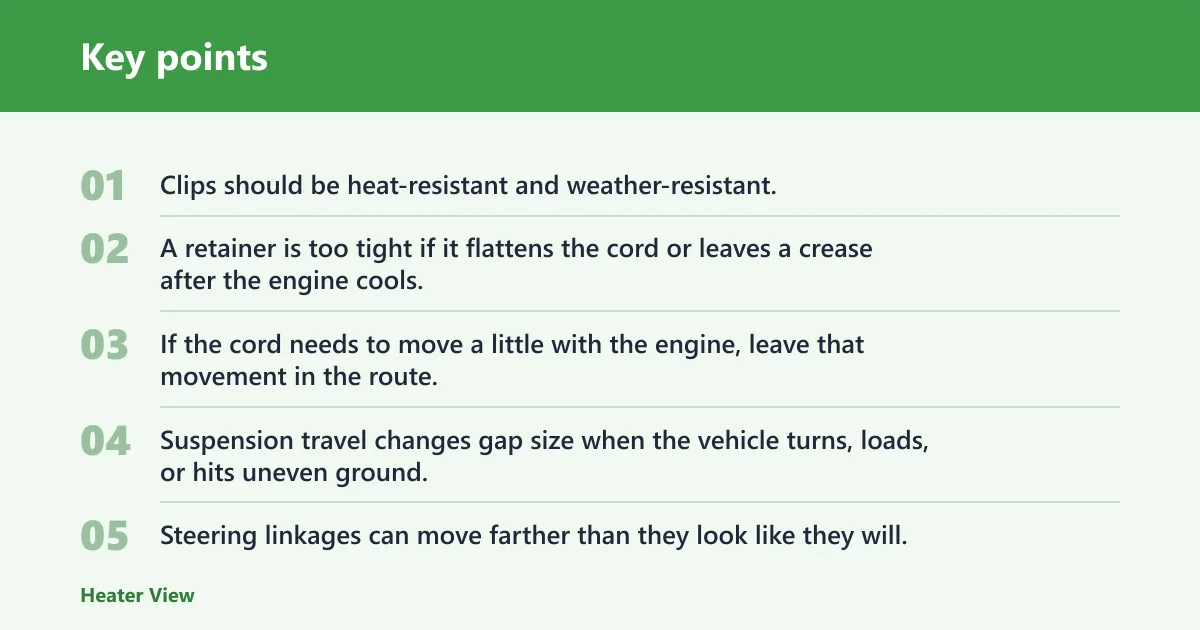
Clips should be heat-resistant and weather-resistant, with smooth contact points that do not cut into the jacket. A retainer is too tight if it flattens the cord or leaves a crease after the engine cools. If the cord needs to move a little with the engine, leave that movement in the route, not in a crushed clip.
Protect the cord from suspension and steering motion
Suspension travel changes gap size when the vehicle turns, loads, or hits uneven ground. Steering linkages can move farther than they look like they will. Keep the cord out of those zones, and recheck the route with the hood closed and the front wheels turned if the vehicle design allows that check safely.
Store the plug end above water and ice
The cord end connector should stay clean, dry, and fully seated. Do not leave it where standing water, ice, or packed snow can sit around the contacts. A plug tucked into a snowbank can wick moisture into the connector and may make the next plug-in unreliable.
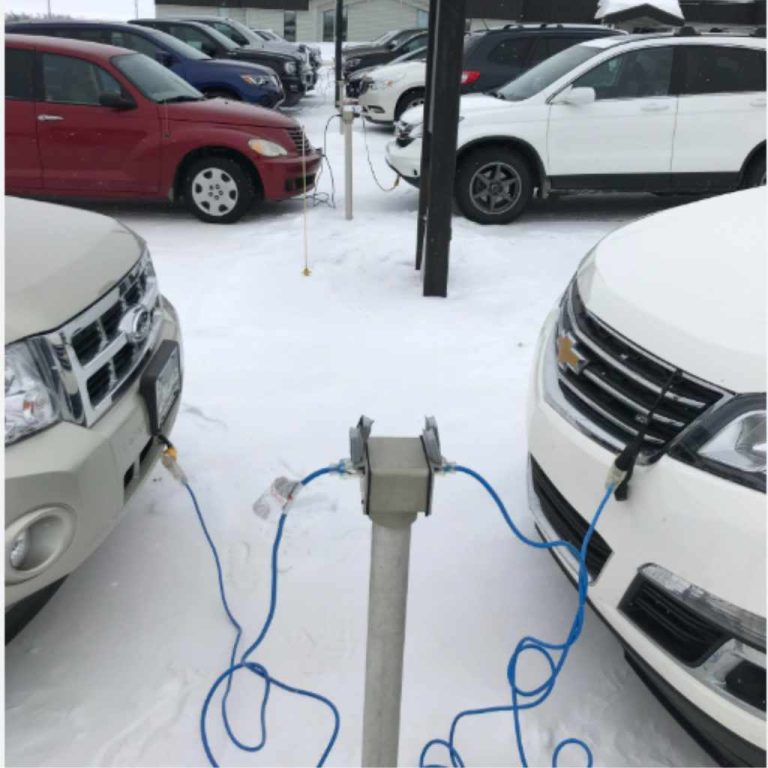
Say your tractor cord exits near the grille and hangs just below the bumper. A small branch or a ridge of ice can snag that loop during a cold morning start. Moving the route higher, adding a retainer near the opening, and giving the cord a better drip loop reduces that risk without changing the heater itself.
Cord routing checklist
Use this checklist before the first cold snap and again after a storm. A path that clears the driveway in dry weather can still fail after road spray, vibration, and ice buildup. If any row fails, reroute before use.
| Vehicle area | Hazard type | What safe routing looks like | Pass/fail criteria |
|---|---|---|---|
| Grille or bumper exit | Sharp edge, splash, snagging | Cord leaves through a smooth opening, rises immediately, and does not rub metal | Pass: no edge contact, no low loop, visible from the front. Fail: cord pinched, dragging, or resting on a sharp lip |
| Fan-belt zone | Moving parts | Cord stays outside the belt and fan path with clear air around it | Pass: no chance of belt or fan contact. Fail: any loop can reach a belt, pulley, or fan |
| Exhaust side | Heat | Cord is routed away from manifolds, pipes, and other hot surfaces | Pass: clear gap from hot parts. Fail: contact, browning, stiff jacket, or heat smell |
| Suspension travel | Pinch point, motion | Cord stays above moving suspension parts and does not cross a compression path | Pass: no interference at full steering or load movement. Fail: cord could rub, pinch, or snag during travel |
| Cab or hood edge | Crush, abrasion | Cord crosses only a protected edge and uses a smooth retainer or grommet-style path | Pass: no sharp metal, no flattened jacket. Fail: visible bite marks, cuts, or scuffing |
| Plug-end storage | Moisture, ice, contamination | Connector stays dry, clean, and off the ground with a drip loop above it | Pass: no standing water, ice, or packed snow. Fail: dirty prongs, moisture in the connector, or ground contact |
What extension cord is safe?
If you use an extension cord at all, choose one rated for outdoor cold-weather use, with voltage and amperage that match the heater load. Do not daisy-chain cords. For outdoor wet-location use, GFCI protection is often the better choice because it can help reduce shock risk if insulation or connectors fail, consistent with OSHA and ESFI guidance for temporary outdoor power use.
Match the electrical load, not the guess
Use the heater’s current and voltage rating as the starting point. Power is watts equal volts times amps, so a 120V, 10A heater is about 1,200W. Cord gauge and length should match the heater amperage and the total run distance, because longer cords create more voltage drop and heat. NEMA ratings and manufacturer manuals should guide the final choice.
Do not coil extra length
Coiled cords run hotter than stretched-out cords, which matters in freezing air where stiff insulation can hide damage. Keep the full length straightened as much as practical. If a cord is longer than needed, route it cleanly or use the proper length instead of wrapping unused loops around nearby parts.
Avoid daisy-chaining
Extension-cord stacking adds extra connectors, extra resistance, and more failure points. OSHA cautions against using temporary cords in ways that create damage or overload hazards, and ESFI recommends outdoor-rated cords with GFCI protection for wet locations. If one cord is not enough, the safer answer is usually a better outlet location or the correct replacement cord.
When should you reroute, repair, or replace?
Reroute any cord that touches heat, moving parts, or sharp edges, even if it still works. Repair is only reasonable when the problem is a loose clip, a bad path, or dirt on an otherwise intact cord. Frayed insulation, cracked jacket material, stiffened cold-weather insulation, or a loose connector usually means replacement or manufacturer guidance.
Inspect for winter failure points
Winter adds problems that are easy to miss in a quick look. Road spray can carry grit into the jacket, ice can tug the cord sideways, and vibration can slowly wear through a spot that looked fine in the fall. Cold can also shrink the cord jacket and make a weak section crack when flexed.
Use this decision path
If the cord is dirty but intact, clean it and reroute it. If a clip has shifted, reset the route and check for rub marks. If the jacket is frayed, cracked, flattened, or loose at the connector, stop using it and replace it with the correct part for that heater or contact the manufacturer for the correct cord.
Suppose a diesel truck cord looks fine in the garage, but the jacket feels hard after an overnight freeze. That stiffness matters. A stiff cord is harder to secure cleanly, and it can crack where it bends around a grille opening, so the route and the cord condition both need another check before plug-in.
How do you test a block heater cord?
Test the cord before every cold-weather use by checking the jacket, connectors, and route under good light. Look for cuts, frays, flattening, scorch marks, loose fits, or moisture in the connector. A cord that fails the visual check, feels brittle, or opens when flexed should be taken out of service.
Check the jacket from end to end
Run your eyes along the full length of the cord. Look for cracks, nicks, abrasion, flattened spots, discoloration, swelling, or sticky areas that suggest heat damage. Pay extra attention where the cord passes through a grille, around brackets, or near a retainer, since those are the most common wear points.
Inspect the connectors and plug fit
Check both ends for corrosion, bent blades, dirt, water, or ice. The connector should seat firmly without wobbling or feeling loose. If a plug feels sloppy, if the housing is cracked, or if the connection shows heat marks, stop using it until the correct replacement is installed. A loose fit can overheat under load.
Perform a gentle flex test
With the cord unplugged and cold, bend it gently in a bright area. The jacket should flex smoothly without opening, splitting, or making a crunchy sound. If the insulation cracks, flakes, or feels unusually stiff at one point, do not rely on tape as a long-term fix. Stop using it and replace the damaged section or cord.
Stop using it when any safety sign appears
Fraying, exposed conductor, heat smell, melted spots, cracked insulation, or repeated connector looseness are stop-use conditions. Tape may hide damage briefly, but it is not an acceptable long-term repair for a heater cord that is exposed to weather, vibration, and current load. Replace the cord or follow the manufacturer’s approved repair path.
How do you replace a block heater cord?
Replace it with the exact cord specified for that engine block heater, battery blanket, or car warmer. Many systems use a dedicated power cord or pigtail, so fit matters. If the cord is not clearly universal, do not improvise; get the correct part number or ask the manufacturer which replacement is approved.
Identify the exact replacement part
Start with the heater brand, model, and part number from the cord, heater, or vehicle documentation. Some block heaters use a specific molded connector, amperage rating, or lead length, and those details must match. If the old cord is missing or unreadable, use the heater model and manufacturer catalog, not a generic guess.
Verify the connector style and rating
Compare the plug shape, locking tabs, pin layout, and cord gauge before you buy. A replacement needs the same electrical rating and a connector that mates correctly with the heater. If the new cord seems close but not exact, do not force it. A poor fit can create heat, arcing, or intermittent power.
Replace the full damaged section, not just the visible spot
If the jacket is cracked near the connector or the damage extends into the molded end, replace the full cord or the approved lead assembly. A patch over the outside may hide the problem without restoring insulation integrity. A manufacturer-approved replacement is safer than building a custom splice in a weather-exposed heater lead.
Recheck routing after installation
After the new cord is installed, route it through the same safety checks used for the original path. Confirm clearance from hot parts, movement zones, and sharp edges. Secure the cord, make the drip loop, and keep the connector off the ground. A new cord can fail early if the route is still wrong.
Frequently asked questions
How do I route a block heater cord safely?
Run it through one short, visible path that avoids exhaust, belts, fans, steering parts, and sharp metal. Secure it with clips or retainers, leave a little slack for engine movement, and keep the plug end dry. A path that passes inspection in daylight is easier to trust in snow and slush.
How should I secure a block heater cord so it doesn’t get damaged?
Use heat-resistant, weather-resistant clips or retainers that hold the cord without pinching it. Space them so the cord cannot sag into hot or moving parts, and keep the final connector off the ground. If a clip leaves a flat spot or bite mark, it is too tight.
Can I run a block heater cord under a hood or grille?
Yes, if the opening gives the cord a smooth, protected route and does not force it across hot or moving parts. The grille or bumper area is often safer than a hidden path because it can be inspected quickly. Avoid any route that traps the cord under a sharp seam or hood edge.
What kind of extension cord is safe for a block heater?
Use an outdoor-rated, cold-weather-flexible extension cord that matches the heater’s amperage and voltage. Do not daisy-chain cords. For wet outdoor use, GFCI protection is recommended. If the load is close to the cord limit, a direct replacement cord or better outlet location is the safer answer.
What should I do if my block heater cord is frayed or cracked?
Stop using it until you decide whether the damage is only cosmetic or a real insulation failure. Fraying, cracking, or a loose connector usually means replacement, not tape. If the cord is a manufacturer-specific part, contact the manufacturer for the correct replacement cord instead of forcing a generic fit.
Can I leave a block heater cord plugged in overnight?
That depends on the heater instructions and the condition of the cord. Overnight use is common in cold weather, but the cord must be routed safely, kept dry, and checked for damage first. If the connector sits in water, ice, or packed snow, do not leave it plugged in that way.
How do I test a block heater cord for damage?
Visually inspect the jacket, connectors, and clips before each use. Look for fraying, cracks, flattening, scorch marks, loose fit, and any place where the cord rubs metal. Flex the cold cord gently in a bright area; if the jacket opens at a bend or feels brittle, it needs replacement or manufacturer guidance.
What is the best way to plug in a diesel block heater cord in winter?
Keep the connector clean, dry, and free of ice before you plug it in. Route the cord high enough that snowplow slush, road spray, and drifting snow cannot bury the end. A dry connector, a clear path, and GFCI protection give a better starting point than a cord left in a snowbank.