How to Clean a Garage Heater for Better Performance
Clean a garage heater by shutting off power and gas, then vacuuming the cabinet, burners, blower, and intake screens and brushing heat-transfer surfaces; a common rule of thumb is to do this at least once each heating season, or sooner if airflow drops or soot appears. Dust, lint, soot, and debris can block air paths, weaken ignition, waste fuel, and raise overheat risk. This guide shows how to clean the unit safely, what to clean first, and which signs mean you should stop and call for service.
What dirt does to garage heater performance

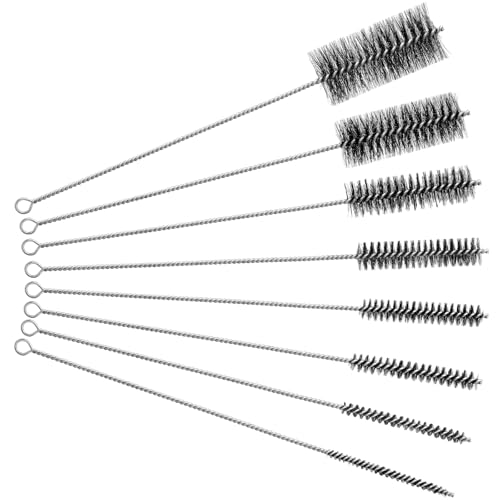

Dust, lint, soot, and debris change how a garage heater moves air, burns fuel, and transfers heat. In a gas or propane unit, buildup can block burner ports, coat the heat exchanger, and interfere with ignition or flame sensing. In an electric or infrared unit, dust on fans, reflectors, and intake paths can cut output and make hot parts run hotter than they should.
That is why cleaning is a performance task, not a cosmetic one. A dirty heater often shows its problems through weak airflow, delayed startup, uneven heat, nuisance shutdowns, odd smells, or a louder fan. Those symptoms point to specific parts that need attention.
How does airflow loss affect hotter-running parts?
When a blower fan, intake screen, or cabinet fills with dust, the heater moves less air across hot parts. That can make the cabinet run hotter, strain the fan motor, and reduce delivered heat at the outlet. Fan noise, rattling, or a high-pitched whine often means the airflow path needs cleaning.
Why do soot, lint, and weak heat transfer matter?
On combustion heaters, soot on the heat exchanger and lint in the vent path reduce heat transfer and raise safety risk. A dirty heat exchanger cannot move heat into the airstream as well, so more energy leaves through the vent or stays trapped in the unit. Inspect for dust buildup, soot, corrosion, cracks, and visible damage before the run season.
Why do smell, noise, and shutdowns matter?
Burning dust can create a brief smell at startup, but persistent odor points to a dirt problem, vent issue, or combustion fault. Repeated shutdowns, weak flame, or delayed ignition can also come from dirty burners, a dusty ignition path, or an obstructed ODS sensor. On combustion heaters, treat any carbon monoxide concern as a stop-work issue until the cause is known.
What you’ll need before you start
Gather the tools first so the unit stays open for the shortest time possible. Use a vacuum with a brush attachment, a soft brush, a microfiber cloth, a flashlight, and compressed air used carefully. For gas heaters, keep the manual nearby so you can match the cover, burner, and access-panel layout to the model.
Shut off power at the breaker for electric units and switch off gas at the supply valve for gas or propane units before opening panels. If the heater is hardwired, vented, sealed, or has parts you cannot identify, stop and check the manual before touching anything beyond exterior cleaning.
What tools and safety items do you need?
- Vacuum with brush attachment
- Soft brush for fins, grilles, and housings
- Microfiber cloth
- Flashlight for soot, cracks, and blockage checks
- Compressed air, used lightly and away from sensitive wiring
- Owner’s manual or model instructions
How do you clean a garage heater safely?
Clean it with the power and fuel off, then work from the outside in: cabinet, intake, fan, burners or heating element area, and vent path where applicable. Use dry cleaning methods first so you do not push debris deeper into the unit. After reassembly, verify startup, airflow, and normal response before regular use resumes.
-
Shut down the unit. Turn off electrical power at the breaker for electric heaters. For gas or propane heaters, close the supply valve and let the unit cool fully before opening any access panel. This reduces burn risk and keeps the fan or ignition system from starting while you work.
-
Remove loose dust first. Vacuum the cabinet, intake screens, and accessible surfaces with a brush attachment. A soft brush helps lift lint from corners, louver openings, and fan housing edges without bending fins or pushing debris inward.
-
Inspect heat-transfer parts. Shine a flashlight on the heat exchanger, burner area, reflector, or radiant surface, depending on heater type. Look for soot, corrosion, cracked metal, warped parts, or debris packed into ports and channels.
-
Clean targeted surfaces. Brush dust from fins, reflectors, and cabinet surfaces, then vacuum the loosened material. Use compressed air carefully on dry, accessible parts only, and avoid forcing debris into wiring, controls, or sealed components.
-
Reassemble and test. Replace panels, restore gas or power, and confirm normal startup, stable airflow, and no unusual odor or sound. If the unit still shuts down, smells strongly, or runs unevenly, stop and call for service.
Say your 24-by-24 garage has a ceiling-mounted heater that starts with a loud fan and weak output. A dusty blower housing and intake screen can cause that pattern. Cleaning those parts first often restores airflow better than touching the thermostat or controls.
Gas garage heater cleaning
Gas garage heater cleaning focuses on the burner assembly, heat exchanger, ignition parts, venting path, and any ODS sensor on a ventless unit. Dirt in those areas can cause uneven flame, delayed ignition, a soot smell, or shutdowns that look like a failing heater but are really a cleaning problem.
What should you clean on the burner assembly and ignition parts?
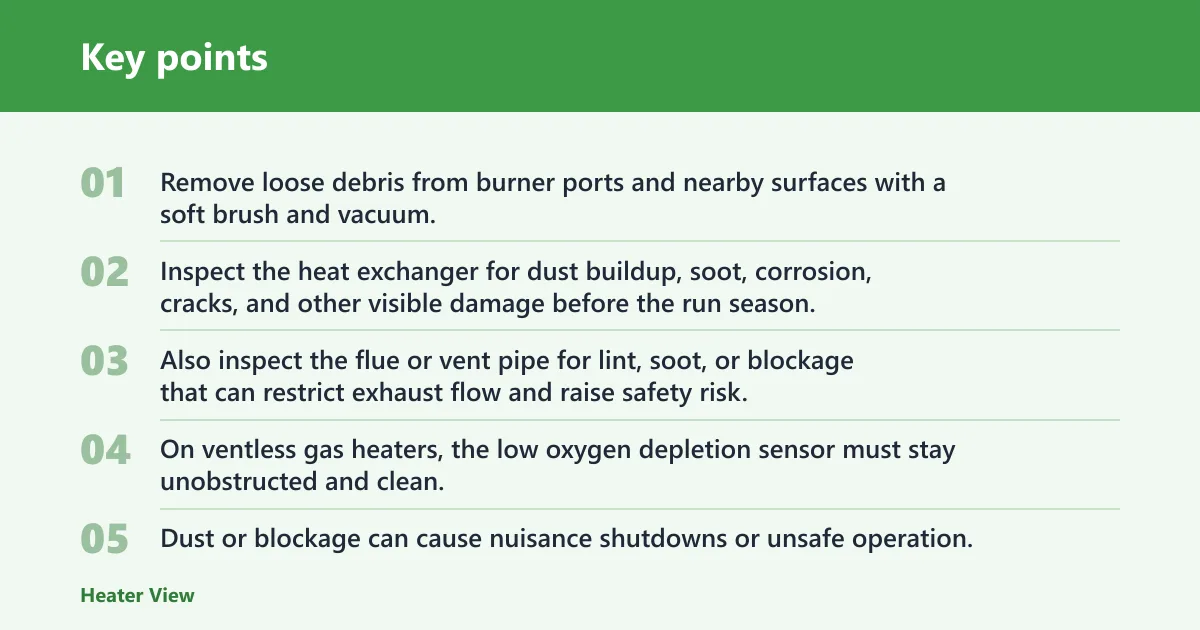
Remove loose debris from burner ports and nearby surfaces with a soft brush and vacuum. Do not poke metal tools into gas passages. Uneven flame patterns, repeated misfires, or yellowing where the flame should be steady can point to dirt, misalignment, or a part that needs a technician.
What should you inspect in the heat exchanger and venting path?
Inspect the heat exchanger for dust buildup, soot, corrosion, cracks, and other visible damage before the run season. Cleaning helps heat transfer and efficiency, but a cracked exchanger is not a cleaning problem; it is a stop-work condition. Also inspect the flue or vent pipe for lint, soot, or blockage that can restrict exhaust flow and raise safety risk.
What should you check on the ODS sensor and thermostat?
On ventless gas heaters, the low oxygen depletion sensor must stay unobstructed and clean. Dust or blockage can cause nuisance shutdowns or unsafe operation. After cleaning, verify that the thermostat responds normally and that startup is reliable, because dust can affect sensing accuracy in several heater types.
Carbon monoxide safety matters before and after cleaning combustion heaters. Keep the garage ventilated according to the unit manual, never bypass safety devices, and stop if exhaust smells strong, soot persists, or a CO alarm sounds. A dirty vent or burner can create a hazard even if the heater still fires.
Electric and infrared heater cleaning
Electric and infrared garage heaters usually avoid combustion issues, but dust still cuts performance. In electric units, dust on the blower fan, intake, or heating element area can reduce airflow and trigger overheating. In infrared units, dust on reflectors or radiant surfaces can reduce heat transfer and leave the garage feeling unevenly warmed.
What should you clean on the blower fan, housing, and intake paths?
Vacuum fan blades, the housing, and any intake screens. Dust buildup reduces airflow and can make the motor noisier. If the fan sounds rough after cleaning, or if airflow stays weak, the motor or bearings may need professional attention.
What should you clean on radiant panels and reflectors?
Wipe dust from reflectors, panels, and accessible radiant surfaces with a microfiber cloth. Keep moisture off electrical parts. Even a thin layer of dust can scatter radiant heat and reduce the amount of energy that reaches the garage floor and work area.
What should you check on the cord, plug, and controls?
Check the cord, plug, switches, and thermostat area for damage, discoloration, or loose fit. A dust-covered thermostat can respond slowly or read inaccurately, which can lead to short cycling or poor comfort. If a hardwired unit shows electrical damage, stop and call an electrician or HVAC pro.
Garage heater cleaning checklist
This checklist separates inspection points by heater type and shows what happens if you ignore them. Use it during pre-season cleaning, then revisit the items that match your heater and garage conditions. Dust-heavy workshops usually need closer attention than a lightly used, insulated space.
| Heater type | What to inspect/clean | Symptoms if ignored |
|---|---|---|
| Gas | Burner assembly, burner ports, heat exchanger, vent pipe, ignition parts, ODS sensor, thermostat | Uneven flame, delayed ignition, soot smell, repeated shutdowns, weak heat, higher CO concern |
| Electric | Blower fan, housing, intake screens, heating element area, thermostat, cord, plug, controls | Reduced airflow, hot cabinet spots, noisy fan, short cycling, lower output, nuisance trips |
| Infrared | Radiant panels, reflectors, intake openings, mounting area, thermostat or control head | Poor radiant spread, dusty hot spots, slower warm-up, uneven comfort, surface discoloration |
How often should you clean a garage heater?
Clean a garage heater at least once each heating season, and sooner if you use the garage heavily or store dust-producing materials nearby. Pre-season cleaning is the baseline. Mid-season checks matter in workshops, woodworking spaces, and garages with visible dust, lint, or pet hair. Post-season inspection catches buildup before it hardens.
What should you do before the first cold-weather run?
Do a full cleaning before the first cold-weather run. This is the best time to inspect for cracked parts, blocked vents, dust on sensors, and fan noise. Starting the season with a clean heater lowers the chance of a surprise shutdown on the first cold morning.
When do dusty garages need mid-season checks?
In a dusty garage, quick inspections every few weeks can prevent airflow loss and ignition trouble from building up. Vacuum intake screens, check for odor changes, and listen for fan noise. A common first-timer mistake is waiting until the heater feels weak, by which point soot or lint may have already affected performance.
Why does post-season inspection matter?
After the heating season, remove residue before the unit sits idle. That helps prevent corrosion on exposed metal parts and makes the next startup easier. For combustion heaters, post-season cleaning also reduces the chance that a dusty burner or vent becomes a problem after months of storage.
When should you stop DIY and call a technician?
Stop DIY work if you find a cracked heat exchanger, repeated ignition failure, gas odor, persistent soot, blocked venting, or electrical damage. Those signs point to a fault beyond simple cleaning. A technician should handle sealed gas components, hardwired electrical repairs, and any condition that affects safe combustion or exhaust flow.
What do cracks, corrosion, or repeated ignition failure mean?
A cracked heat exchanger or heavy corrosion is not something to brush away. Repeated ignition failure after cleaning suggests a sensor, valve, or control issue that needs diagnosis. If the heater still misfires after a careful clean, further DIY work can make the fault harder to trace.
What do gas odor, soot, or blocked venting mean?
Gas smell, soot buildup, or a blocked vent path means the heater may be burning poorly or exhausting incorrectly. Shut it down and ventilate the garage. Do not keep cycling the unit in hopes that it clears itself; that can worsen the condition and raise safety risk.
What do electrical faults and hardwired heater issues mean?
Burn marks on plugs, tripped breakers, damaged cords, or hardwired faults usually call for professional service. Electric and ceiling-mounted high-output heaters often require 240V hard-wiring, so access and repair should stay within the right trade. If the control board or thermostat still misbehaves after cleaning, do not force more disassembly.
Frequently asked questions
How do I clean a garage heater?
Shut off power and gas, let the unit cool, then vacuum dust from the cabinet, burners or heating surfaces, blower, and intake screens. Brush heat-transfer parts gently, inspect for soot or damage, reassemble, and test for normal startup. If you find cracks, odor, or blocked venting, stop and call a technician.
How often should I clean a gas garage heater?
Clean it at least once each heating season, ideally before the first cold-weather use. In dusty workshops or garages with lots of lint and debris, add mid-season checks. Gas heaters are more sensitive to dirt because buildup can affect flame quality, ignition, venting, and carbon monoxide safety.
What tools do I need to clean a garage heater?
Use a vacuum with a brush attachment, a soft brush, a microfiber cloth, a flashlight, and compressed air used carefully. For gas heaters, keep the manual handy so you do not disturb sealed or model-specific parts. Those tools are enough for most surface cleaning and inspection tasks.
Can a dirty heater make my garage heater less efficient?
Yes. Dust on fans, burners, reflectors, and heat exchangers reduces airflow and heat transfer, so the unit works harder to deliver less heat. That can raise operating cost, increase noise, and cause nuisance shutdowns. Soot, lint, and blockage are performance problems, not just cleaning chores.
Why does my garage heater smell when it runs?
A brief smell at startup can come from dust burning off, but persistent odor points to a problem. Check for dirty burners, lint in the vent path, soot on hot surfaces, or blocked airflow. If the smell is strong, smoky, or paired with shutdowns, stop using the heater.
How do I know if my garage heater needs professional service?
Call a technician if you find a cracked heat exchanger, repeated ignition failure, gas odor, heavy soot, blocked venting, or electrical damage. Those are not normal cleaning issues. Also stop if a combustion heater raises carbon monoxide concerns or if the unit still runs poorly after a careful cleaning.