Garage Heater Energy-Saving Tips for Winter
Seal air leaks, insulate the door and ceiling, and use a thermostat setback of about 5 to 10°F when the garage is idle; those steps are often enough to reduce runtime before buying a larger heater. Skip them, and warm air escapes fast, the heater runs longer, and winter power or fuel bills climb. This article shows how to find heat loss, set the thermostat, and reduce garage heating costs with practical winter fixes.
What makes a garage heater cost too much?
A garage heater costs too much when heat leaks out as fast as it enters, or when the thermostat is set higher than the space really needs. Garages with thin doors, leaky slab edges, and unfinished ceilings push heater runtime up. Attached garages can bleed heat from the house, while detached garages lose more to outdoor air and wind.
Usage matters too. A storage-only garage can usually stay cooler than a workshop, and a hobby space often needs heat only during occupied hours. If the heater runs all day to keep an empty garage warm, the cost problem is often control, not capacity.
Where winter heat usually escapes first
Most loss starts at the garage door, then moves through walls, the ceiling, windows, and gaps where the slab meets the framing. Air leaks at the bottom edge are especially wasteful because they keep feeding cold air into the room. Weatherstripping, foam insulation panels, and ceiling insulation reduce the heater load by slowing that exchange.
Garage energy-saving checklist
This checklist puts the highest-return actions first. It focuses on heat loss before heater upgrades, because a smaller load is cheaper to satisfy than a bigger heater that still fights leaks.
| Action | Expected impact | Effort level |
|---|---|---|
| Seal the garage door with side and bottom weatherstripping | Reduces cold air entry at the largest leak path and can cut short-cycling | Low |
| Insulate the ceiling before upgrading the heater | Holds more heat in the garage and lowers heater runtime in cold weather | Medium |
| Use a 5 to 10°F thermostat setback when the garage is idle | Reduces wasted heating hours without letting the space cool fully | Low |
| Use zone-only heating instead of conditioning the whole house for garage comfort | Limits energy use to the space that actually needs heat | Low to medium |
| Insulate vulnerable walls and door panels before buying a larger unit | Reduces heater load and can improve comfort at lower runtime | Medium |
| Replace a bigger heater when the envelope is already improved and the garage still cannot hold temperature | Justifies added capacity instead of masking preventable heat loss | High |
A garage used only for parking and storage may respond well to a night setback of about 5°F. A 5°F setback at night, sealed door gaps, and ceiling insulation may be enough to keep temperatures manageable without a larger heater. The same garage used as a daily workshop may need more output, but only after the air leaks are handled.
How do you stop heat escaping the garage door?
Stop heat loss at the garage door by sealing the perimeter first, then adding insulation to the door panels if the door is thin or uninsulated. Bottom seals and side weatherstripping block cold air entry at the floor and jambs. If the door still feels cold to the touch, insulated panels or a replacement door can reduce the heater load further.
Quick inspection steps for air leaks
- Close the garage door and inspect the daylight around the edges.
- Check the bottom seal for gaps, cracked rubber, or flattened spots.
- Run a hand along the side jambs to find cold drafts.
- Look at the slab edge where concrete meets framing for open gaps.
- Replace damaged weatherstripping and seal small gaps with the right exterior-grade material.
Window shrink film or bubble wrap can help on garage windows if the glazing is a weak point. Those fixes are temporary, but they can slow drafts until you install better insulation or replace the window unit.
Do you need insulation before heating a garage?
Yes, if you want the heater to run less and hold temperature better. The walls, the ceiling, and the garage door are the most vulnerable areas, so start there first. Weatherstripping or foam insulation panels can block cold air entry at the floor, and insulation usually improves energy savings by lowering the heater load.
Walls, ceiling, and door first
The ceiling often gives the fastest return because heat rises and escapes upward when the top of the garage is under-insulated. Walls matter next, especially in detached garages with more exposure. The door usually needs both sealing and insulation because it is a large moving surface with many leakage points.
When temporary fixes make sense
Window shrink film and bubble wrap are reasonable stopgaps for older garage windows, especially when replacing them is not in the budget. They will not turn a cold garage into a conditioned room, but they can reduce drafts enough to make thermostat setbacks more practical.
A common mistake is cranking up a garage heater before adding weatherstripping around the side door and windows. That often raises the purchase price and still leaves the room uncomfortable because the heater is fighting the same leaks every hour it runs.
Which heater type wastes the least energy?
No heater type wins in every garage. The least waste comes from matching the heater to the load, then controlling runtime well. Forced-air heaters warm a space quickly, convection heaters heat more evenly for longer use, and ductless mini split systems are an efficient use of energy when you want year-round control.
Forced-air heater behavior and tradeoffs
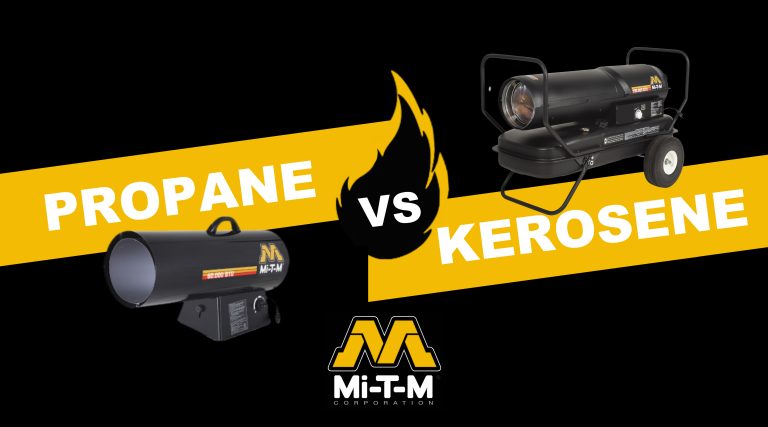
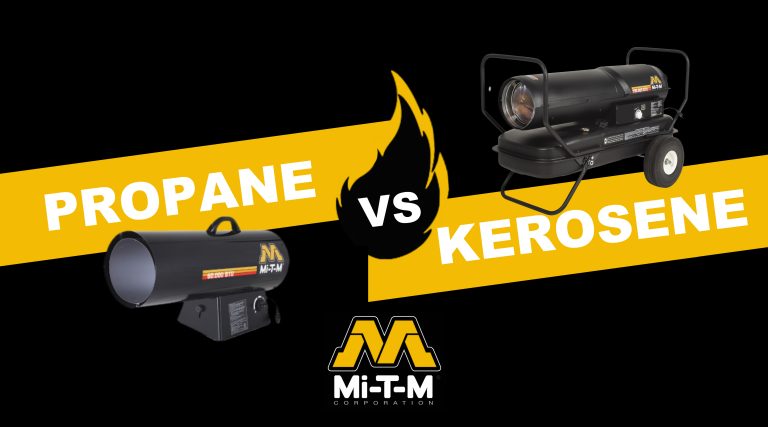
A forced-air garage heater heats quickly by blowing warmed air through the space. It can be tied into a gas or propane line, which makes it a practical choice for fast warm-up. It can also be noisy, stir up dust, and create uneven temperatures if the garage is leaky or poorly arranged.
Convection heater behavior and tradeoffs
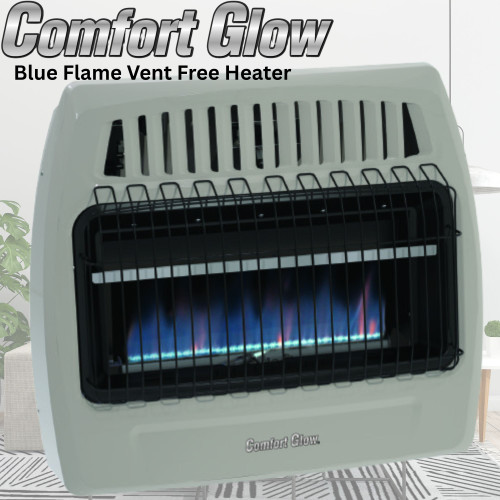
Convection heaters can be powered by electricity, natural gas, or propane. They are more consistent than forced-air heaters and work well when you need steady heat for longer periods. They take time to warm a room and can be a poor choice in a badly insulated garage.
Ductless mini split systems for year-round control
Ductless mini split systems, also called split systems, multi-split systems, or split-ductless systems, heat or cool with a single unit. They are described as an efficient use of energy and are a strong fit when the garage needs both winter heat and summer cooling. They make the most sense in a garage that already has decent envelope performance and regular year-round use.
How should you size a garage heater?
Start with garage square footage before you look at BTU heating output. Garage heating should account for the garage’s square footage and local winter climate. Output needs rise as the garage gets larger, leakier, or colder. A heater that is too small runs too long; one that is too large can waste energy through short cycling and overshoot.
Measure square footage first
Measure length times width for the floor area, then note whether the garage is 1-car, 2-car, or 3-car. That size affects heater capacity, but it is only part of the picture. Ceiling height, insulation, attached or detached status, and winter climate all change the load.
BTU heating output is the common sizing unit for garage heaters. As a practical rule, use the room size plus insulation quality to judge whether the heater is in range, not just the label on the box.
| Garage condition | Typical sizing direction | What to expect |
|---|---|---|
| Small, fairly tight, insulated 1-car garage | Lower BTU output may be enough | Short warm-up and less runtime if the door stays sealed |
| Typical 2-car garage with moderate insulation | Mid-range BTU output is often the better target | More even recovery after door openings |
| Large or poorly insulated 3-car garage | Higher BTU output may be justified after sealing and insulation | Longer warm-up time and higher fuel use if the envelope is weak |
| Insulated garage with short daily use | Controlled runtime may matter more than maximum output | Lower bills when thermostat setback and occupancy timing are used |
Specific product labels can be misleading if they are read as universal coverage claims. A 10,000-watt Comfort Zone garage heater is described as covering up to 1,500 sq. ft., and the Dr. Infrared DR-968 is described as 1,500 watts and up to 1,000 square feet. Those figures should be checked against insulation quality, climate, and the actual garage layout before you buy.
Suppose a detached 2-car garage is used as a workshop in a cold climate. If the door is sealed, the ceiling is insulated, and the garage still falls below a reasonable comfort target during occupied hours, then a heater upgrade is justified. If the same garage stays warm enough after sealing and a 5 to 10°F setback, a larger heater would be wasteful.
When is a heater upgrade worth it?
A heater upgrade is usually worth considering only after the envelope and controls are in good shape, if the garage still cannot hold a usable temperature. If the garage remains cold because the door leaks, the ceiling is thin, or the thermostat is set too high, more capacity usually wastes money. Upgrade when the load is real, not when leaks are still the main problem.
Signs the envelope is already improved
If the door is sealed, the ceiling and key walls are insulated, and drafts are limited, heater runtime becomes a better guide than guesswork. In that case, a larger or more efficient heater may be justified because the current unit is not fighting obvious heat loss.
When thermostat control still leaves the garage cold
Thermostat control helps regulate garage temperature and reduces wasted runtime, but it cannot create heat the space does not receive. If a setpoint that is already reasonable still leaves the garage cold during occupied hours, the output may be too low for the garage square footage and winter climate.
When a larger unit would be wasteful
Do not scale up just because the garage feels cold for the first ten minutes after the door opens. Short openings, poor setback habits, and unsealed gaps can all create the same complaint. Fix those first, then judge whether the heater truly lacks capacity.
Frequently asked questions
What is the cheapest way to heat a garage in winter?
The cheapest path is usually not a bigger heater. It is reducing runtime through sealing, insulation, thermostat setbacks, and zone-only heating so you warm only the garage when needed. That approach cuts waste first, which often lowers bills more than adding capacity would.
How can I make my garage heater use less energy?
Reduce the heater’s workload. Seal the garage door, insulate the ceiling, close off leaks around windows and wall penetrations, and lower the setpoint when the garage is not in use. A setback of about 5 to 10°F is a practical starting point for many garages that are used intermittently.
Which garage heater is most efficient for winter?
The most efficient choice depends on the garage condition and use pattern. Ductless mini split systems are a strong option for year-round control and efficient energy use. Convection heaters can work well for steady heat in a better-insulated garage, while forced-air heaters suit fast warm-up but can waste energy if the room leaks badly.
How do I stop heat from escaping the garage door?
Install fresh weatherstripping on the sides and top, replace the bottom seal if it is flattened, and add insulated panels if the door itself is thin. Then inspect the edges with the door closed to find daylight or draft points. Small gaps at the bottom can waste a surprising amount of heat over winter.