

Changing a tidal heating space engine involves understanding its function, accessing the unit, safely disconnecting power and components, replacing the old engine with a new one, and then reconnecting everything securely. This guide provides clear, step-by-step instructions for homeowners to tackle this task with confidence, ensuring a warm and safe home.
Feeling a chill in your home when your heating system should be working overtime? If you suspect an issue with your tidal heating system, particularly the space engine, you’re not alone. Many homeowners find themselves grappling with unfamiliar heating components, but don’t worry! This advanced guide is designed specifically for you, breaking down the process of changing a tidal heating space engine into simple, manageable steps. We’ll walk you through everything you need to know, from identifying the component to getting your system back up and running smoothly. Let’s dive in and get your home cozy again!
Understanding Your Tidal Heating Space Engine
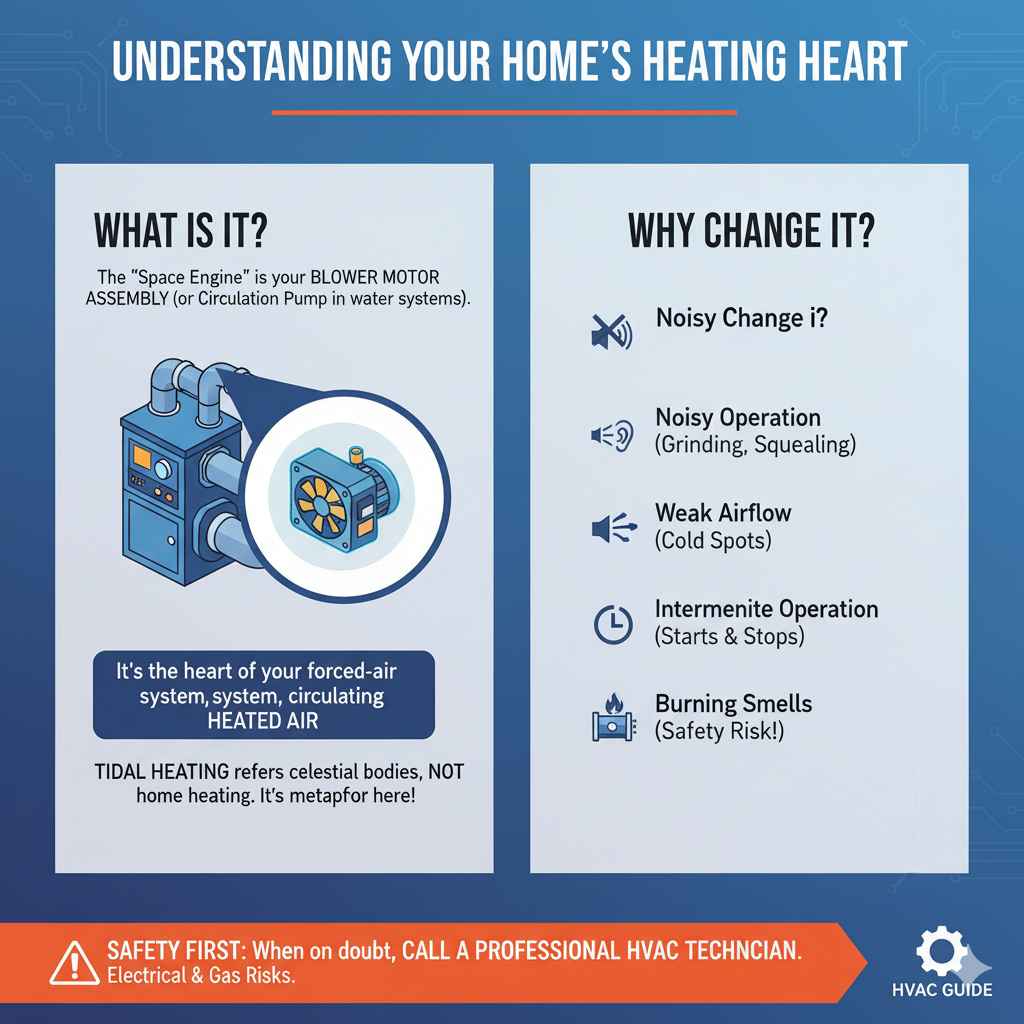
Before we get our hands dirty, let’s take a moment to understand what a “tidal heating space engine” actually is in a home heating context. The term “tidal heating” often refers to celestial bodies, but in home heating, we’re likely talking about the core component responsible for circulating heated air or water – think of it as the heart of your heating system. This “engine” is crucial for distributing warmth throughout your home. When it falters, your comfort goes with it. Identifying this part correctly is the first step to a successful replacement.
What is a Tidal Heating Space Engine?
In residential heating systems, especially those that are a bit older or have specialized designs, the term “space engine” might refer to the blower motor assembly in a forced-air system or potentially a circulation pump in a hydronic (hot water) system. Tidal forces themselves don’t directly heat your home! If you have a forced-air furnace or heat pump, the “space engine” is most commonly the blower motor. This motor drives a fan that pushes the heated air through your ductwork and into your living spaces. A faulty blower motor can lead to weak airflow, inconsistent temperatures, or a complete lack of heat distribution.
Why Might You Need to Change It?
Several signs can indicate that your tidal heating space engine, or more accurately, your blower motor, is on its way out:
- Noisy Operation: Grinding, squealing, or loud humming noises are common indicators of a failing motor bearing or imbalance.
- Weak Airflow: If warm air is barely coming out of your vents, or if some rooms are much colder than others, the blower motor’s performance might be compromised.
- Intermittent Operation: The system might start and stop unexpectedly, or only work sporadically.
- Complete Failure: The most obvious sign is no air coming from the vents at all, even when the heating element is running.
- Burning Smells: In some cases, an overheating motor can produce a burning odor, which is a serious safety concern.
Safety First: When to Call a Professional
While this guide aims to empower you, it’s vital to know when to step back and call in the experts. Changing a heating system component involves working with electricity and potentially gas lines. If you’re not comfortable with electrical wiring or uncomfortable working in confined spaces like attics or crawl spaces, it’s always best to hire a qualified HVAC technician. They have the tools, expertise, and certification to perform the job safely and efficiently. For instance, a faulty gas furnace can pose carbon monoxide risks, making professional service essential.
You can find certified HVAC professionals through resources like the Air Conditioning Contractors of America (ACCA). They have a directory to help you locate qualified technicians in your area.
Tools and Materials You’ll Need
Before you begin the replacement process, gather all the necessary tools and materials. Having everything at hand will make the job much smoother and safer.
Essential Tools:
- Screwdrivers: A set of Phillips and flathead screwdrivers is essential for removing panels and securing components.
- Nut Drivers or Socket Set: You might need these for bolts holding the motor assembly in place.
- Pliers: Needle-nose and standard pliers will be useful for disconnecting wires and maneuvering parts.
- Wire Strippers/Crimpers: For safely cutting and connecting electrical wires.
- Multimeter (Optional but Recommended): To test electrical current and ensure power is off before you start.
- Safety Glasses: To protect your eyes from dust and debris.
- Work Gloves: To protect your hands.
- Flashlight or Headlamp: For better visibility in dark areas.
- Vacuum Cleaner (with hose attachment): To clean up any dust and debris.
- Duct Tape: For temporary sealing if needed.
Replacement Parts:
- New Blower Motor: This is the most crucial part. Ensure it is the exact model or a compatible replacement for your existing motor. Check your furnace’s manual or the label on the old motor for specifications (HP, RPM, voltage, frame size, rotation direction).
- Replacement Capacitor (often included with the motor): The capacitor helps start and run the motor. It’s good practice to replace it if it’s old or if the new motor comes with one.
- Wire Nuts: For secure electrical connections.
Step-by-Step Guide to Changing the Space Engine (Blower Motor)
Now, let’s walk through the process. Remember to proceed with caution at every step.
Step 1: Safety First – Turn Off Power!
This is the absolute MOST important step. You cannot work on your heating system safely without cutting power.
- Locate Your Electrical Panel: Find your home’s main circuit breaker panel.
- Identify the Correct Breaker: Look for the breaker labeled for your furnace, heating system, or HVAC. It might also affect your air conditioner. If unsure, it’s safer to turn off the main breaker for the entire house, but this will cut power to everything.
- Flip the Breaker: Ensure the breaker is switched to the “OFF” position.
- Verify Power is Off: Go to your thermostat and try to turn the heat on. Nothing should happen. For extra caution, you can use a non-contact voltage tester on the wires leading into the furnace or air handler. Always double-check that all power is indeed off.
Step 2: Access the Blower Motor Compartment
Your blower motor is typically located in the air handler unit, which is often part of your furnace or a separate indoor unit.
- Locate the Furnace/Air Handler: This is usually in a basement, attic, closet, or crawl space.
- Remove the Access Panel: Most units have one or more access panels held in place by screws or clips. Carefully remove these screws using your screwdriver. Sometimes, there’s a safety switch that cuts power to the unit when the panel is removed; this is another layer of protection.
- Identify the Blower Motor: Once the panel is off, you’ll see the blower assembly. This usually consists of a metal housing (the blower housing or squirrel cage) and the motor attached to it.
Step 3: Disconnect Electrical Wiring
Before touching any wires, mentally (or actually, by taking photos!) map out the connections.
- Take Photos: Use your phone to take clear, detailed pictures of how the wires are connected to the motor and any other components like the capacitor.
- Disconnect Wire Nuts: The wires will likely be connected with wire nuts. Carefully unscrew them (turn counter-clockwise). Gently pull the wires apart.
- Note Wire Colors: Pay close attention to the color of each wire and where it was connected.
- Disconnect Capacitor Wires: If your motor has a capacitor, its wires will also need to be disconnected. Be cautious; capacitors can store an electrical charge even after power is off. It’s best practice to short the capacitor terminals with an insulated screwdriver before touching its wires, but if you are unsure, consult a professional.
Step 4: Remove the Old Blower Motor
The motor is usually held in place by screws or bolts.
- Unscrew Mounting Bolts/Screws: Use your nut driver or socket set to remove the bolts or screws that secure the motor to the blower housing.
- Support the Motor: Motors can be heavy. Make sure you can support its weight as you loosen the final fasteners.
- Slide or Lift the Motor Out: Carefully slide or lift the old motor out of its mounting bracket. It might be attached to a “blower wheel” or “squirrel cage,” which you’ll need to pull out along with the motor, or it might detach from the wheel separately. If it’s attached, note its orientation.
Step 5: Install the New Blower Motor
This is where your new part comes in!
- Prepare the New Motor: If your new motor came with a new capacitor, ensure it’s mounted securely or ready to be connected.
- Attach the Blower Wheel (if separate): If you removed the blower wheel from the old motor, carefully attach it to the shaft of the new motor. Ensure it’s oriented correctly (e.g., for specific rotation) and secured tightly with the set screw.
- Position the New Motor: Carefully place the new motor into the mounting bracket or blower housing. Ensure it is oriented correctly, matching the position of the old one.
- Secure the Motor: Re-insert and tighten the mounting bolts or screws to secure the new motor in place. Don’t overtighten.
Step 6: Reconnect Electrical Wiring
Refer to your photos and notes from Step 3.
- Connect Motor Wires: Using new wire nuts, connect the wires from your new motor to the corresponding wires in the furnace, matching colors and positions as per your photos.
- Connect Capacitor Wires: Connect the wires to the new capacitor. The capacitor will have terminals (often labeled COM, HERM, C, or a set of numbers) that correspond to specific wires from the motor.
- Ensure Secure Connections: Make sure all wire nuts are screwed on tightly and that no bare wire is exposed.
Step 7: Reassemble and Test
Almost there!
- Replace Access Panel: Put the access panel back in place and secure it with its screws or clips. If there was a safety switch, ensure it engages correctly.
- Restore Power: Go back to your electrical panel and flip the breaker for your heating system back to the “ON” position.
- Test the System: Set your thermostat to demand heat. Listen for the blower motor to start. You should feel warm air coming from your vents. Check that airflow is strong and consistent in all rooms.
Troubleshooting Common Issues
Even with careful work, you might encounter a hiccup. Here are a few common issues and what to do:
| Problem | Possible Cause | Solution |
|---|---|---|
| No power to the unit. | Breaker tripped, loose wire connection, safety switch not engaged. | Check breaker. Re-check all wire connections and ensure the access panel is properly seated. |
| Motor hums but doesn’t spin. | Blower wheel is stuck, bad capacitor, motor failure. | Check if blower wheel can be turned freely by hand (with power OFF!). Replace capacitor if faulty. If still an issue, motor may need replacement. |
| Motor spins, but no air flows. | Blower wheel not attached to motor shaft, or attached incorrectly. | Ensure blower wheel is securely attached to the motor shaft, facing the correct direction. |
| Strange noises after replacement. | Blower wheel is loose or unbalanced, motor not seated correctly. | Check blower wheel for tightness and alignment. Ensure the motor is securely mounted. |
Maintenance Tips to Extend Motor Life
Once your new motor is installed and running smoothly, a little regular maintenance can help it last longer and keep your home cozy.
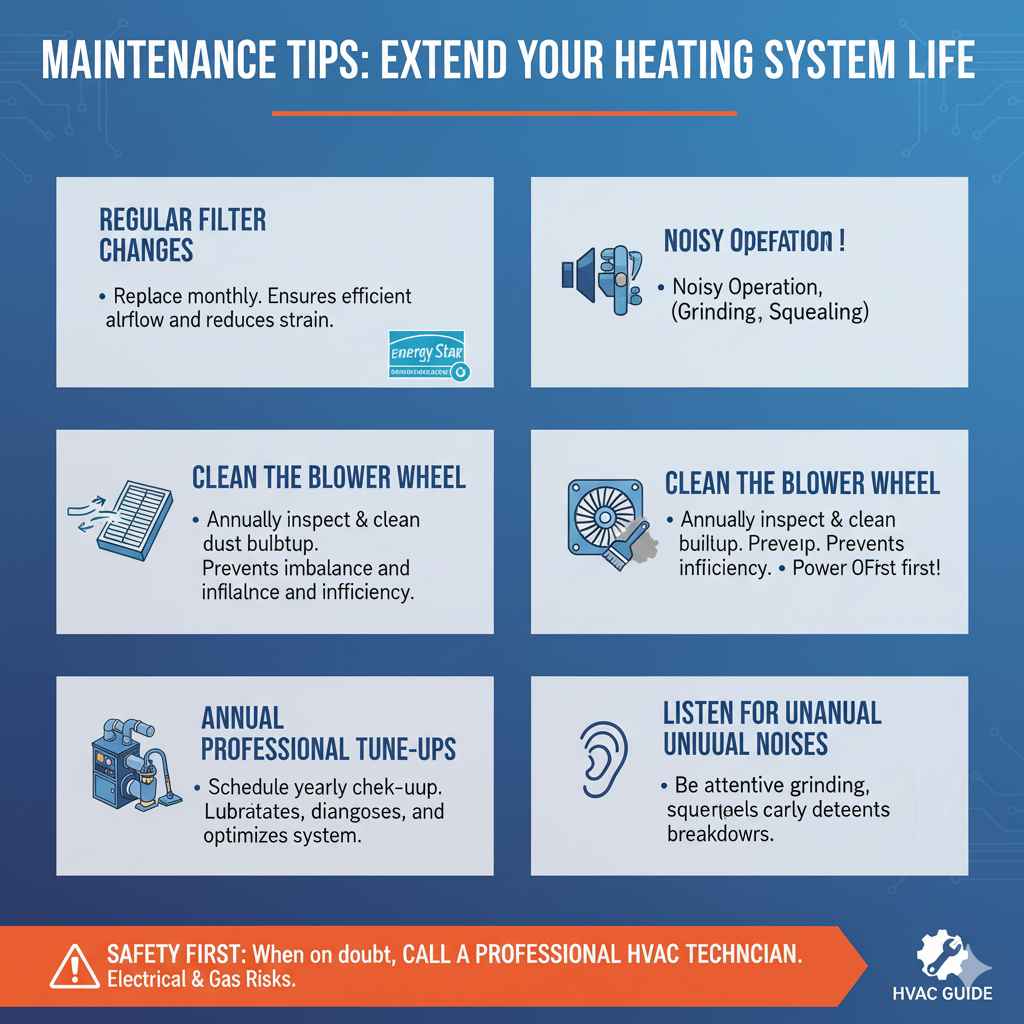
- Regular Filter Changes: This is paramount. A clean air filter ensures that the blower motor doesn’t have to work harder to pull air through the system. Check and replace your filter monthly or as recommended by the manufacturer. You can learn more about HVAC filter types and their importance from resources like ENERGY STAR.
- Keep the Blower Wheel Clean: Dust and debris can accumulate on the blower wheel, causing imbalance and inefficiency. Periodically (annually is usually sufficient), inspect the blower wheel and gently clean it with a brush and vacuum (ensure power is OFF!).
- Annual Professional Tune-ups: Schedule a yearly inspection with an HVAC professional. They can catch potential problems early, lubricate moving parts if necessary, and ensure your entire system is running at peak efficiency.
- Listen for Unusual Noises: Be attentive to any new sounds your system makes. Early detection of grinding, squealing, or rattling can prevent a complete breakdown.
FAQ: Your Questions Answered
Here are some common questions homeowners have about changing a space engine/blower motor:
Q1: How much does it typically cost to replace a blower motor?
ANSWER: The cost can vary widely. A DIY replacement using just the parts might cost anywhere from $150 to $400 for the motor and capacitor. Hiring a professional can add $300 to $800 in labor costs, bringing the total to $450 to $1200 or more, depending on your location and the complexity of the job.
Q2: Can I just replace the motor, or do I need to replace the whole furnace?
ANSWER: Typically, you only need to replace the specific faulty component, like the blower motor. Replacing the entire furnace is a much larger and more expensive job, usually only necessary if the furnace is very old, severely damaged, or inefficient.
Q3: What is the “squirrel cage” or “blower wheel”?
ANSWER: The “squirrel cage” or “blower wheel” is the fan itself, a cylindrical assembly with many curved blades. It’s what the motor spins to move air. It’s an integral part of the blower assembly.
Q4: How do I know if I have the right replacement motor?
ANSWER: You need to match the specifications of your old motor exactly: horsepower (HP), revolutions per minute (RPM), voltage, frame size, and shaft diameter. The rotation direction (clockwise or counter-clockwise, viewed from the shaft end) is also critical. Always refer to your furnace manual or the label on the old motor.
Q5: Is it safe to work with electrical components in my furnace?
ANSWER: It can be dangerous due to the risk of electric shock, especially if you are not familiar with electrical systems. ALWAYS turn off the power at the breaker before starting any work. If you have any doubts, it is safest to hire a qualified HVAC technician.
Q6: What’s the role of the capacitor?
ANSWER: The capacitor is essentially an electrical storage device that provides a boost of energy to help the motor start and run efficiently. Motors often struggle to start without it, and if it fails, the motor might hum or not start at all.
Conclusion
Changing your tidal heating space engine, or more accurately, your blower motor, might seem daunting at first, but with this detailed guide and a commitment to safety, it’s a task many homeowners can successfully accomplish. Remember, understanding your system, gathering the right tools, and proceeding step-by-step are key. Prioritizing safety by always disconnecting power before starting any work cannot be stressed enough. By taking these steps, you’re not only ensuring your home stays warm and comfortable but also gaining valuable knowledge about maintaining your home’s essential systems. If at any point you feel unsure or uncomfortable, don’t hesitate to call in a trusted HVAC professional. A cozy home is within your reach!