How to Heat a Garage for Woodworking Safely
Use a vented gas heater or a sealed electric heater. Keep clearance based on the specific manual, because required spacing varies by heater model, fuel type, and mounting method. Avoid unvented combustion heat in a woodworking garage. Poor heating can ignite dust, ruin finishes, and raise carbon monoxide risk. This guide covers safe heater types, dust control, ventilation, clearances, and setup choices that keep a garage workshop warm without adding fire or air-quality hazards.
What you’ll need


- Garage square footage measurement
- Heater sizing guide in BTU
- Weatherstripping for the garage door and side gaps
- Insulation materials for walls, ceiling, or door panels
- Garage door insulation kit sized to the door
- Tape measure for clearance checks
- Storage cabinet or metal box for solvents and finishes
- Metal can with lid for oily rags
- Thermometer for checking cold spots and curing range
Woodworking changes the heating job. Dust, solvents, wet finish, glue, lumber stacks, and oily rags all affect where heat should go and what it must stay away from. The first goal is steady warmth, low ignition risk, and little dust movement. For combustion appliances, follow the manufacturer manual, local code, and CO alarm guidance from public-safety sources such as the CPSC and NFPA.
What heat should protect
Protect people first, then tools, wood, and finishes. Keep the workspace warm enough for glue-up and finish curing, and keep hot surfaces away from dust piles, solvent containers, and rag storage. A heater that warms the air fast can still be the wrong choice if it blows sanding debris across the shop. OSHA and EPA guidance on dusts and solvent vapors supports keeping ignition sources away from work and storage areas.
Which heater is safest for your shop?
The safest choice depends on the task and the room. For woodworking garages, low-intensity infrared models and sealed electric heat are often better fits than open-coil or unvented units. The goal is to warm the space without stirring dust or placing flame near materials that can ignite. For combustion units, use only models installed to the fuel-specific manual and ventilation requirements.
Heater type comparison
| Heater type | Dust movement | Warm-up speed | Finish-friendliness | Retrofit difficulty | Operating cost |
|---|---|---|---|---|---|
| Forced-air | High | Fast | Fair when dust is controlled | Moderate | Moderate to high |
| Infrared | Low | Moderate | Good for calmer sanding and curing zones | Moderate | Moderate |
| Convection | Low to moderate | Moderate | Good when drafts are sealed | Moderate | Moderate |
| Radiant floor | Very low | Slow | Excellent for even curing heat | High | Low to moderate |
Infrared garage heater
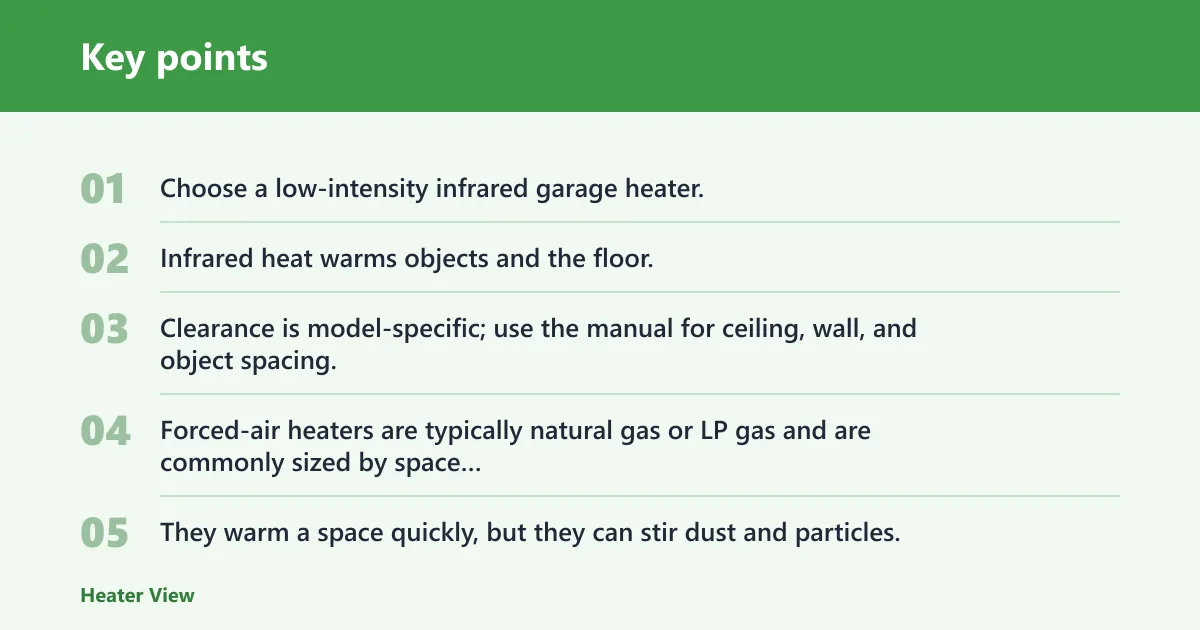
Choose a low-intensity infrared garage heater, not a high-glow residential unit unless the manual specifically allows that installation. Infrared heat warms objects and the floor, so it can help in a cold shop with limited air movement. Clearance is model-specific; use the manual for ceiling, wall, and object spacing, and keep lumber, paper, finishes, and rag containers out of the listed hot zone.
Forced-air garage heater
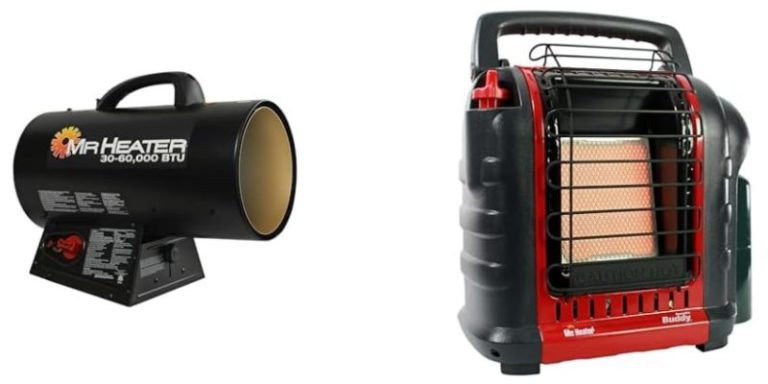
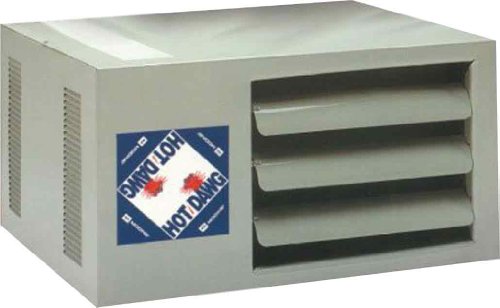
Forced-air heaters are typically natural gas or LP gas and are commonly sized by space volume and insulation level, not by a single universal BTU number. They warm a space quickly, but they can stir dust and particles. They also lose heat when the garage door opens, and vented models must follow combustion-air, venting, and clearance instructions in the installation manual.
Convection heater
Convection heaters can run on electric, natural gas, or propane. They heat air through circulation and tend to feel steadier than forced-air units. Warm-up is slower, and performance drops in badly insulated garages, so they work best when drafts are controlled first. As with any heater, required spacing depends on the model and fuel type.
Radiant floor heating
Radiant floor heat is quiet, safe, and efficient, but it is usually installed during construction and heats slowly. It also depends on limited air leakage. For a new garage or a full rebuild, it is a strong option. For an existing shop, it is rarely the easiest retrofit, but it can be very comfortable once the slab, insulation, and perimeter sealing are done correctly.
What should you fix before adding heat?
Insulation and air sealing come before extra heater output. A garage that leaks air through the door, framing gaps, or an unfinished ceiling will waste heat and leave the floor cold. DOE and ENERGY STAR both recommend air sealing before adding insulation, and garage retrofits often start with the door, ceiling, and side gaps.
Walls, ceiling, and door
Bob Vila recommends insulating garage walls with fiberglass batt and finishing with drywall, plywood, or OSB. Insulating the garage door also helps keep cold air from transferring indoors. A garage door insulation kit is a useful retrofit when the door is thin metal and the panels shed heat fast. DOE guidance also notes that properly air-sealed and insulated assemblies reduce winter heat loss.
Floor and air leakage
Cold floors can make a shop feel colder than the air reading suggests. Seal gaps around the perimeter, weatherstrip the door, and stop drafts at the sides, top, and threshold. If the garage is detached, expect more heat loss than in an attached space. OSHA-style housekeeping guidance also supports keeping floors clear so dust, rags, and cords do not end up near the heater.
How to heat a garage in winter
Winter heating works best in layers: reduce leaks, size the heater to the space, then place the unit so it matches the work. Family Handyman says garage heating needs depend on square footage and insulation. That means two garages with the same footprint can need different output. Ceiling height and climate zone also matter because they change the total air volume and heat loss rate.
Practical BTU sizing framework
Start with garage square footage, then adjust for ceiling height, insulation level, and climate. A common starting point is to treat a well-insulated, attached garage in a mild climate as the baseline, then step up for higher ceilings, detached construction, or a colder zone. Rather than relying on one sample number, use the table below as a practical range and verify the final choice against the heater manual and local code.
| Garage size | Typical BTU range for average conditions | Lower end fits | Higher end fits |
|---|---|---|---|
| 1-car garage | 15,000 to 30,000 BTU | Good insulation, standard ceiling height, milder climate | Detached space, more leakage, colder climate, taller ceiling |
| 2-car garage | 30,000 to 60,000 BTU | Sealed door, insulated walls and ceiling, moderate climate | Poor insulation, frequent door opening, colder zone, higher ceiling |
| 3-car garage | 45,000 to 90,000 BTU | Well-sealed and insulated, moderate winter conditions | Detached, drafty, tall ceilings, colder climate, more open work time |
Use the lower end when the garage is well insulated, the ceiling is standard height, and the climate is mild. Move toward the higher end when the ceiling is taller, the garage is detached, or the winters are colder. If you only need the room warm for short shop sessions, fast recovery matters more; if you work for hours, steadier output matters more.
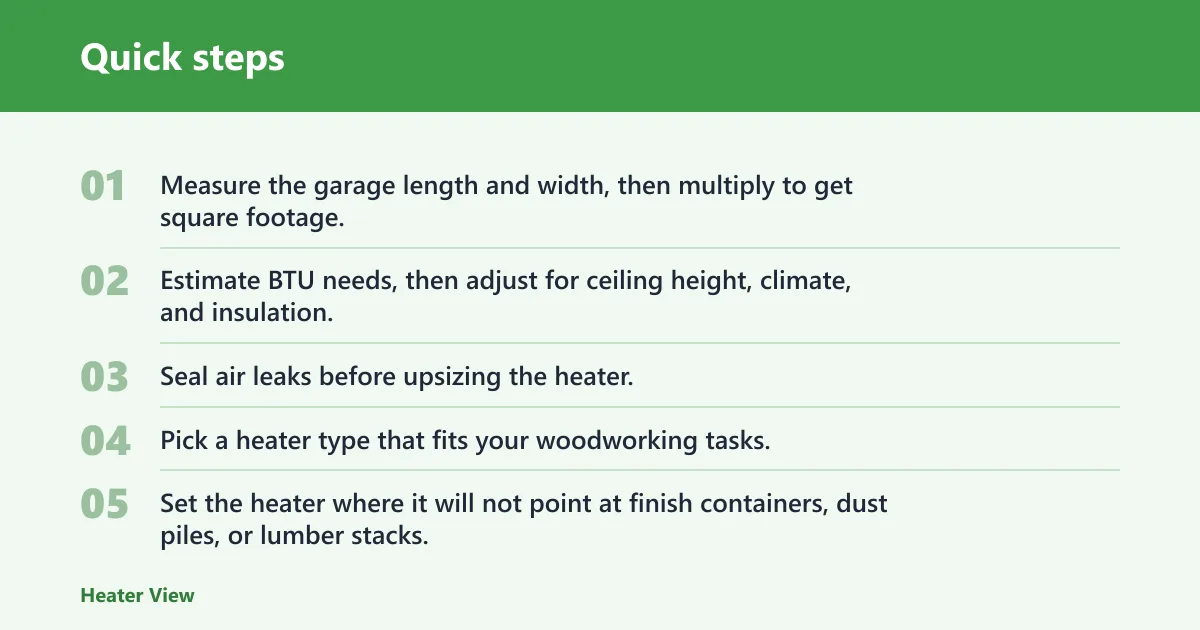
- Measure the garage length and width, then multiply to get square footage.
- Estimate BTU needs, then adjust for ceiling height, climate, and insulation.
- Seal air leaks before upsizing the heater.
- Pick a heater type that fits your woodworking tasks.
- Set the heater where it will not point at finish containers, dust piles, or lumber stacks.
Say your garage is a standard two-car size and you sand in one corner while storing finish on a bench near the wall. A forced-air unit may warm the room fast, but it can send dust across that bench. In that case, low-intensity infrared or a convection unit placed away from the finish area is the cleaner fit.
Adjust in workable increments
If the shop still feels cold after sealing leaks, add the next insulation layer or heater capacity in a measured step, then recheck the temperature and the cold floor problem before adding more output. That keeps you from oversizing the system and chasing the wrong fix.
How to place the heater
Placement matters as much as output. The same source recommends a ceiling-mounted heater pointed downward at a 45-degree angle. That helps direct heat into the working zone instead of trapping it near the ceiling. For infrared units, keep the manufacturer’s listed clearance from objects, and treat that space as a no-storage zone. The required distance from ceilings, side walls, and combustibles varies by model and fuel type, so the manual is the final authority.
Typical clearance ranges to check against the manual
| Clearance point | Typical range | Check the manual |
|---|---|---|
| Ceiling | Often 12 to 24 inches or more | Yes — mount height differs for electric, infrared, and gas models |
| Sides | Often 6 to 36 inches or more | Yes — side clearance changes with cabinet style and venting |
| Front | Often 24 to 48 inches or more | Yes — airflow, radiant pattern, and discharge temperature all matter |
| Combustibles | Often 3 to 4 feet or more | Yes — combustible clearance is model-specific and can be higher near gas units |
| Finishes | Keep out of the hot zone entirely | Yes — solvent cans and wet finish should stay outside the listed clearance area |
| Lumber storage | Keep out of the heater zone entirely | Yes — stacked wood can overheat, dry unevenly, or block discharge paths |
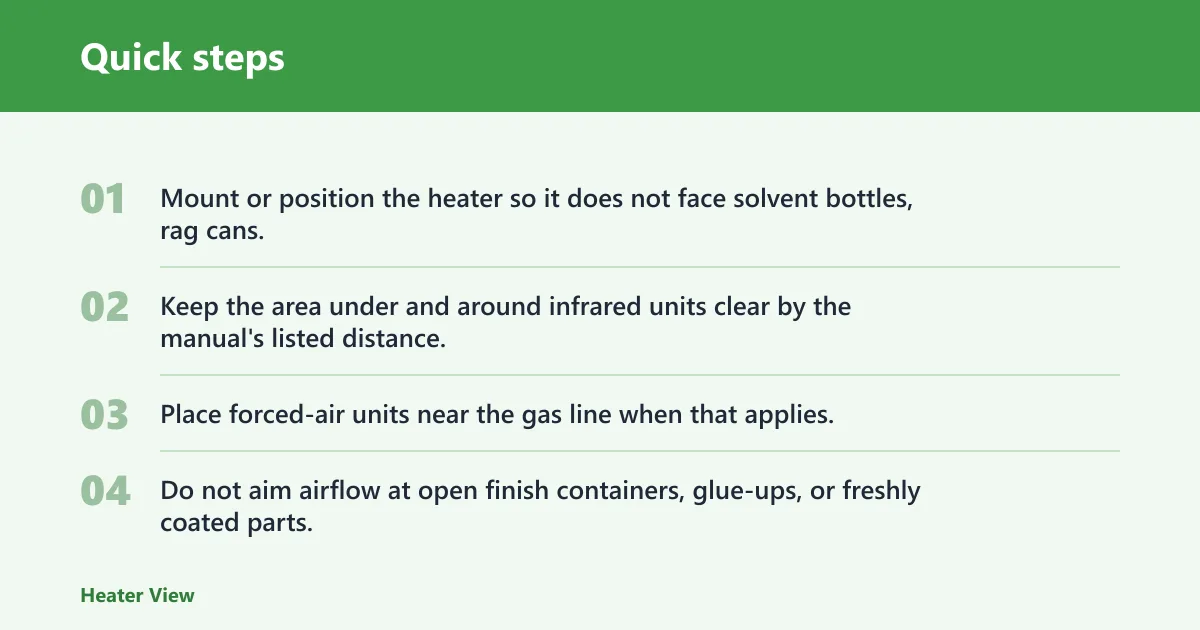
- Mount or position the heater so it does not face solvent bottles, rag cans, or lumber racks.
- Keep the area under and around infrared units clear by the manual’s listed distance.
- Place forced-air units near the gas line when that applies, and keep the discharge away from sanding stations.
- Do not aim airflow at open finish containers, glue-ups, or freshly coated parts.
Suppose a roughly 24-by-24-foot garage has a ceiling-mounted infrared heater over the center bay. If lumber is stacked directly under the unit, the stack becomes the first thing to heat. Move the lumber rack out of the clearance zone first, then place the heater so it warms the floor and work area instead.
How to make the garage heated without creating fire risk
Use the garage as a workshop, not a storage closet with heat added on top. Open-coil space heaters are not optimal for garage heating because they can ignite chemicals and oily rags. Keep combustibles out of the heater zone, and never place solvent containers where warm air or radiant output can strike them. EPA and OSHA hazard guidance both support storing flammables in closed, appropriate containers away from heat sources.
Woodshop heating checklist
| Hazard | Safe heating choice | Required setup step |
|---|---|---|
| Dust control | Low-intensity infrared or convection heat | Keep sanding areas out of the airflow path and vacuum before heating the room |
| Solvent storage | Sealed electric, vented gas, or infrared with clear separation | Store finishes and thinner in a closed cabinet away from heater clearance zones |
| Oily rags | Any heater only if rag storage is separate | Place used rags in a metal container with a lid before heat comes on |
| Glue and finish temperature | Convection or infrared for steadier room heat | Bring the shop into range before glue-up or coating, then hold temperature steady |
| Floor cold spots | Infrared or radiant floor heat | Warm the floor zone first and add insulation where cold air enters at the perimeter |
| Door-open heat loss | Convection or forced-air with faster recovery | Limit door-open time and close the door before final finish work |
| Clearance and placement checks | Infrared with strict spacing or ceiling-mounted heat aimed downward | Keep the manual’s listed clearance around the heater and keep tools, lumber, and finishes outside the hot zone |
Common mistakes
Oversizing the heater without fixing leaks first wastes energy and still leaves cold spots. A heater can be powerful and still underperform if the garage door leaks at the bottom or the ceiling is uninsulated. DOE and ENERGY STAR both point to air sealing and insulation as the first efficiency step.
Another mistake is choosing forced air for every shop. It is excellent for quickly warming up a space, but it can be noisy and stir up dust. That matters during sanding and cleanup.
Leaving finishes, glue, or rags too close to heat is a separate hazard. Keep storage out of the clearance zone, especially near infrared units and any open flame appliance.
How to heat a garage cheaply
The cheapest path is usually not the smallest heater. It is the best reduction in heat loss first. Seal gaps, insulate the door, and use the garage door insulation kit where the metal panels lose heat fast. Those changes lower the load before you buy more BTU output, and DOE-style guidance consistently places air sealing ahead of adding more heat.
If the garage is already insulated, match the heater to the space instead of chasing maximum output. A smaller, well-placed unit can cost less to run than a larger one that fights drafts all winter.
Frequently asked questions
What is the safest heater for a woodworking garage?
A low-intensity infrared unit or a sealed electric heater is often the safer fit because both can limit air movement. Keep the clearance listed in the manual, and avoid open-coil space heaters because they can ignite chemicals and oily rags.
Should I use forced air or infrared heat in a woodshop garage?
Use forced air when quick warm-up matters and dust is under control. Use infrared when you want low air movement and warmer floors and tools. If sanding is common, infrared or convection usually fits better than forced air.
What clearance do garage heaters need around tools, lumber, and finishes?
Clearance varies by model and fuel type, so the manual wins every time. As a rough guide, many heaters need several inches to a few feet at the sides and ceiling, and combustibles may need 3 to 4 feet or more. Keep finishes and lumber outside the listed hot zone.
How to heat a garage in winter without wasting money
Seal the garage first, insulate the door, then size the heater to the square footage and insulation level. If the shop still feels cold, add insulation or a better door seal before moving up to a much larger BTU rating.
How to heat a garage for free
There is generally no truly free heating method for a workshop garage. The closest option is to reduce heat loss by sealing drafts, insulating the door, and using passive solar gain on mild days. That lowers the heating load, but it does not replace a heater in winter.
Sources
U.S. Department of Energy, garage and home insulation guidance; ENERGY STAR guidance on air sealing and insulation; OSHA and EPA guidance on dusts, vapors, and safe storage of combustible materials; CPSC and NFPA guidance on combustion appliances, carbon monoxide alarms, and clearances; heater manufacturer installation manuals for model-specific spacing and mounting requirements.